Skyshark Dauntless Build
 09-20-2016, 04:49 AM
#76

Thread Starter
HI Joe,
My little antique car "hobby" business has been going strong and building RC planes has taken a back seat right now. It needs a little more glassing then will go to painting and I hope to fit it in my routine soon. The Olds is moving along and is a priority along with the new RC club I recently started with a group of guys. Now, hunting season starts and I'll be in a tree until I bag my deer (possibly plural)! Keep posted though, as all of a sudden I'll slip a post in! LOL Here's a few pics of the Olds now including the lock I machined out of 303 SS for the golf bag door. The golf bag door locks are virtually non existent as the cylinders were made out of white metal and most have long deteriorated beyond use.
My little antique car "hobby" business has been going strong and building RC planes has taken a back seat right now. It needs a little more glassing then will go to painting and I hope to fit it in my routine soon. The Olds is moving along and is a priority along with the new RC club I recently started with a group of guys. Now, hunting season starts and I'll be in a tree until I bag my deer (possibly plural)! Keep posted though, as all of a sudden I'll slip a post in! LOL Here's a few pics of the Olds now including the lock I machined out of 303 SS for the golf bag door. The golf bag door locks are virtually non existent as the cylinders were made out of white metal and most have long deteriorated beyond use.
 02-07-2017, 09:13 AM
#77
Junior Member
Join Date: Jan 2006
Location: Highland,
MI
Posts: 10
Likes: 0
Received 0 Likes
on
0 Posts
Hi, you mentioned earlier in the thread about getting "Brian's drawings":Got some work done on the fuse with the top section all finished. I got Brian's drawings and followed his suggestions for doubling up the stringers in the front.
I think Brian's drawings also support the fuselage vents.
Would you be able to direct me to how I can obtain a copy of Brian's drawings?
Thanks,
Jim
I think Brian's drawings also support the fuselage vents.
Would you be able to direct me to how I can obtain a copy of Brian's drawings?
Thanks,
Jim
02-08-2017, 08:03 PM
#78
Thread Starter
Hi Jim,
If you look at the thread you will see where I doubled some of the front stringers. That is so you can cut in for the vents. I will PM you as I have the drawing that show the location for the vent. The you basically just cut the balsa out and put in new at an angle.
If you look at the thread you will see where I doubled some of the front stringers. That is so you can cut in for the vents. I will PM you as I have the drawing that show the location for the vent. The you basically just cut the balsa out and put in new at an angle.
07-19-2017, 09:13 PM
#80
Member
Join Date: Feb 2016
Posts: 63
Likes: 0
Received 0 Likes
on
0 Posts
Hello christech. I just bought this model a few weeks ago and am just getting started. I am absolutely in awe of the quality craftsmanship you put into your model. Reading through the thread cleared up a few questions but I'm sure I'll need a few helpful tips along the way. This is my first build since I was a kid. The first impression of the kit is how nice the laser cutting is. I'm initially planning on going electric with it unless it proves to be impractical. We shall see.
Donny (Smitty) Smith
Fort White, FL
Donny (Smitty) Smith
Fort White, FL
06-20-2018, 04:59 PM
#81
Thread Starter
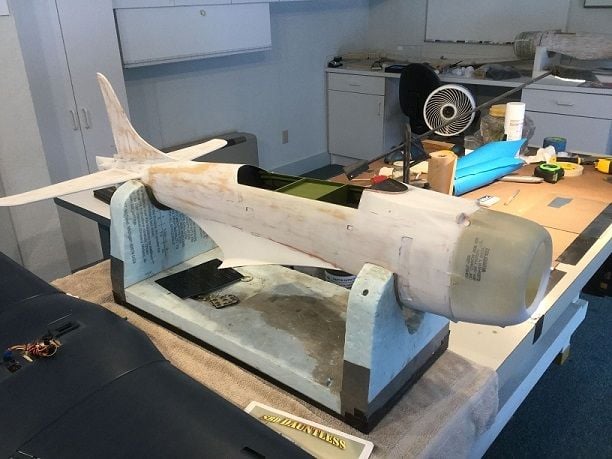
Well I have to say I’m back working on the Dauntless. Went over to Gerry’s house today and we shot it with primer. Will start sanding it on Friday. Pictures coming.
06-20-2018, 05:14 PM
#82
Thread Starter
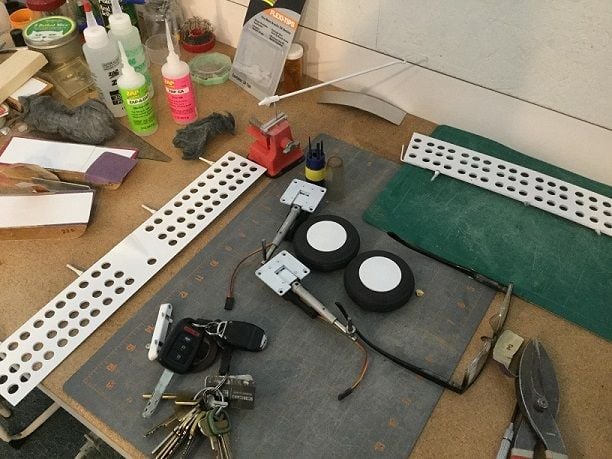
Wheels varnished waiting on paint.
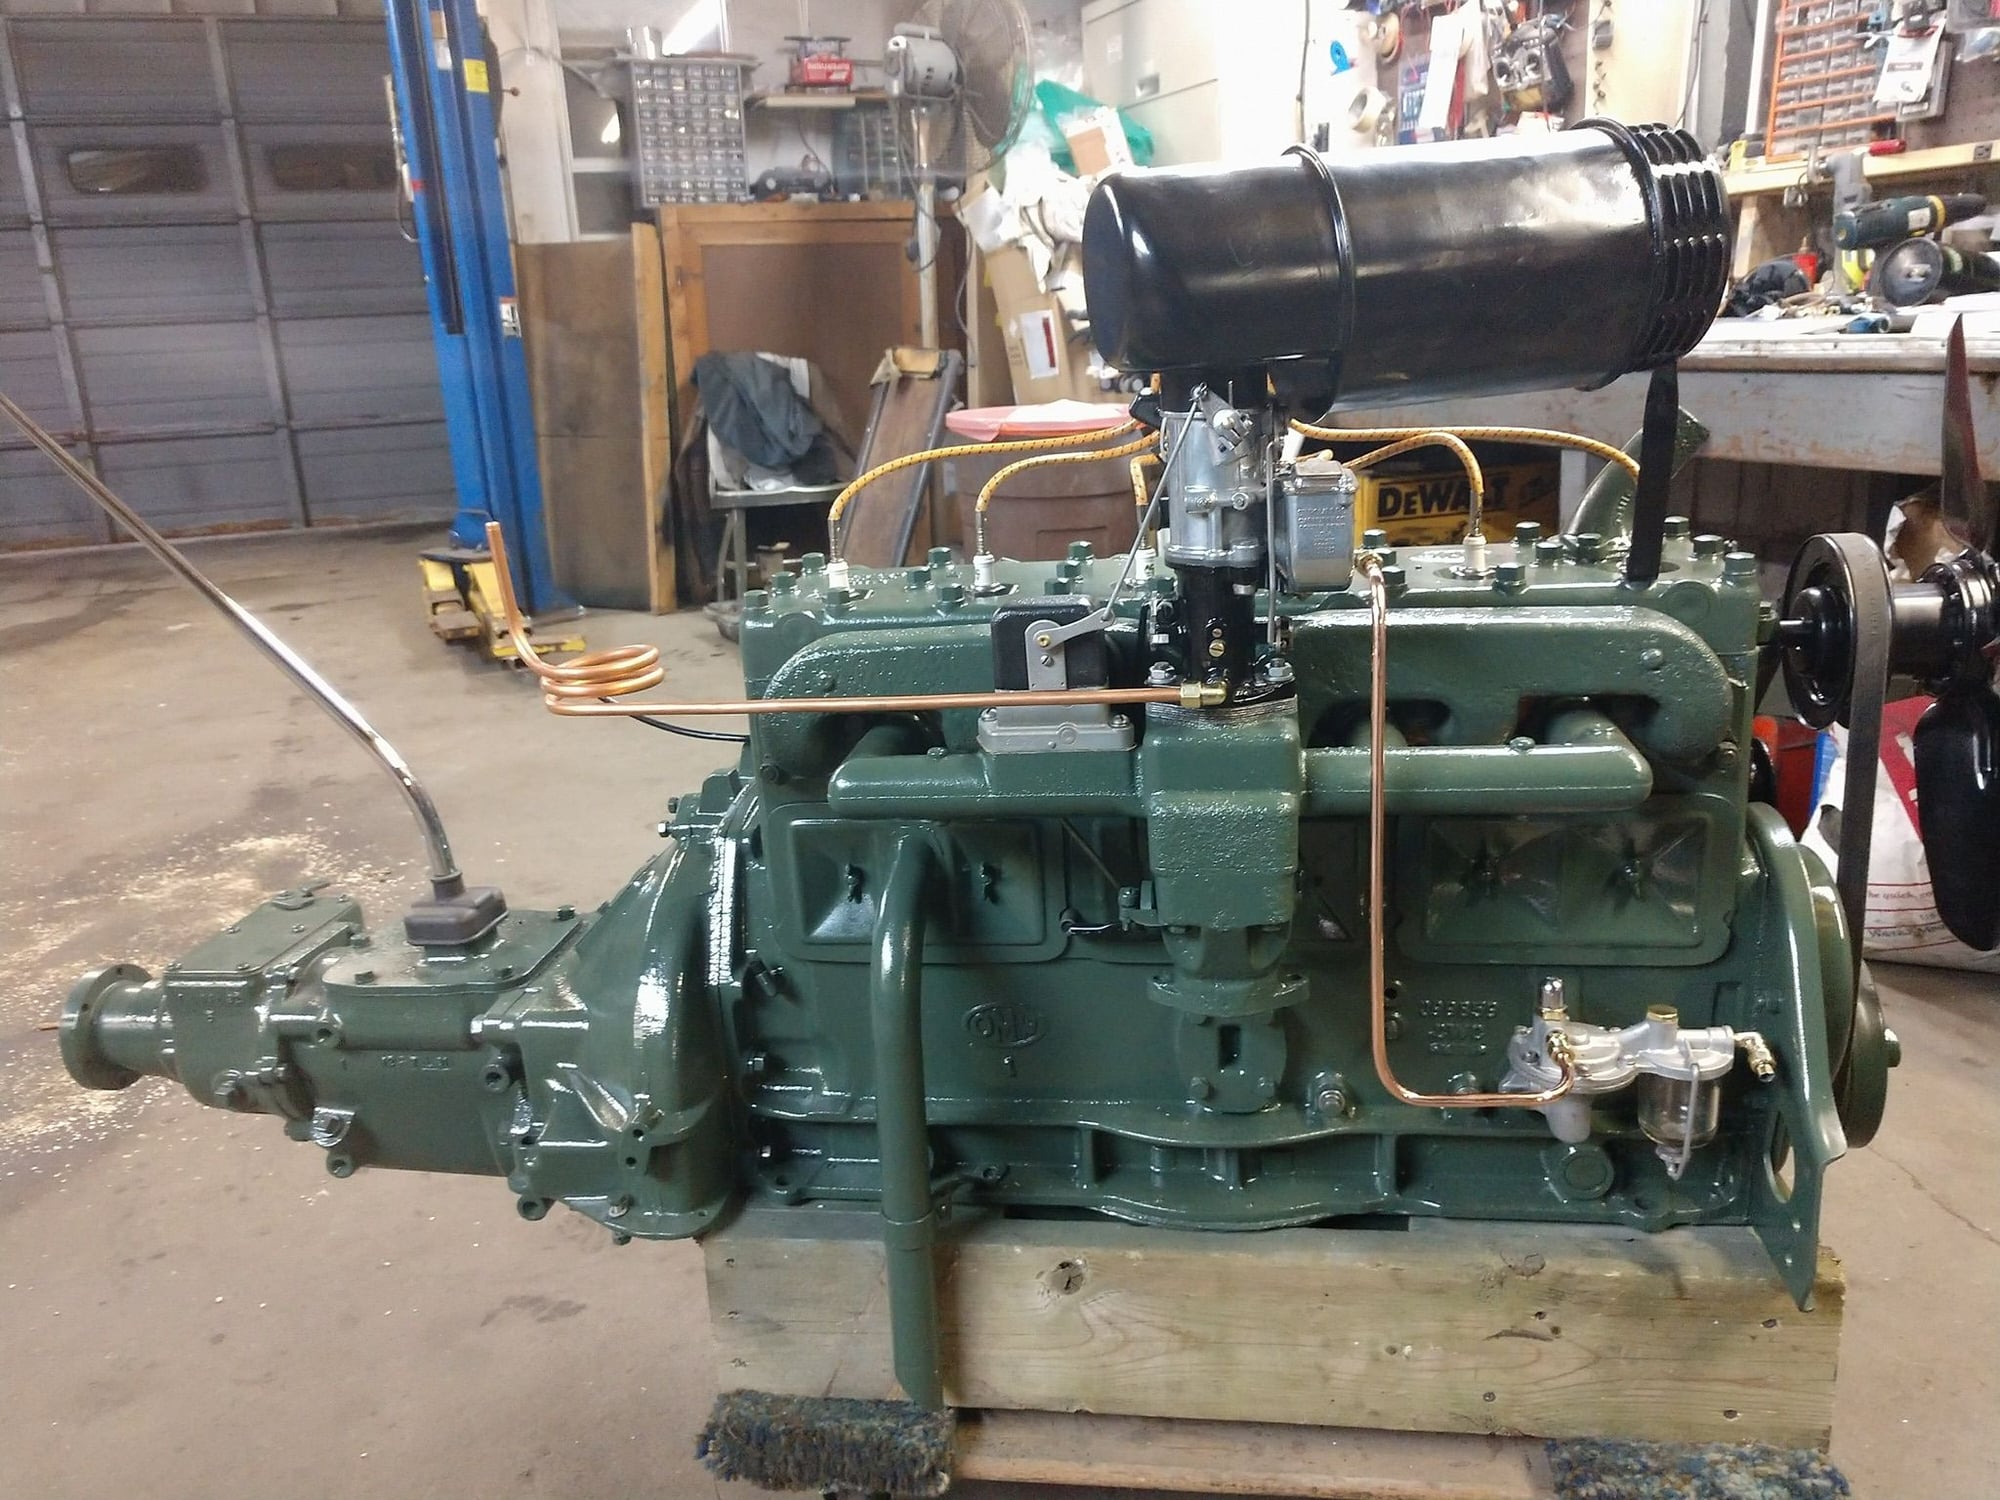
Motor completely rebuilt and components restored.
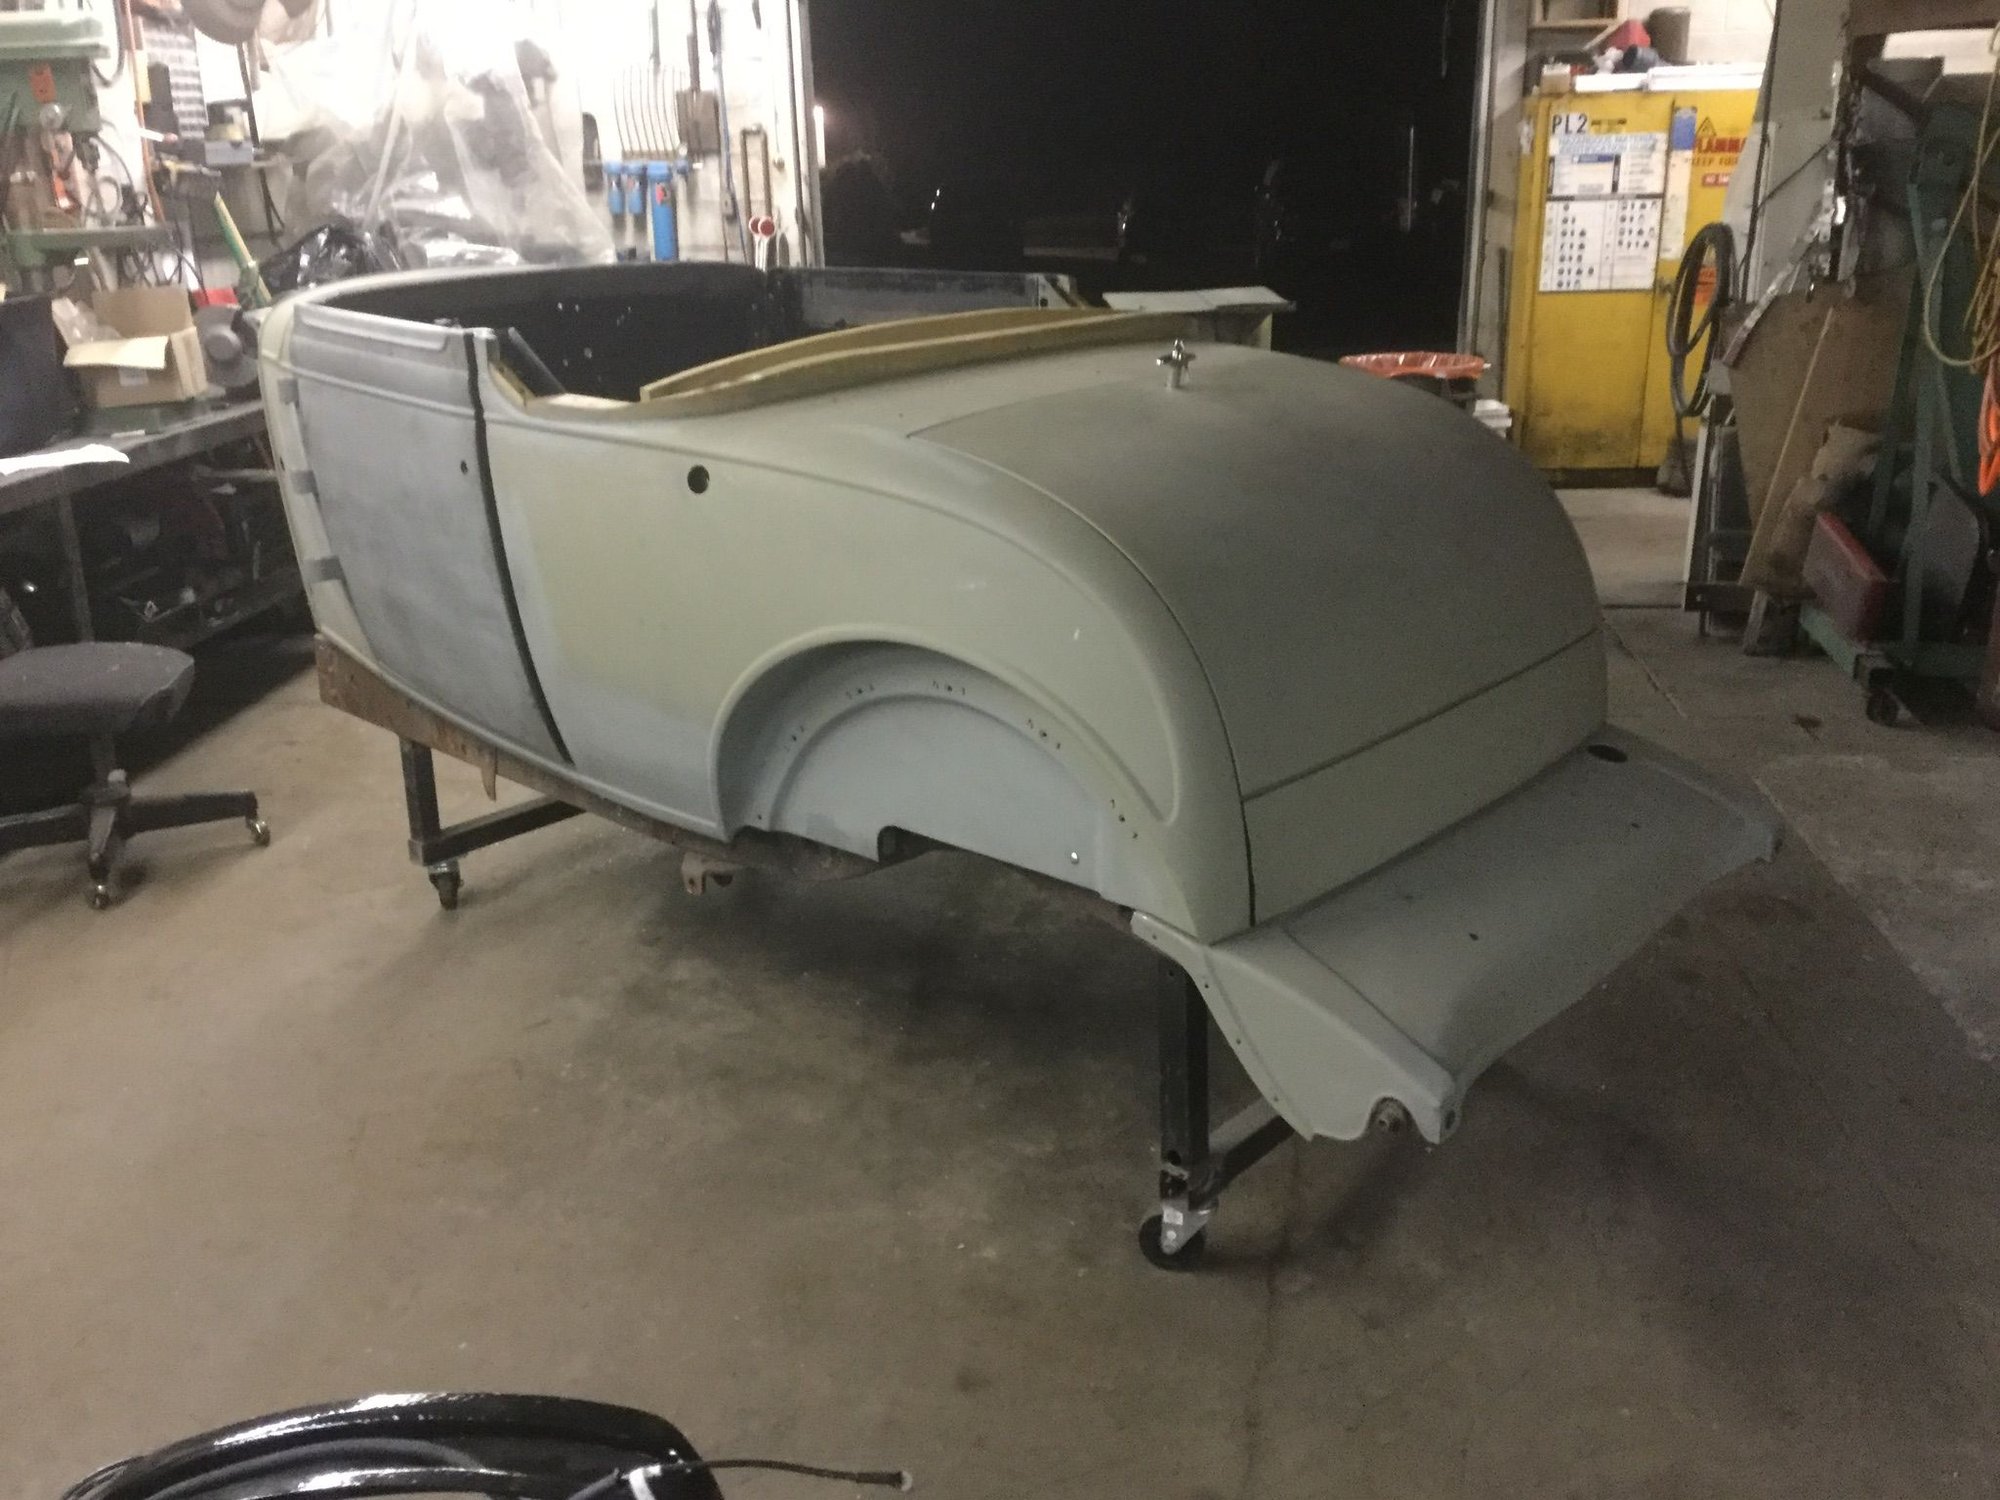
Body all redone and sent to paint.
Guess I also should have mentioned that the Olds is coming along well and I�ve worked on about 6 other cars during the last couple years. As I thought, I would have little time for my RC builds with the restoration hobby but I�m making it a point to work on my planes as I need a little break from the car work.
06-21-2018, 02:24 AM
#83

I can relate Ted,, This has taken 18 months to get here,, a plane that years ago I'd have done in three weeks,, needs about 4 more hours of assembly, but I just can't get the desire to finish her off,,, I'll probably get to it 3 days before the next FF
Good to see ya
Good to see ya
Last edited by scale only 4 me; 06-21-2018 at 02:27 AM.
 06-21-2018, 02:50 PM
#85
Thread Starter
She’s a beauty Tom. There’s so much stuff that gets in the way as you get older! I thought it was supposed to become less but things that you work all your life for like more vacation time accrued turns into more vacation time taken as just one example. It’s like, OK, you’ve got the time, now you need to find place to go and use up that time. Now I know there’s lots of people who would never consider the vacation thing a problem or hassle( and I know I’m lucky to even be able to take a vacation) but it seems when you’re older and can go nicer places, it’s no longer as easy as hooking up a camp trailer and going a couple hours away for the weekend. You want to see this or go to different places and everything now has to be coordinated and all that takes a ton of time.
This is why I’m scaling back other hobbies have that consume TONS of my time. Still going to be involved with the antique cars but will spend more time driving and showing the Olds than tearing others apart and restoring them. I’ve already turned down half a dozen cars because people have seen when I’m working on other people’s cars, I get a full restoration done in about 12-15 months where most others take 3-5 years for the same type of cars. Some owners are old and figure they don’t have those years left to waste. But, because I’m a one man show/ hobbyist restor, it’s turned into a huge amount of work for me to keep my time frames. The engine and paint shops alway put me back months on a restoration and have really soured me some. If I could get a motor or body back in a 3 month time frame I wouldn’t be so soured. I often wait 6-9 months on a motor and about the same on painting. I waste more time visiting and trying to coerce them to just get the work done. It’s mainly this reason why I’m stepping back to relax and build/fly again.
This is why I’m scaling back other hobbies have that consume TONS of my time. Still going to be involved with the antique cars but will spend more time driving and showing the Olds than tearing others apart and restoring them. I’ve already turned down half a dozen cars because people have seen when I’m working on other people’s cars, I get a full restoration done in about 12-15 months where most others take 3-5 years for the same type of cars. Some owners are old and figure they don’t have those years left to waste. But, because I’m a one man show/ hobbyist restor, it’s turned into a huge amount of work for me to keep my time frames. The engine and paint shops alway put me back months on a restoration and have really soured me some. If I could get a motor or body back in a 3 month time frame I wouldn’t be so soured. I often wait 6-9 months on a motor and about the same on painting. I waste more time visiting and trying to coerce them to just get the work done. It’s mainly this reason why I’m stepping back to relax and build/fly again.
07-23-2018, 04:12 PM
#86
Thread Starter
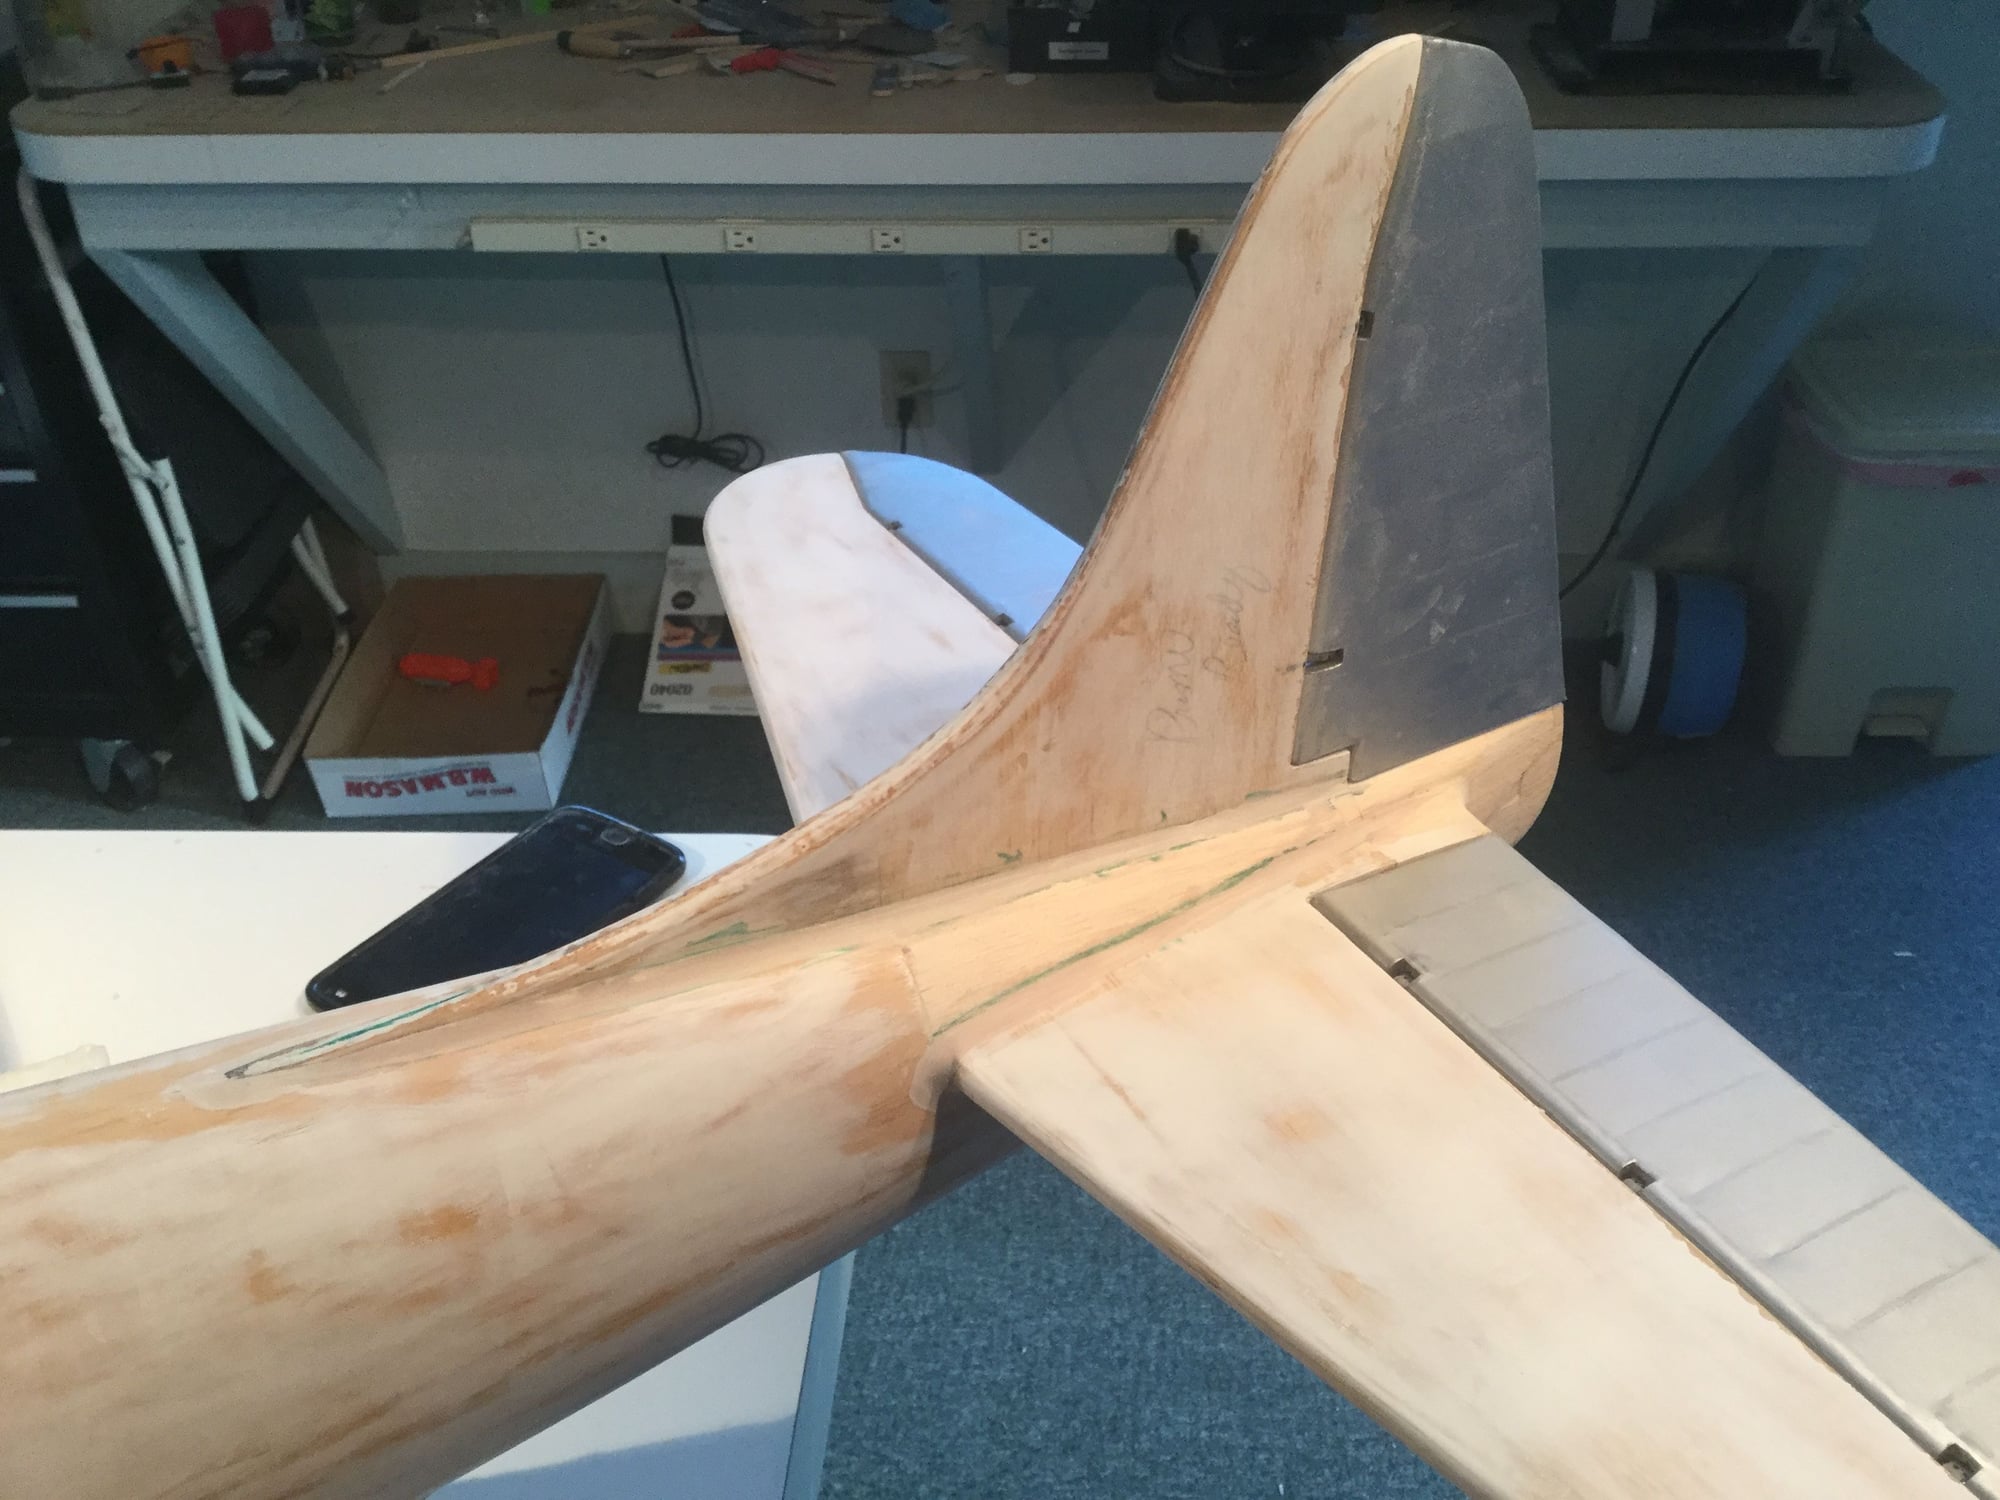
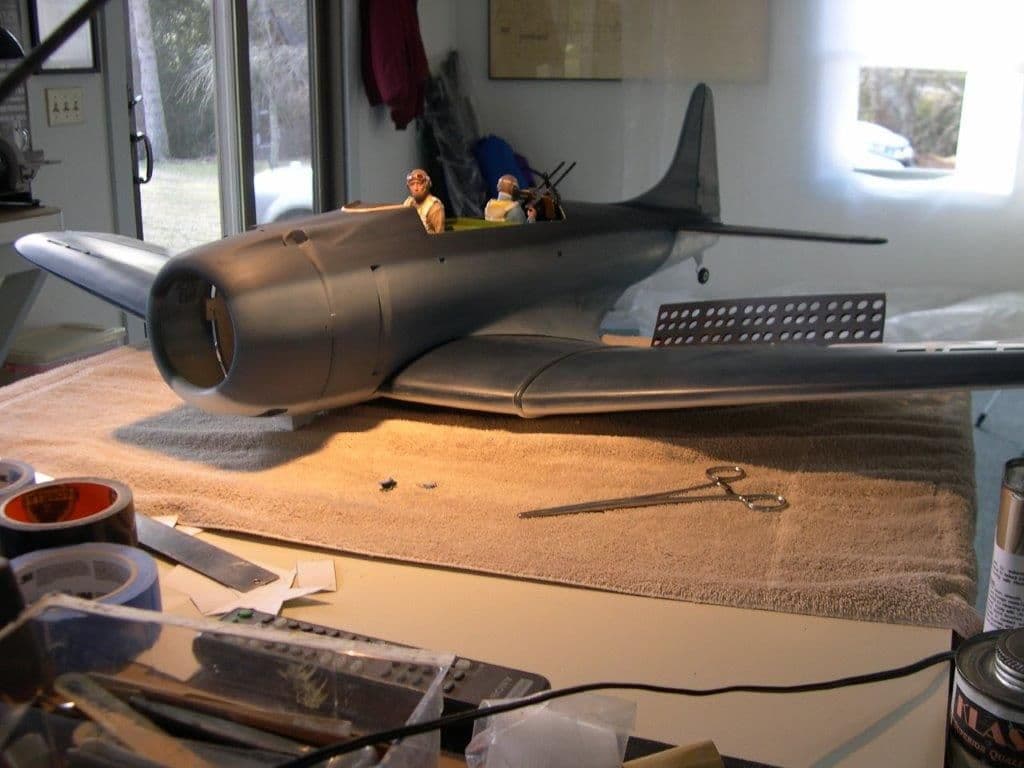
Glued in the balsa fillets then used bondo to round out the fillets.
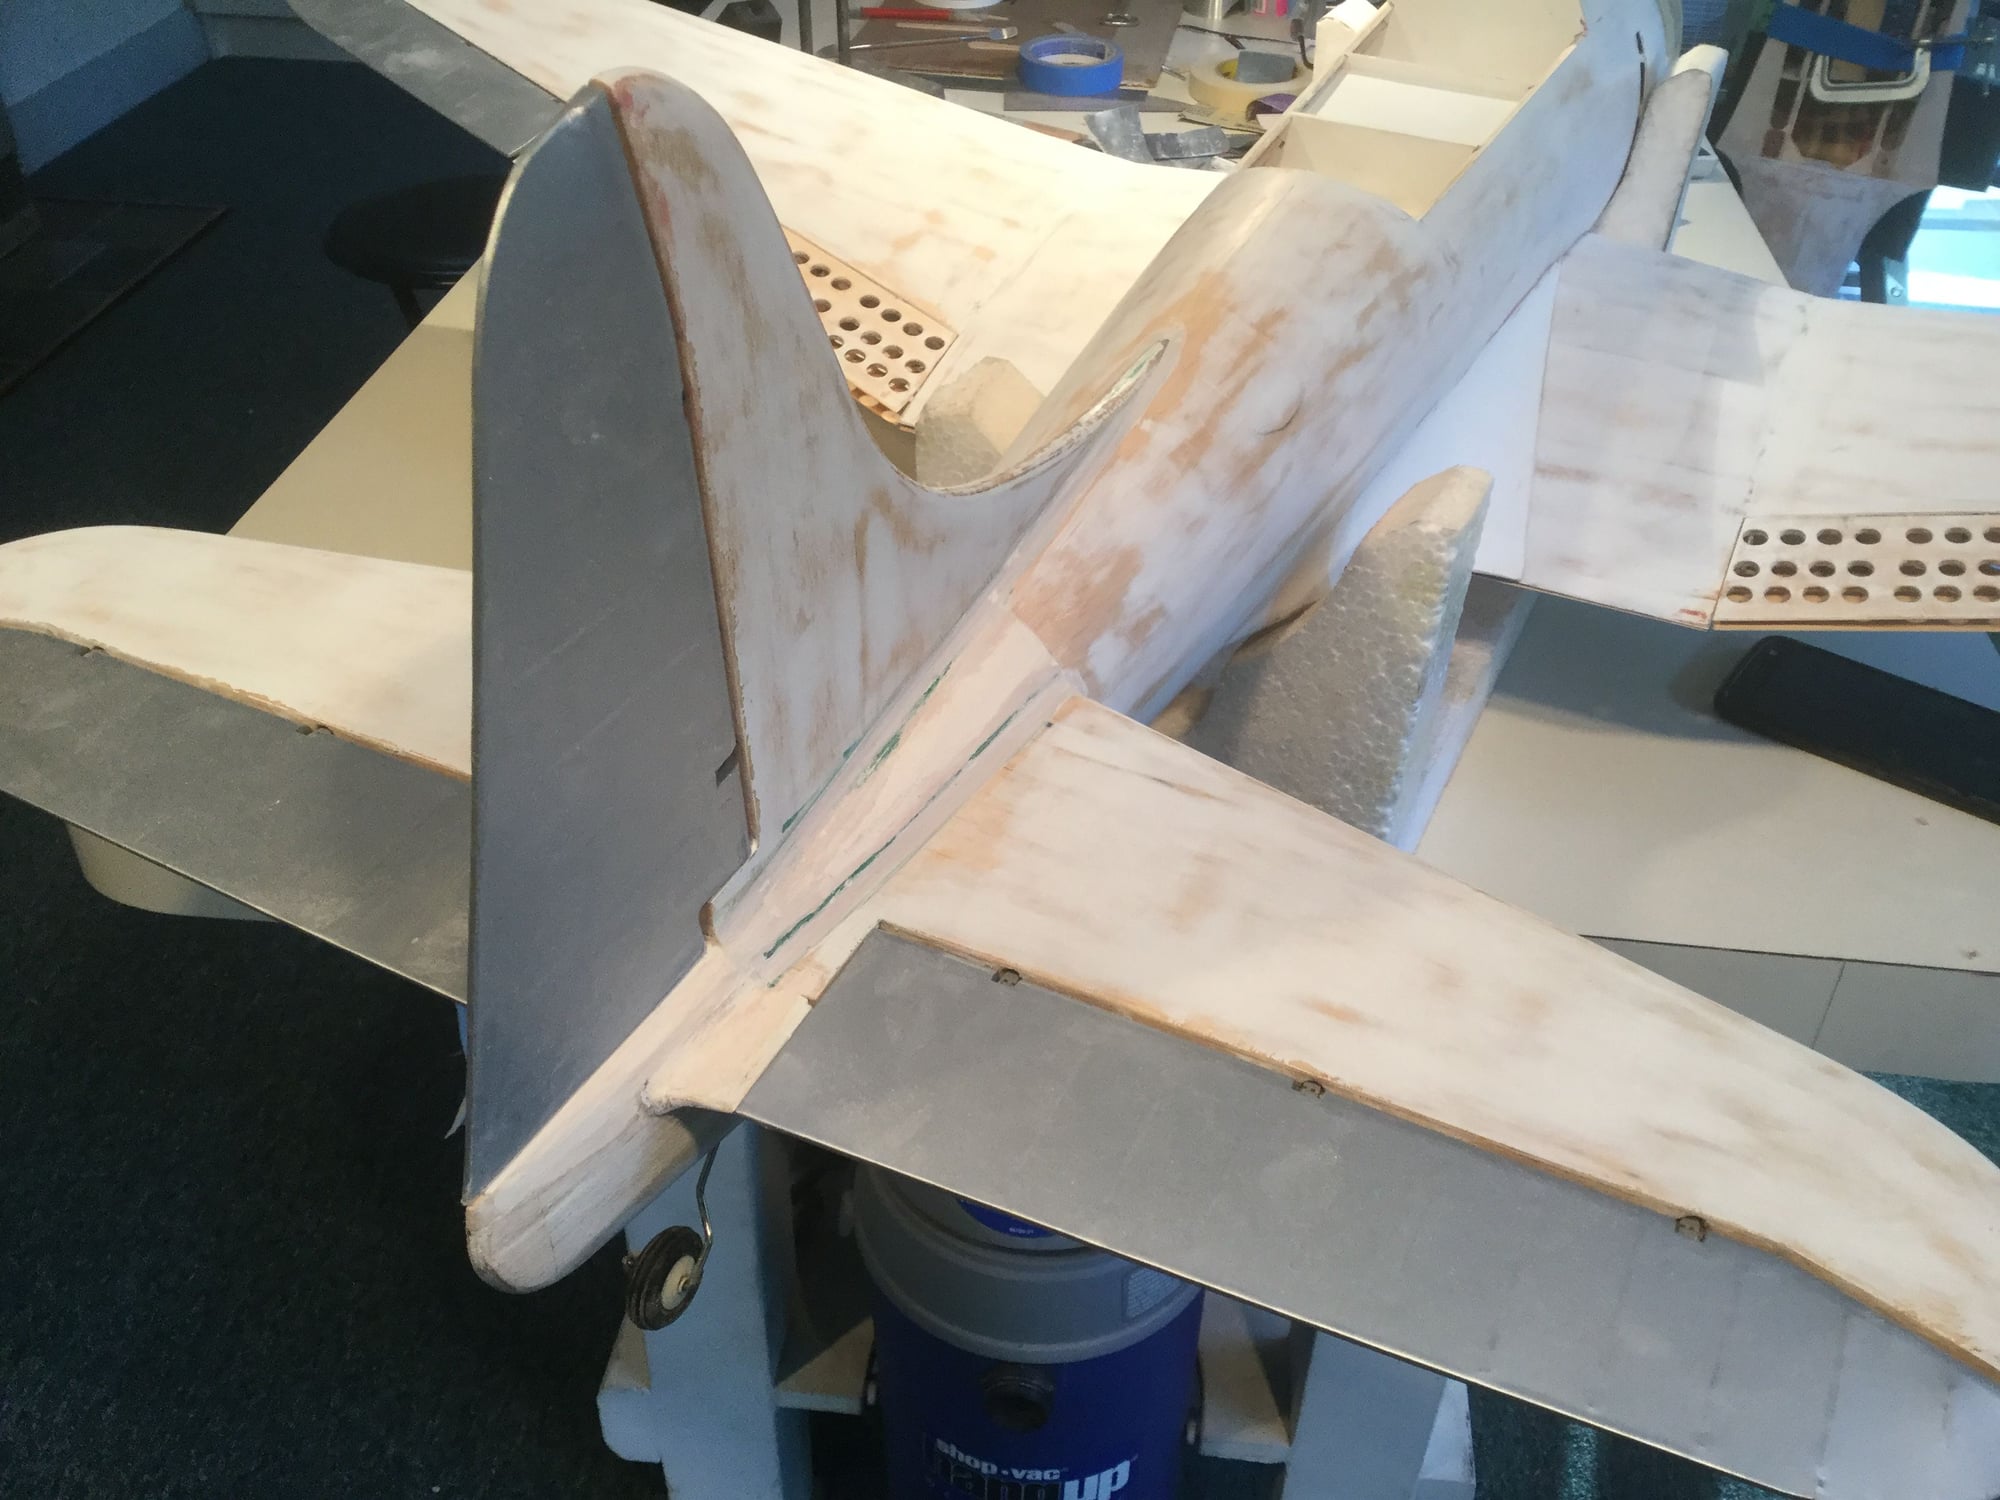
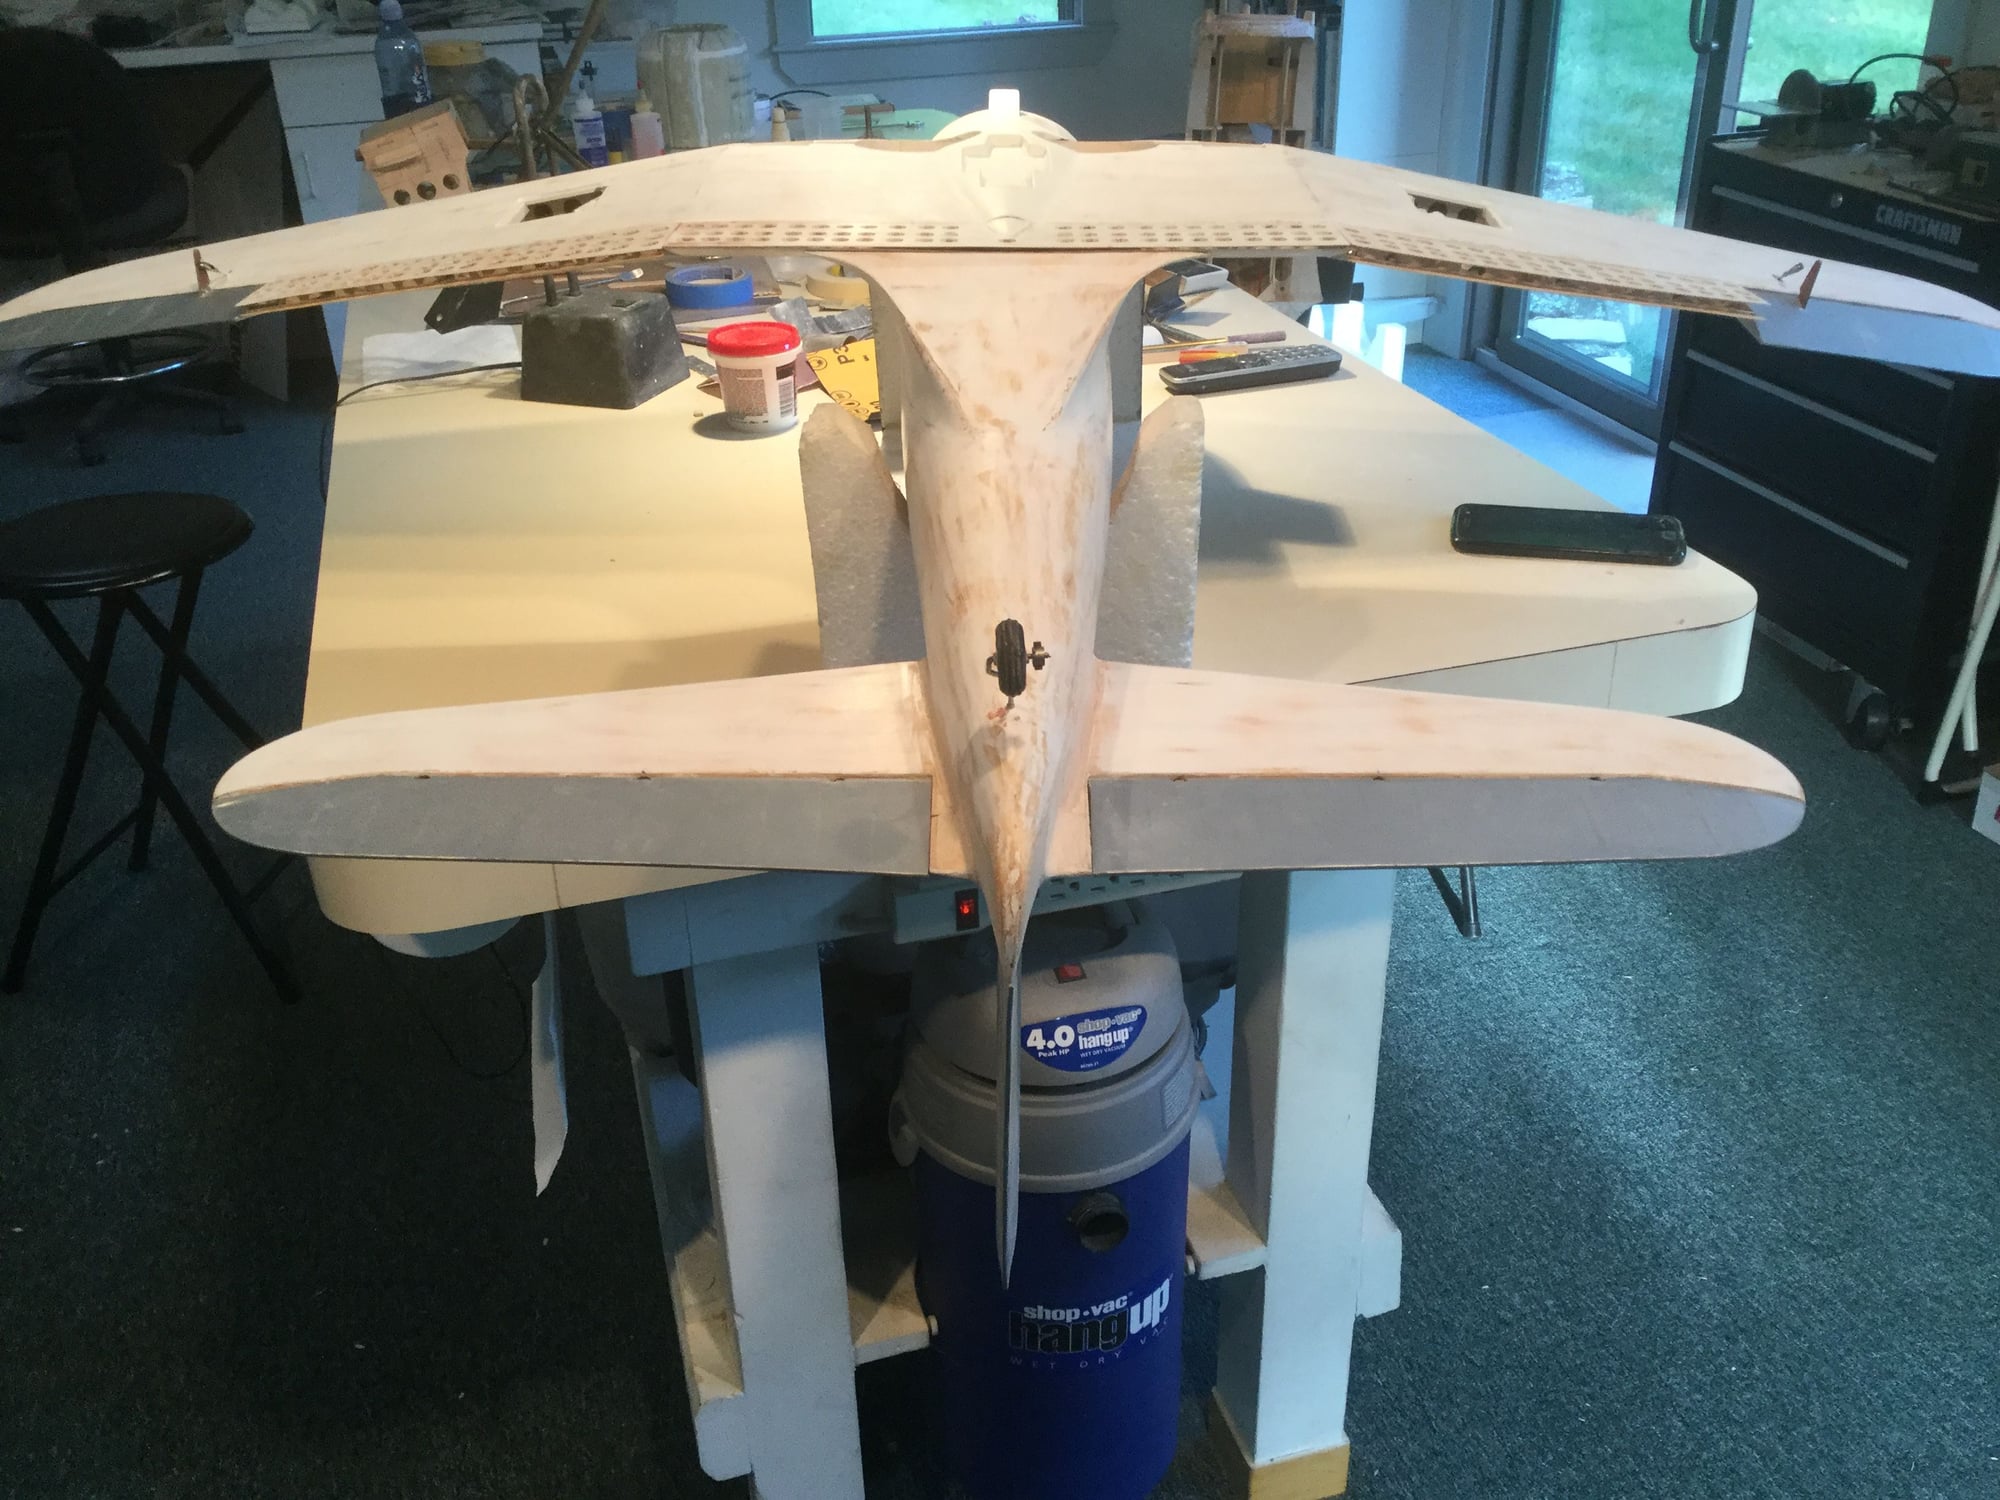
Sanded down both sides of the tail one for a nice flow of lines.

Rear view. Looks straight anyway! 😆
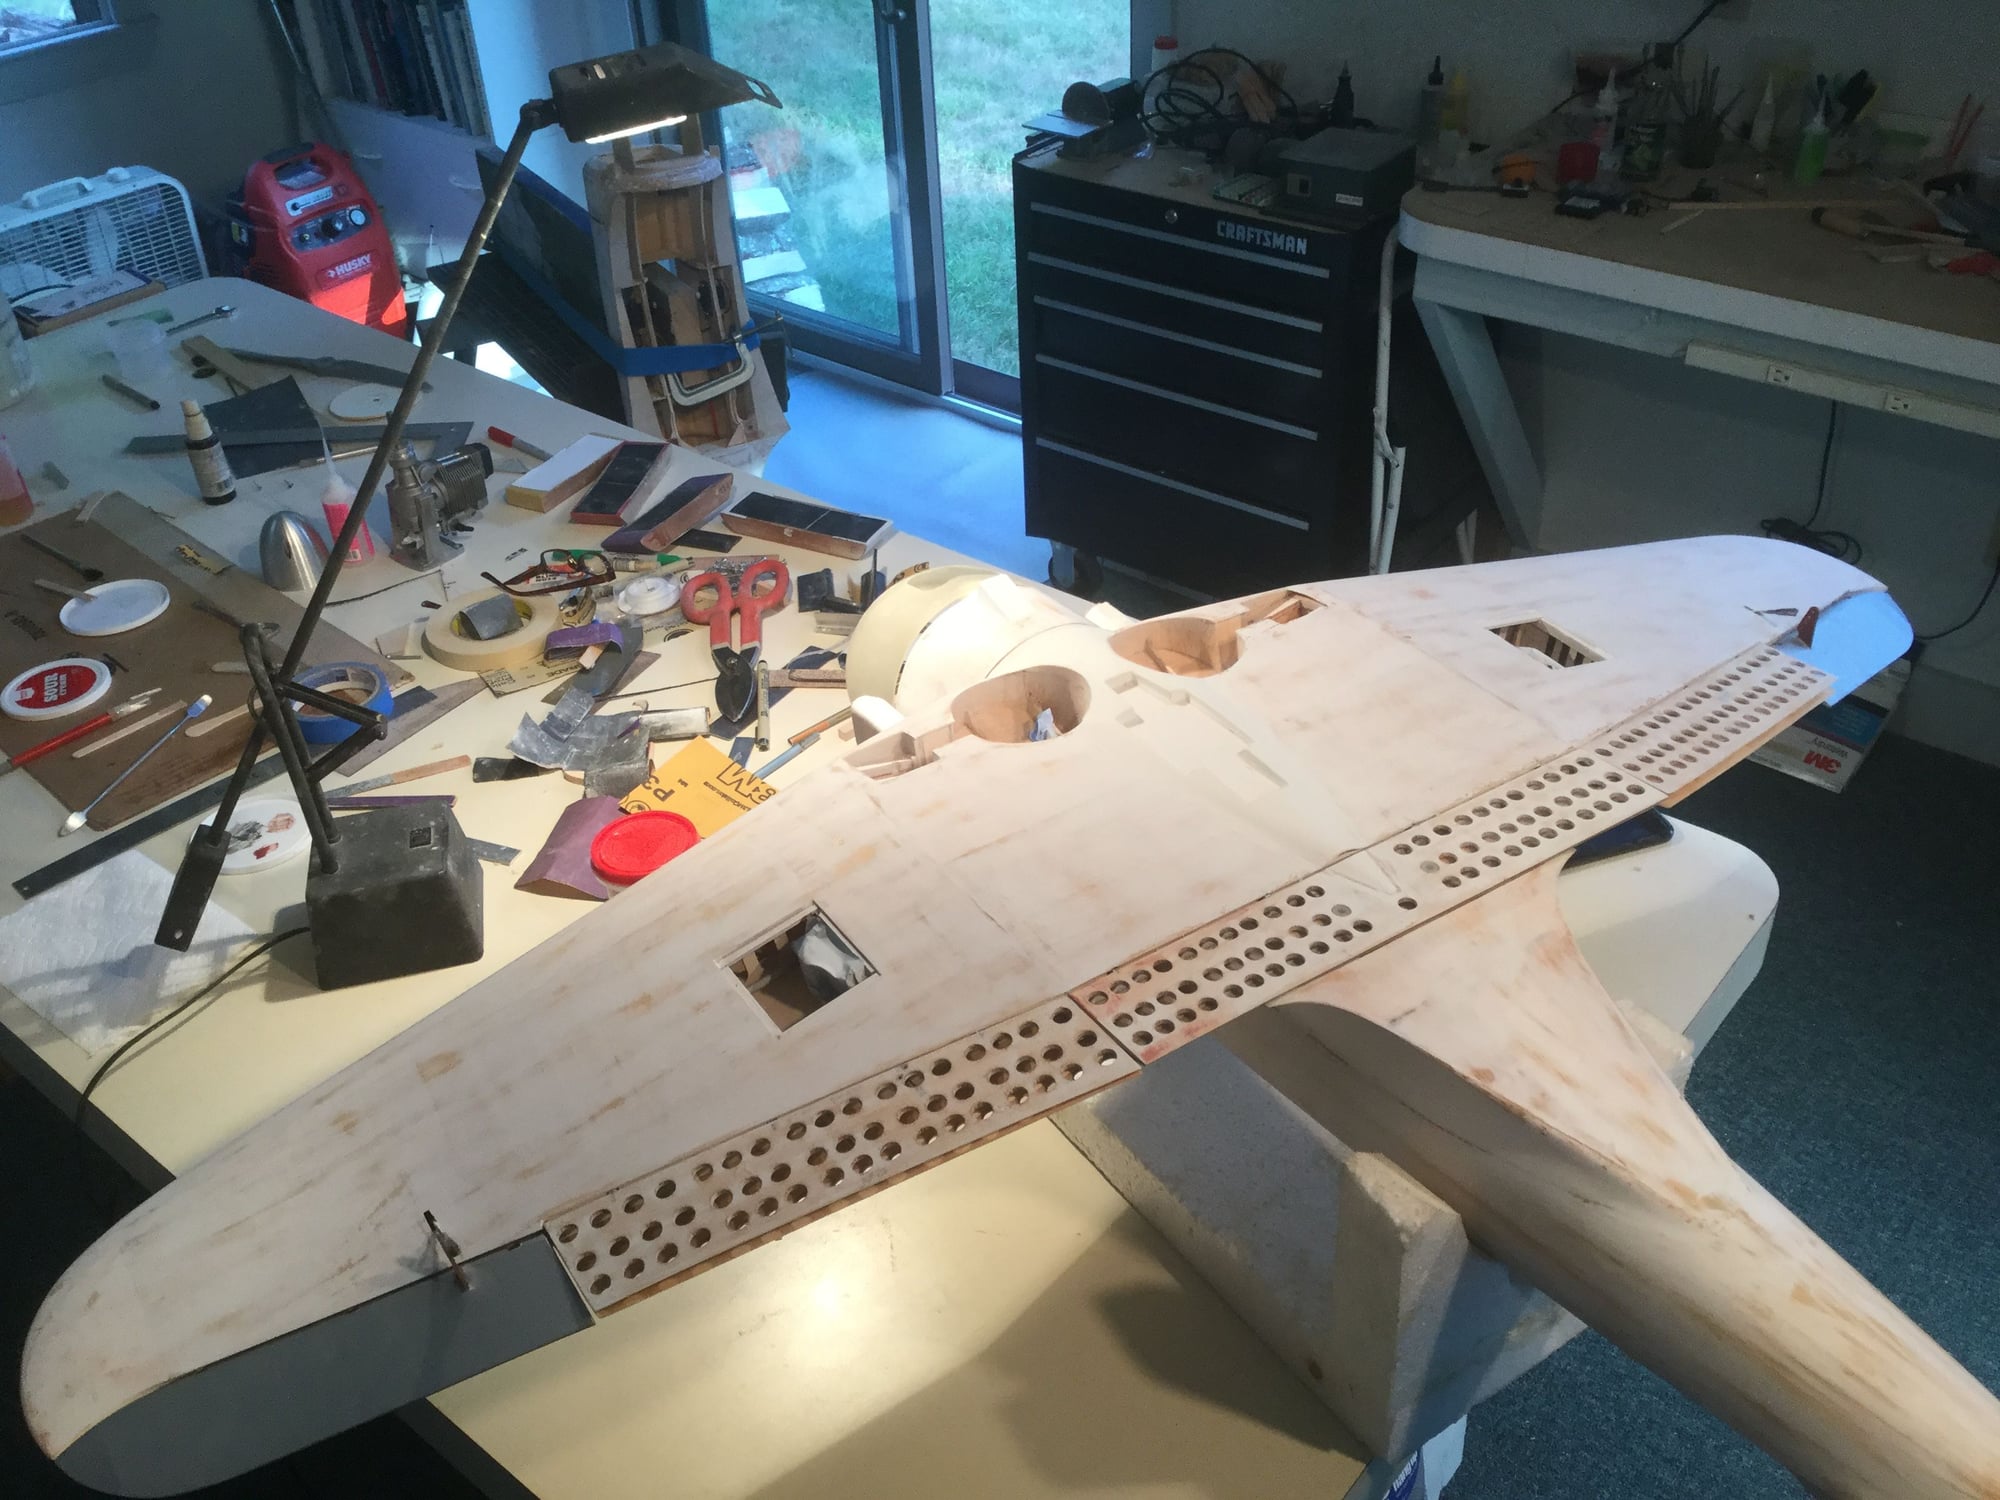
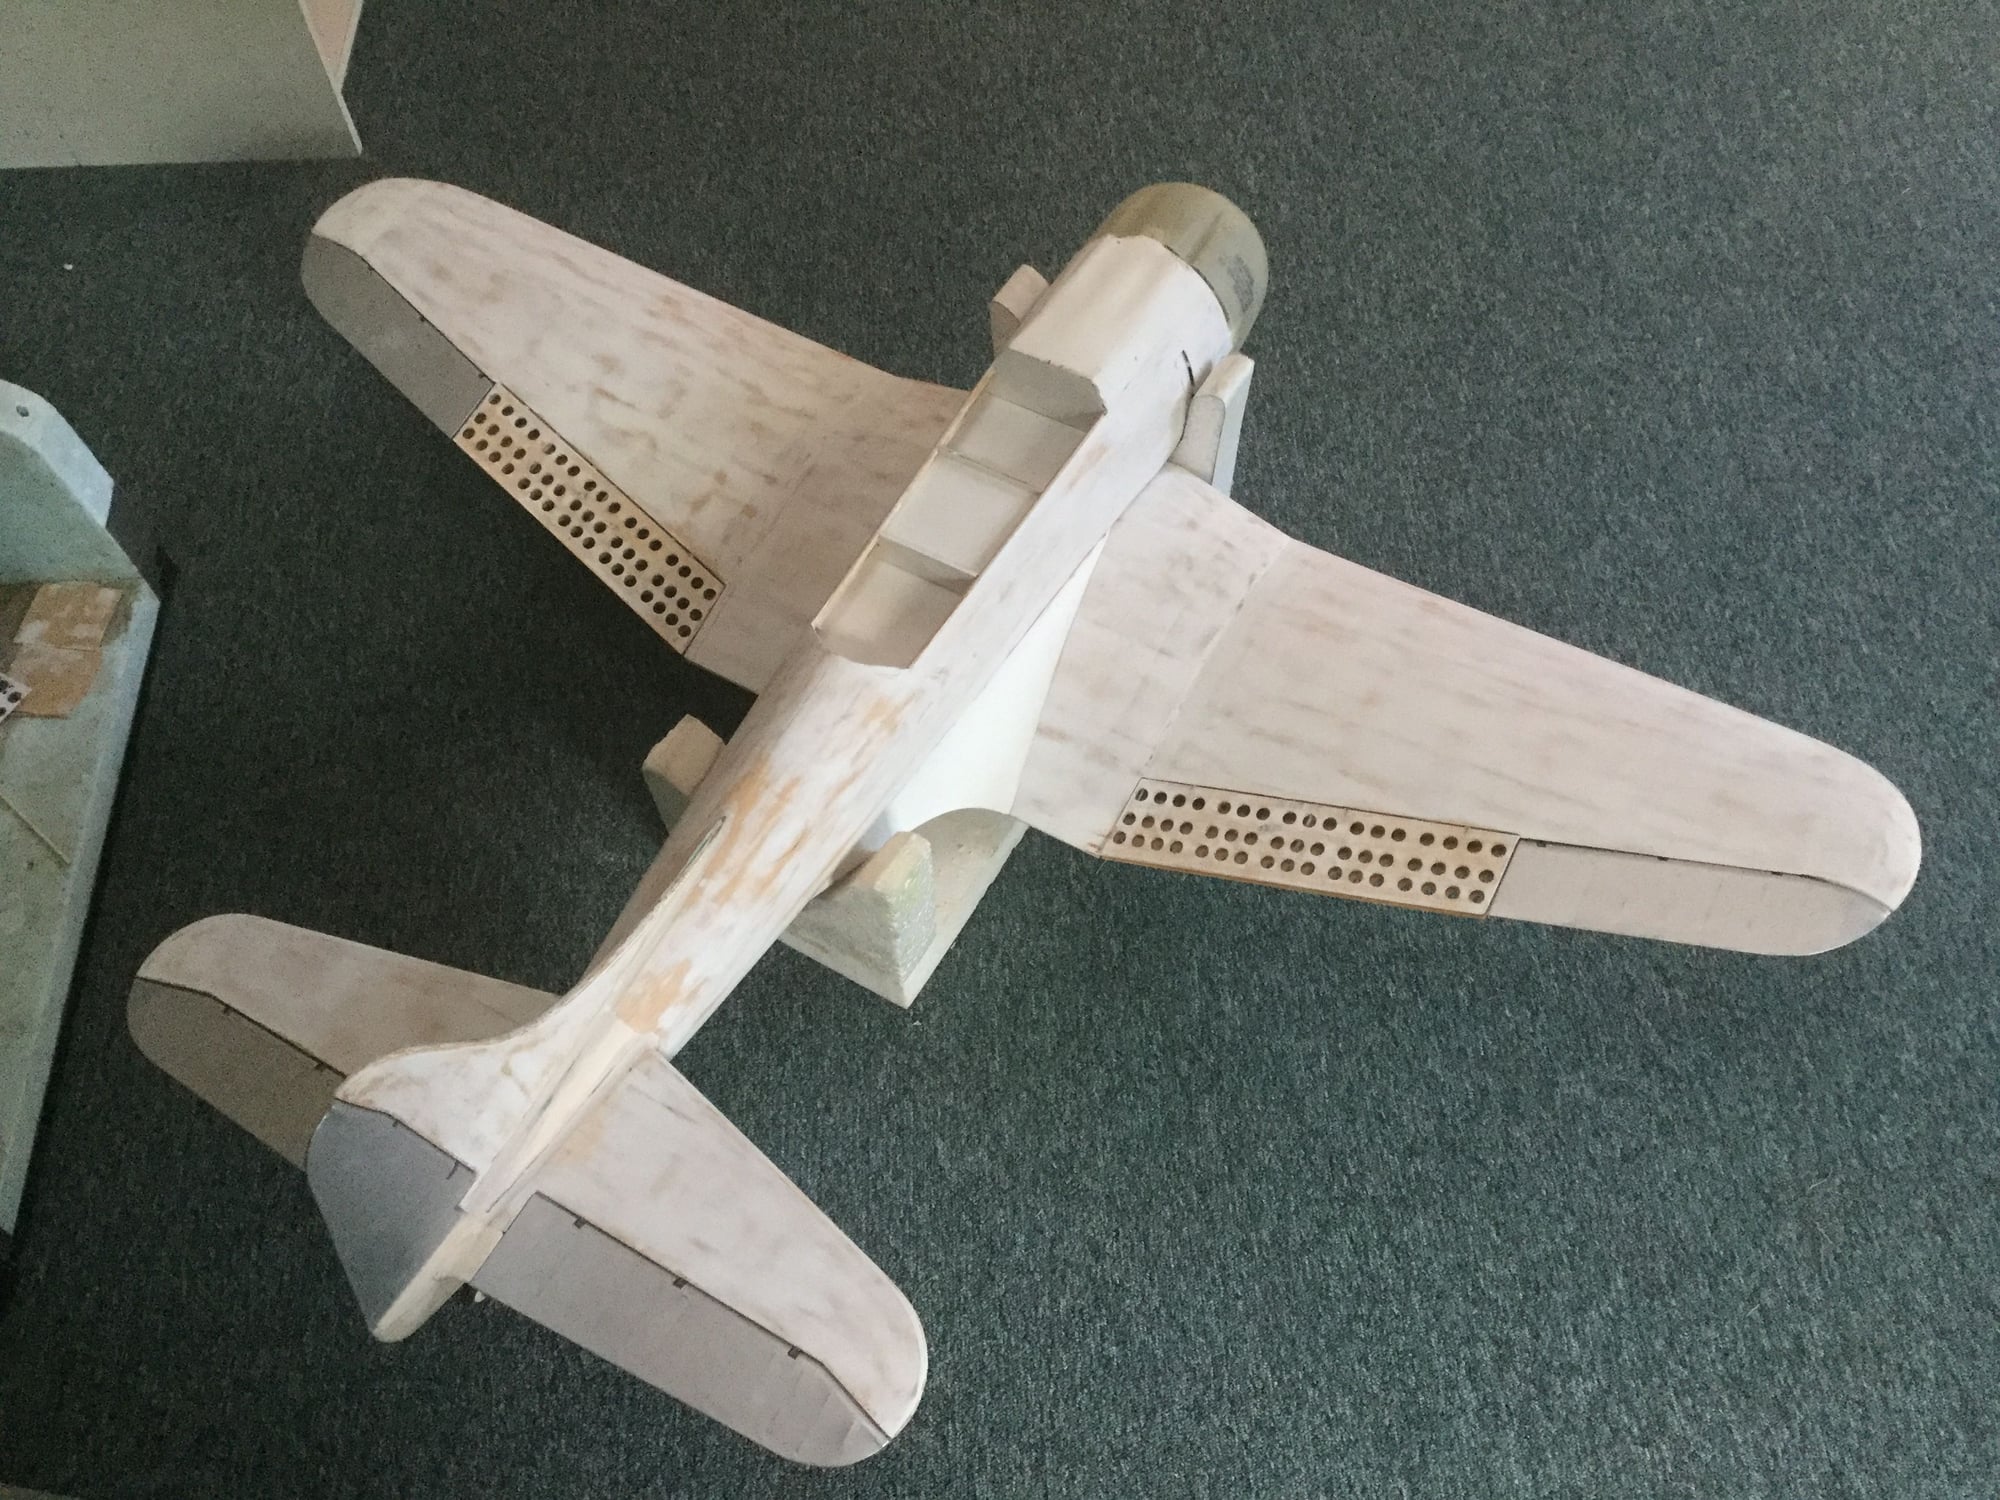
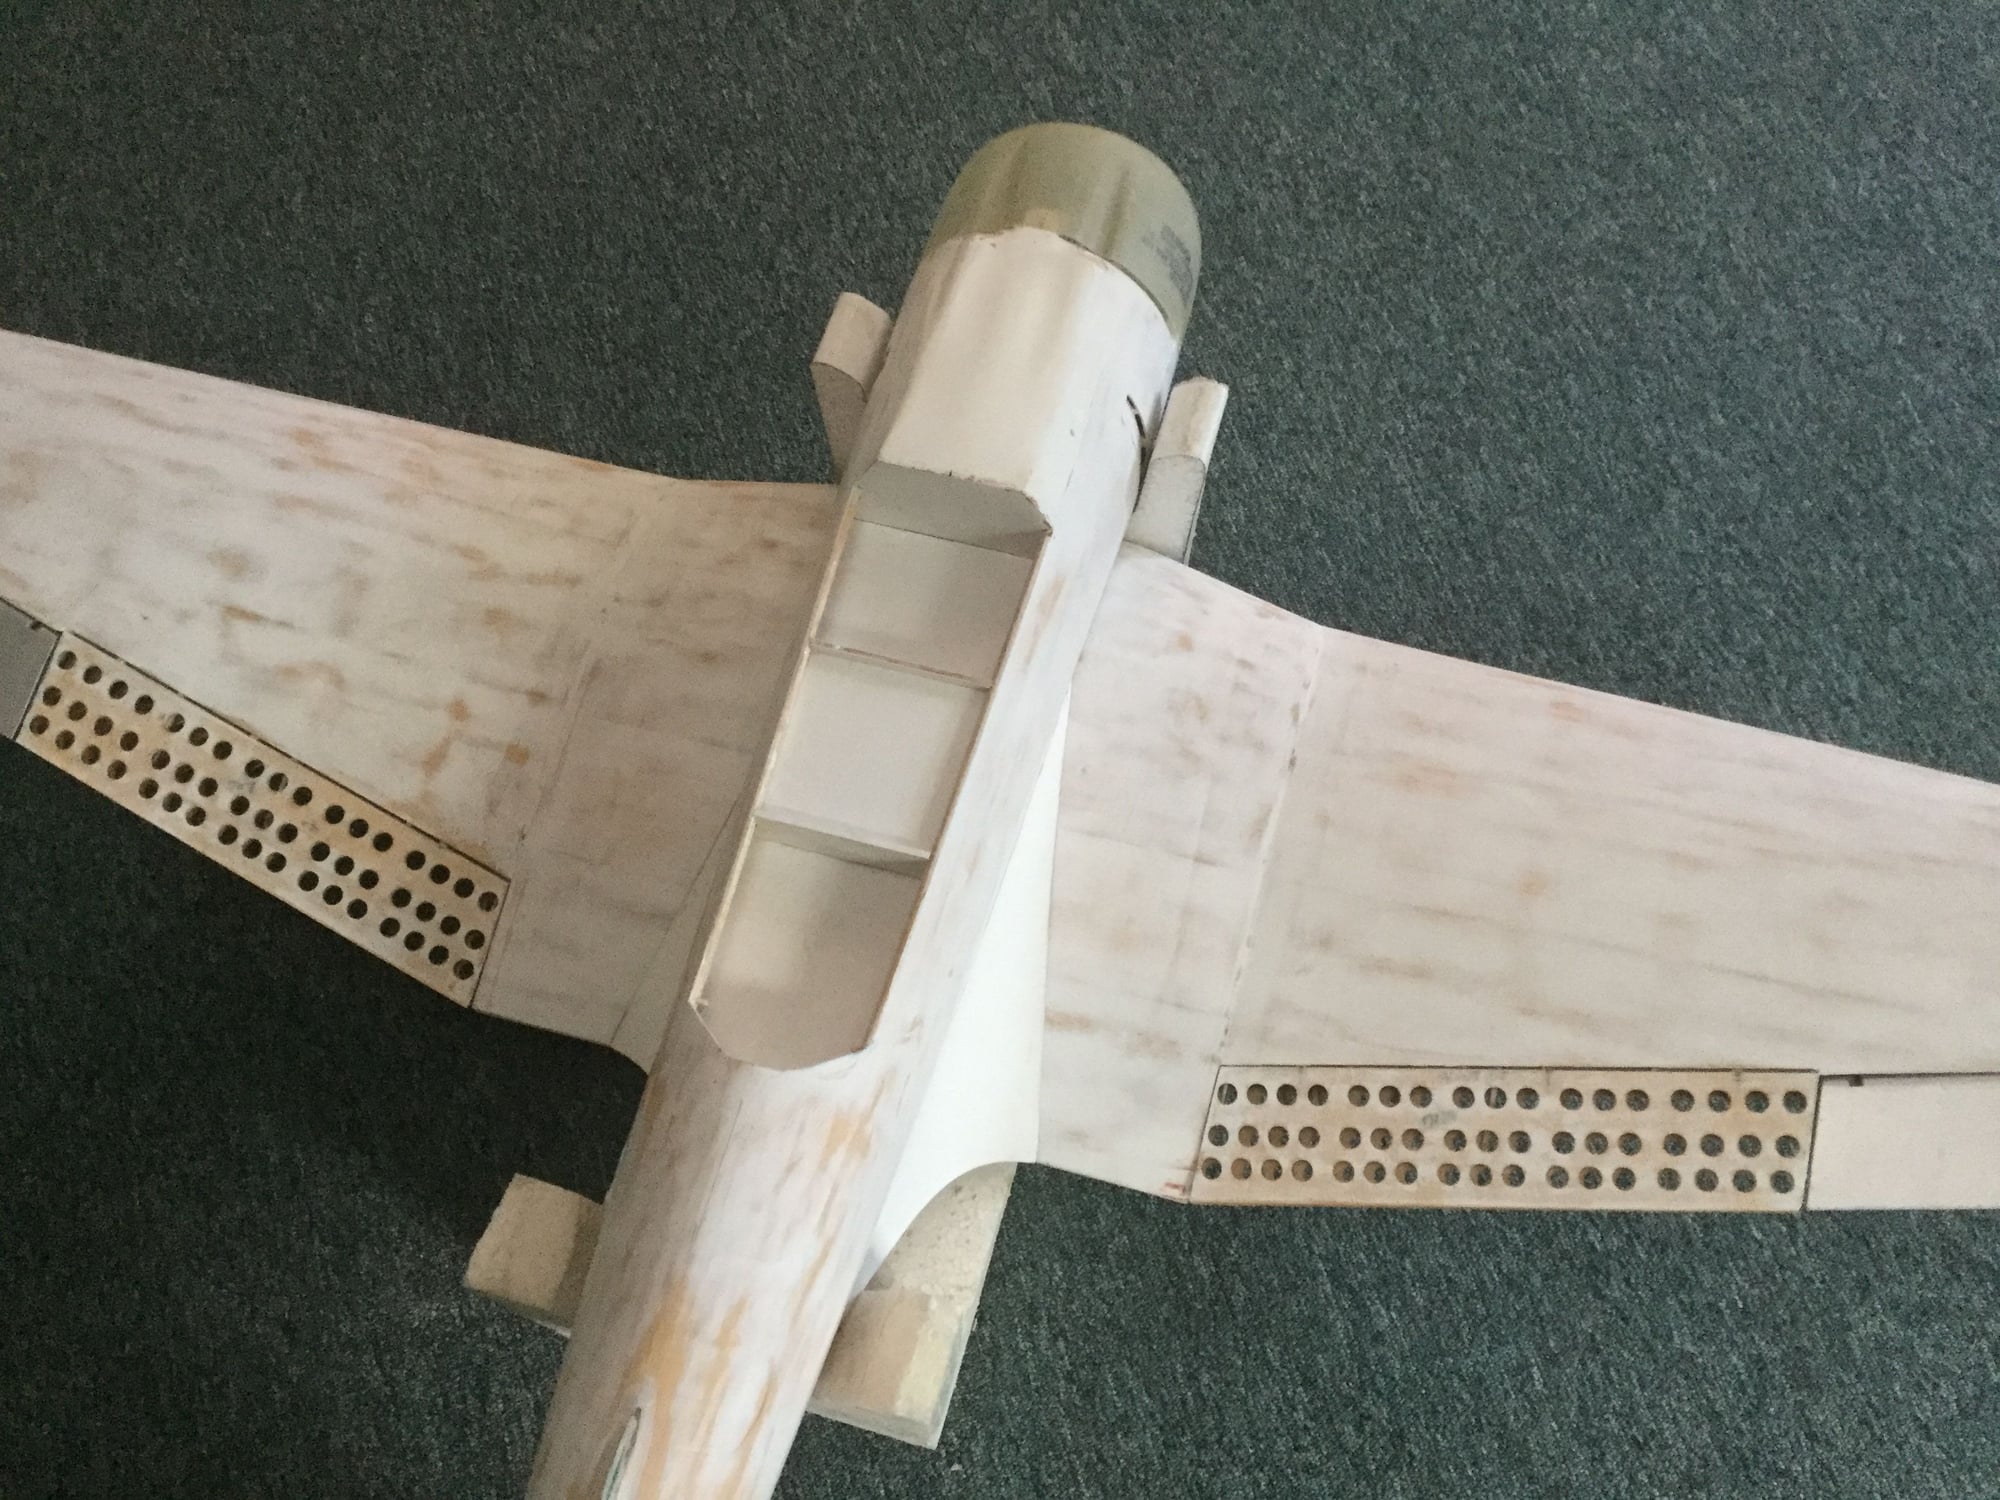
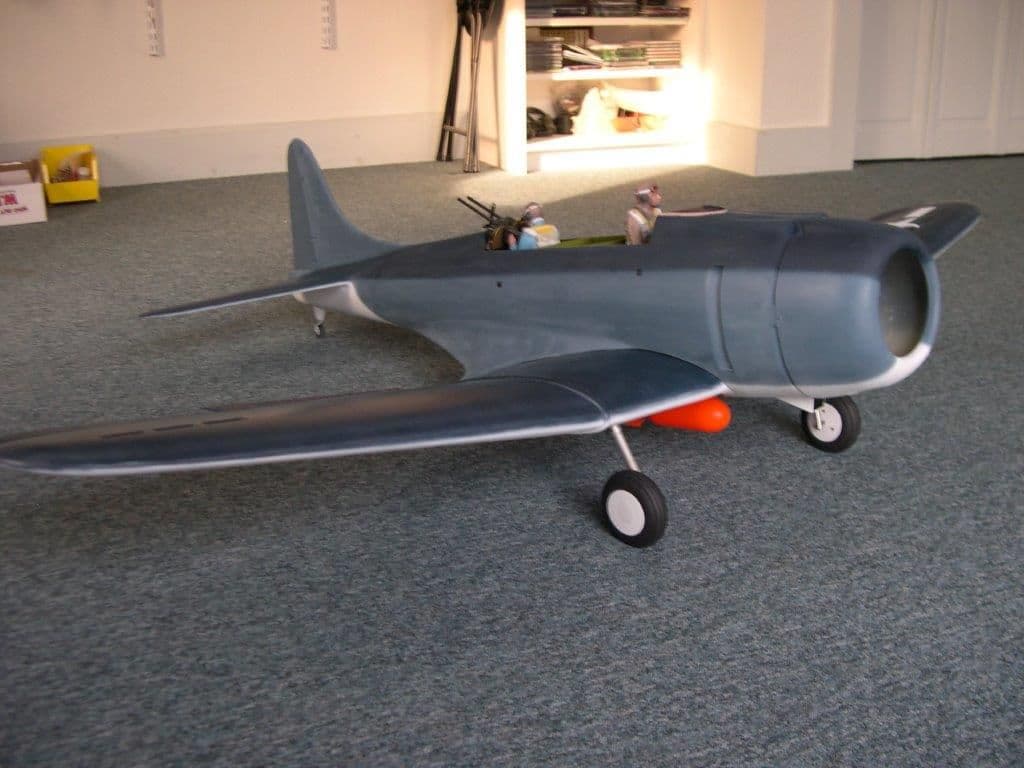
Bottom view. For a smaller plane there�s a lot of wing.
This picture just says Dauntless!
07-23-2018, 04:19 PM
#87
Thread Starter
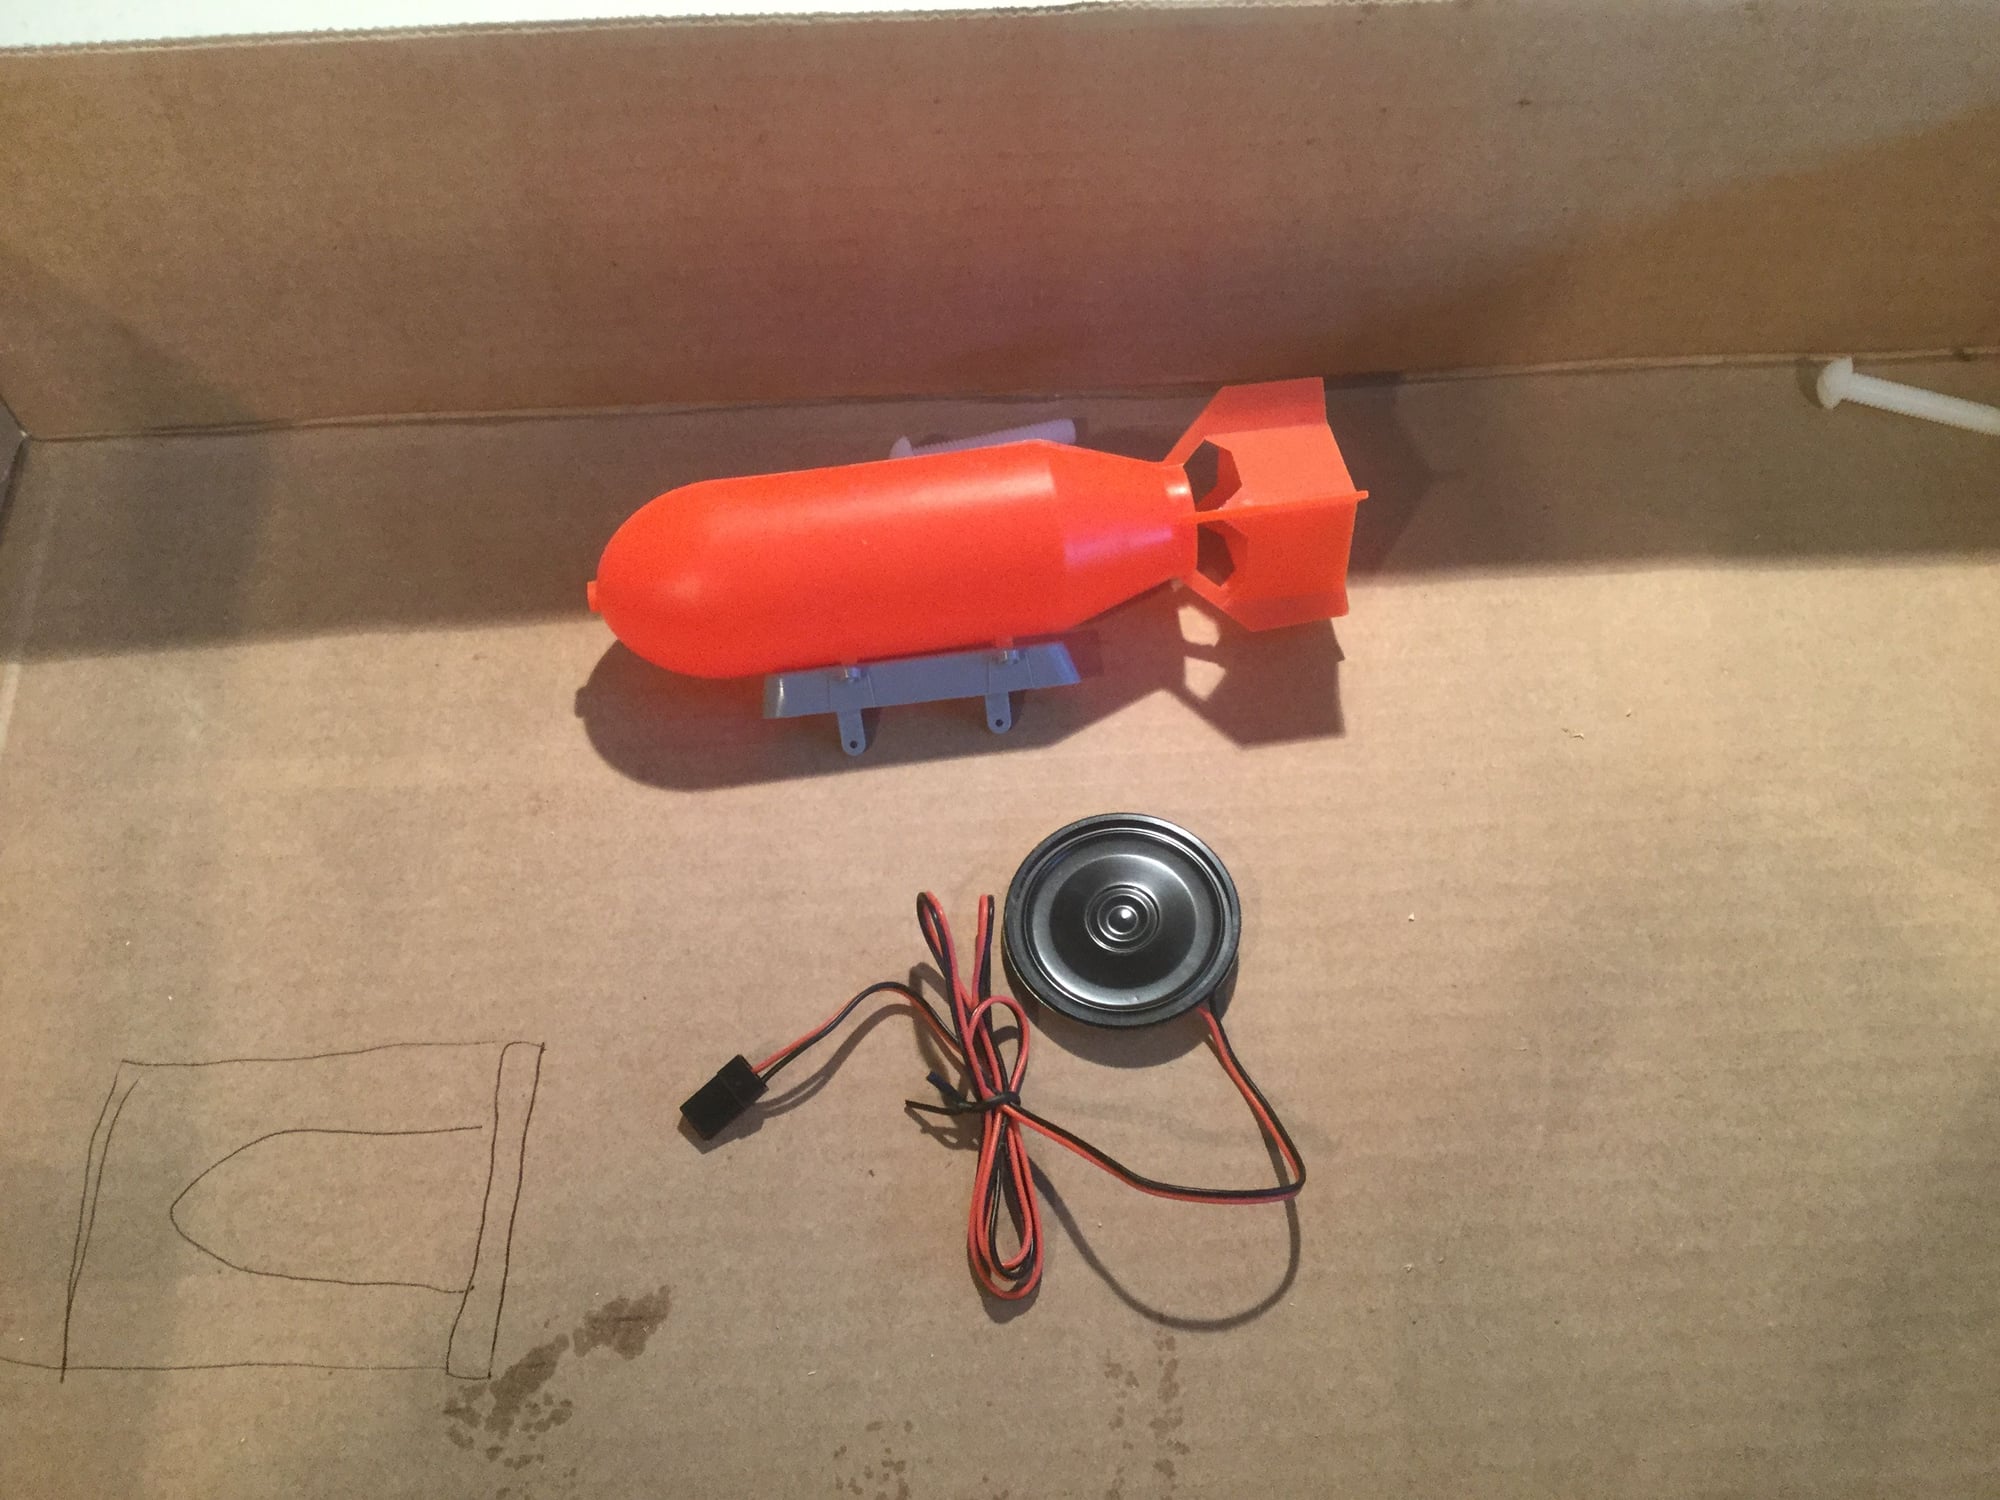
Few goodies for the girl. Bomb drop and machine gun sounds with flashing leds in the nose gun mounts.
Going to start on the cockpit and canopies right after the fresh work at the stab and fin gets glassed up then primed.
Bottom view. Amazing sometimes how we think things are good, then we look and realize we didn�t shape things quite right. Took a fair amount of bulbous balsa of the tail cone and this is how it looks now.
07-27-2018, 05:22 PM
#88
Thread Starter

Speaker and mechanism in place

Roughed out control rod inside a pivot tube
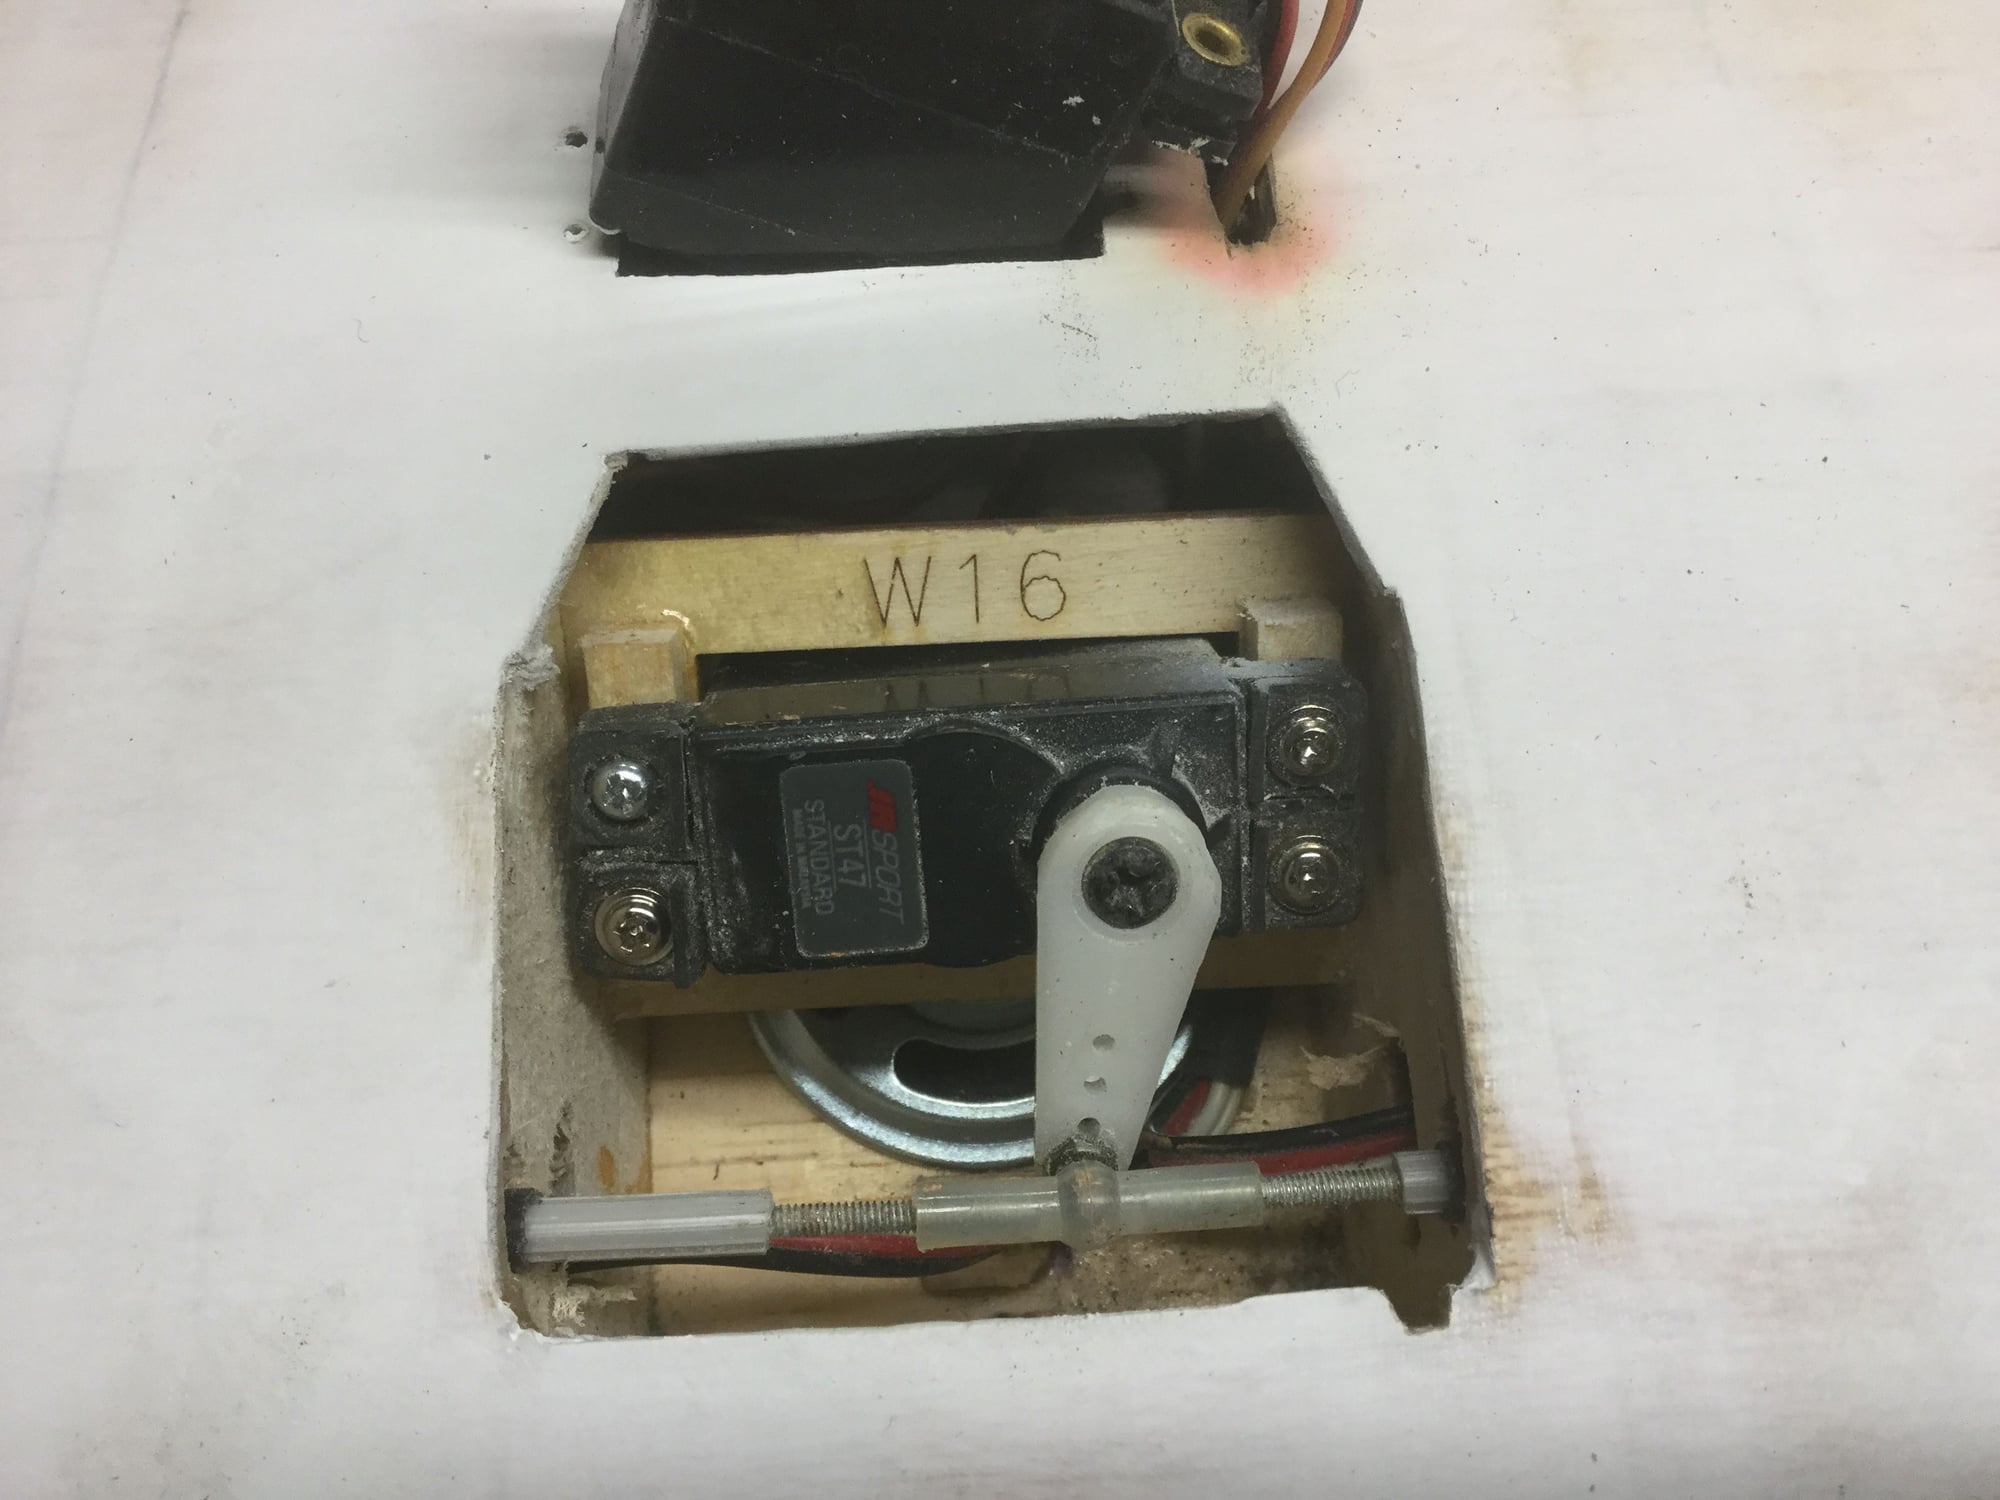
Aileron Servo with speaker underneath
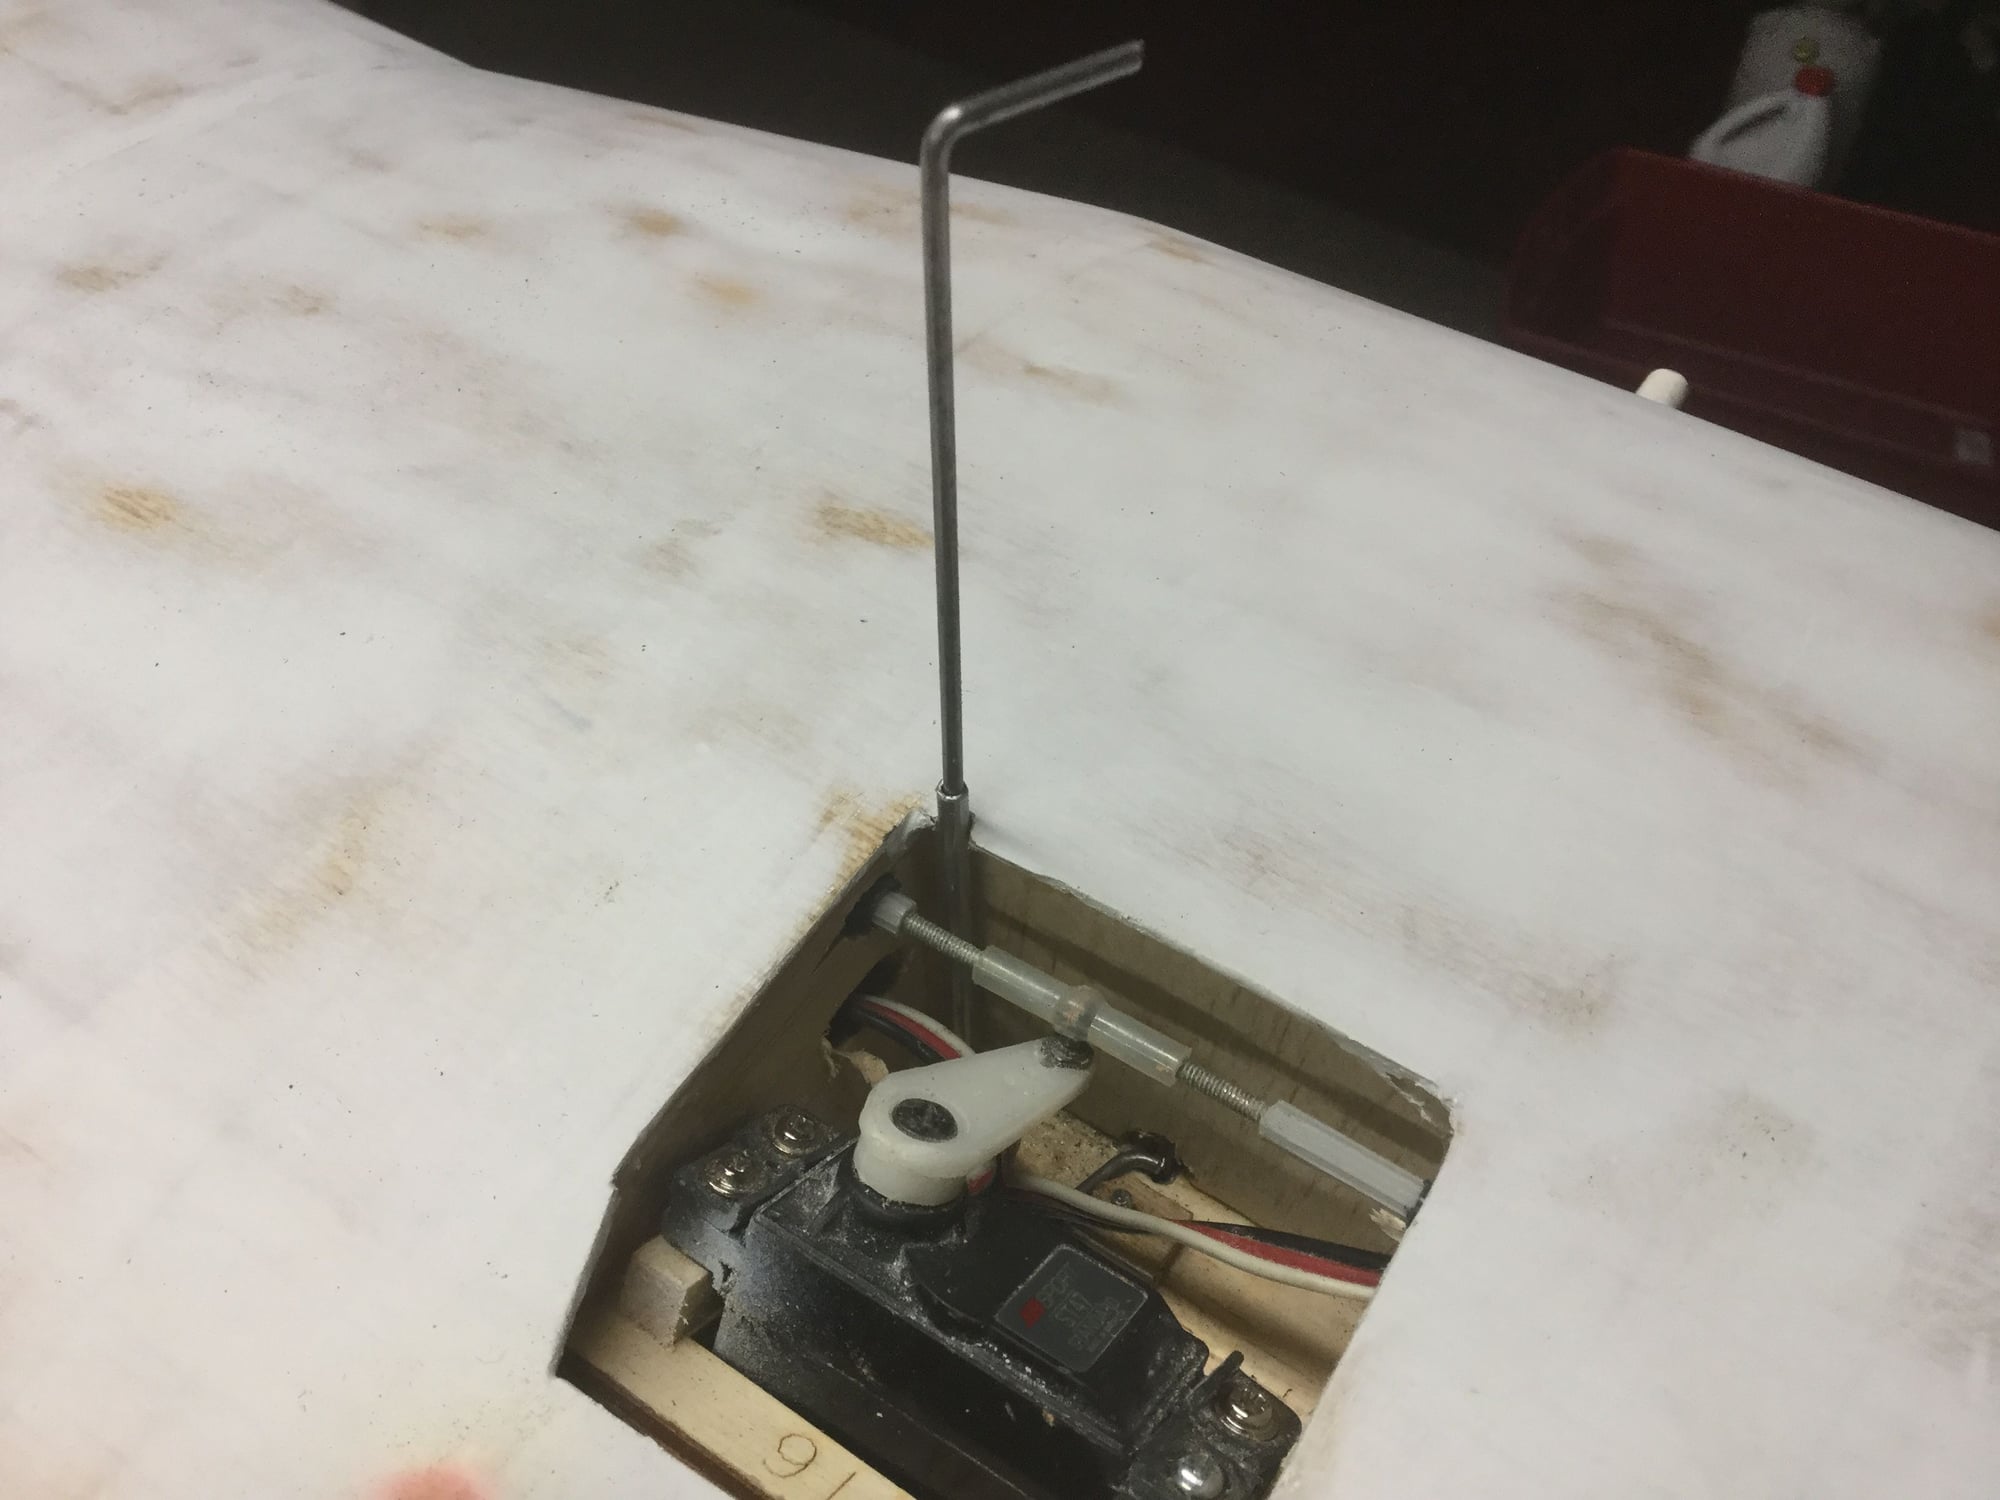
End of control rod in center of pic up against the release arm and rod coming up to top of wing
Close up up control rod
Bomb in place on release mechanism
Worked on sanding and resining the trailing edge flap area and the wheel wells to get it ready for the insignia white bottom paint. Cut the hole for the speaker and added an old Vortac bomb drop. There was no easy way to set up the servo for the mechanism so I made a captured control rod to push on the back of the release arm. Took a little thinking but it works perfectly.
07-29-2018, 05:54 PM
#89
Thread Starter
View from behind of the bomb drop servo with the control rod bent to contact servo arm
Front view

Overhead view of the servo with the bomb release control rod.

Tail section in Gerry�s makeshift spray booth getting ready for some primer.
01-21-2019, 08:39 PM
#90
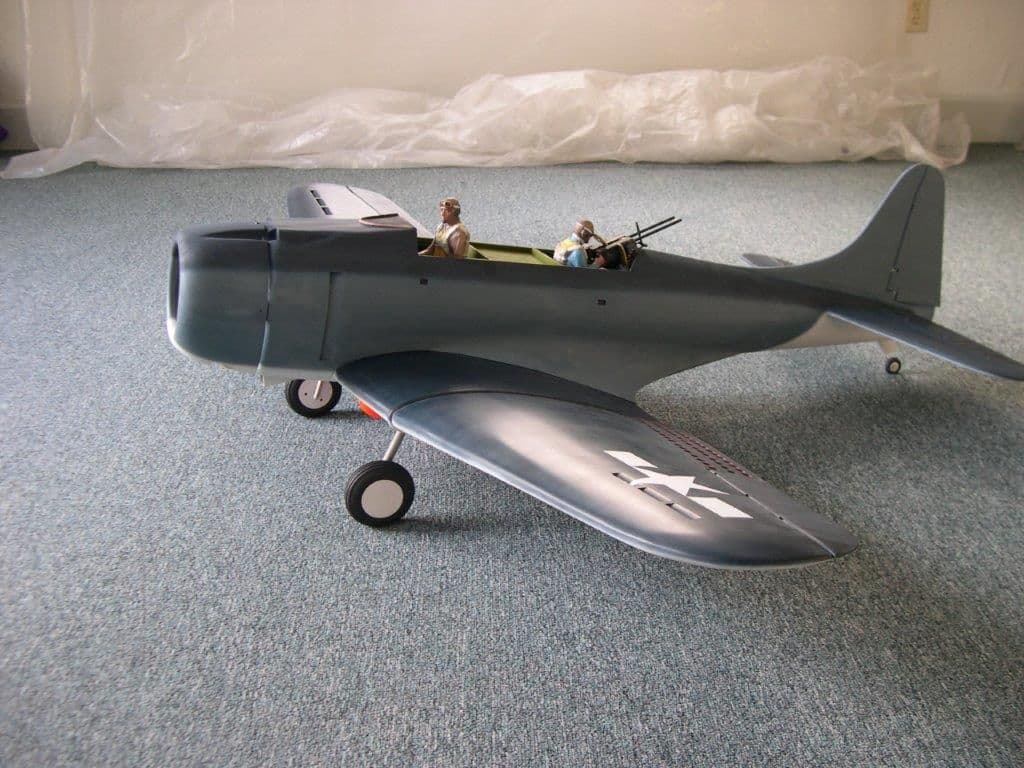
Thread Starter
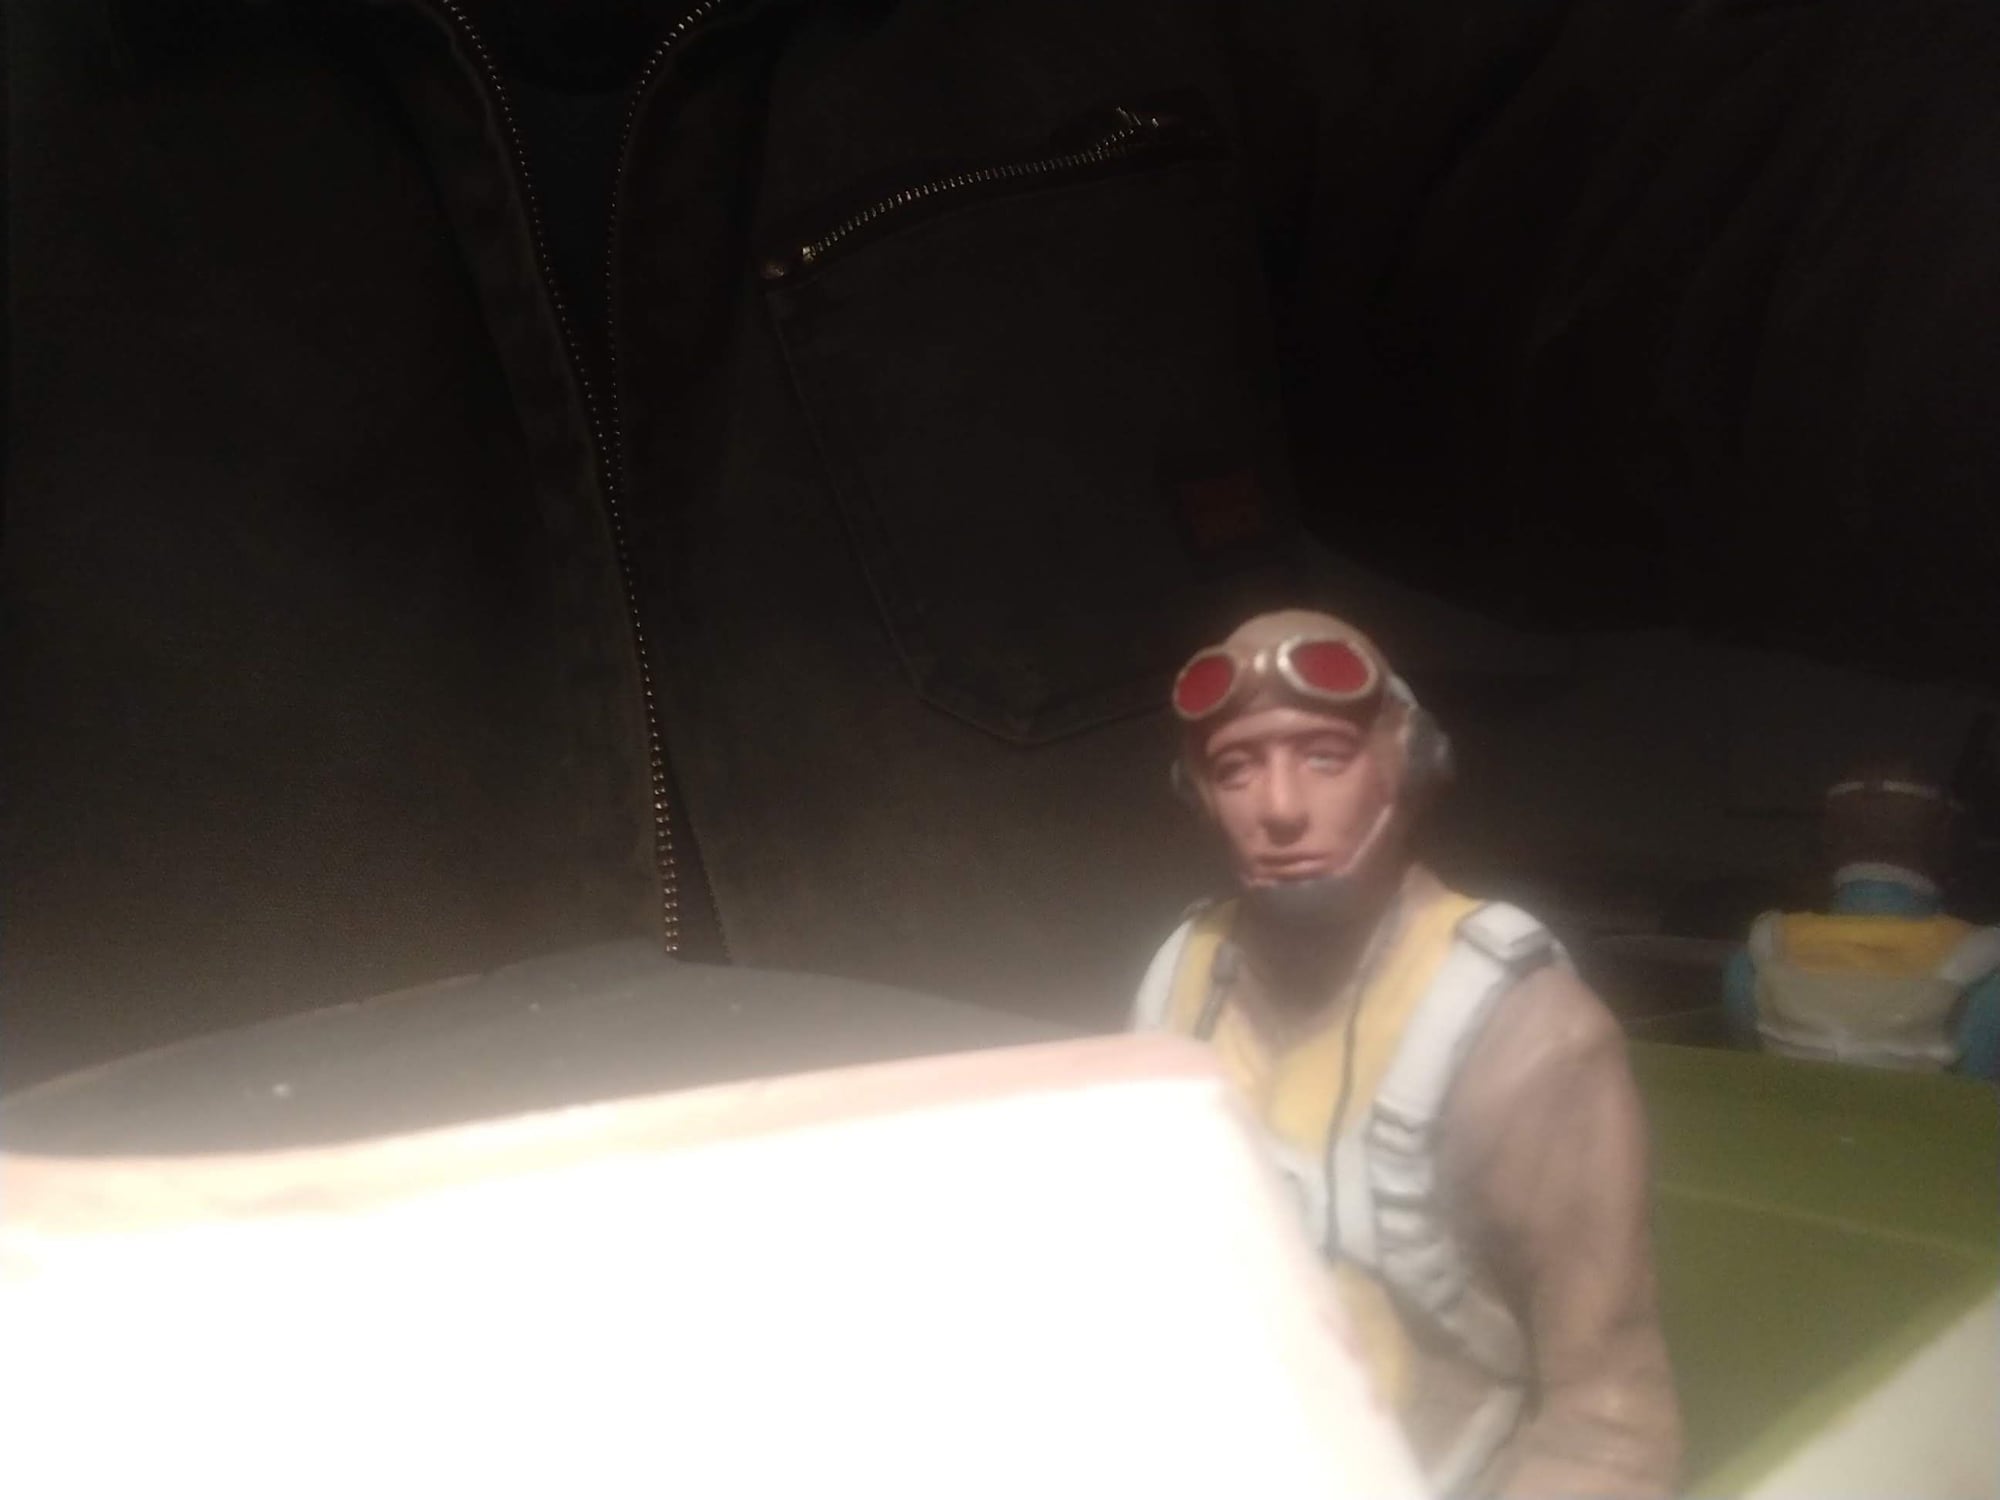
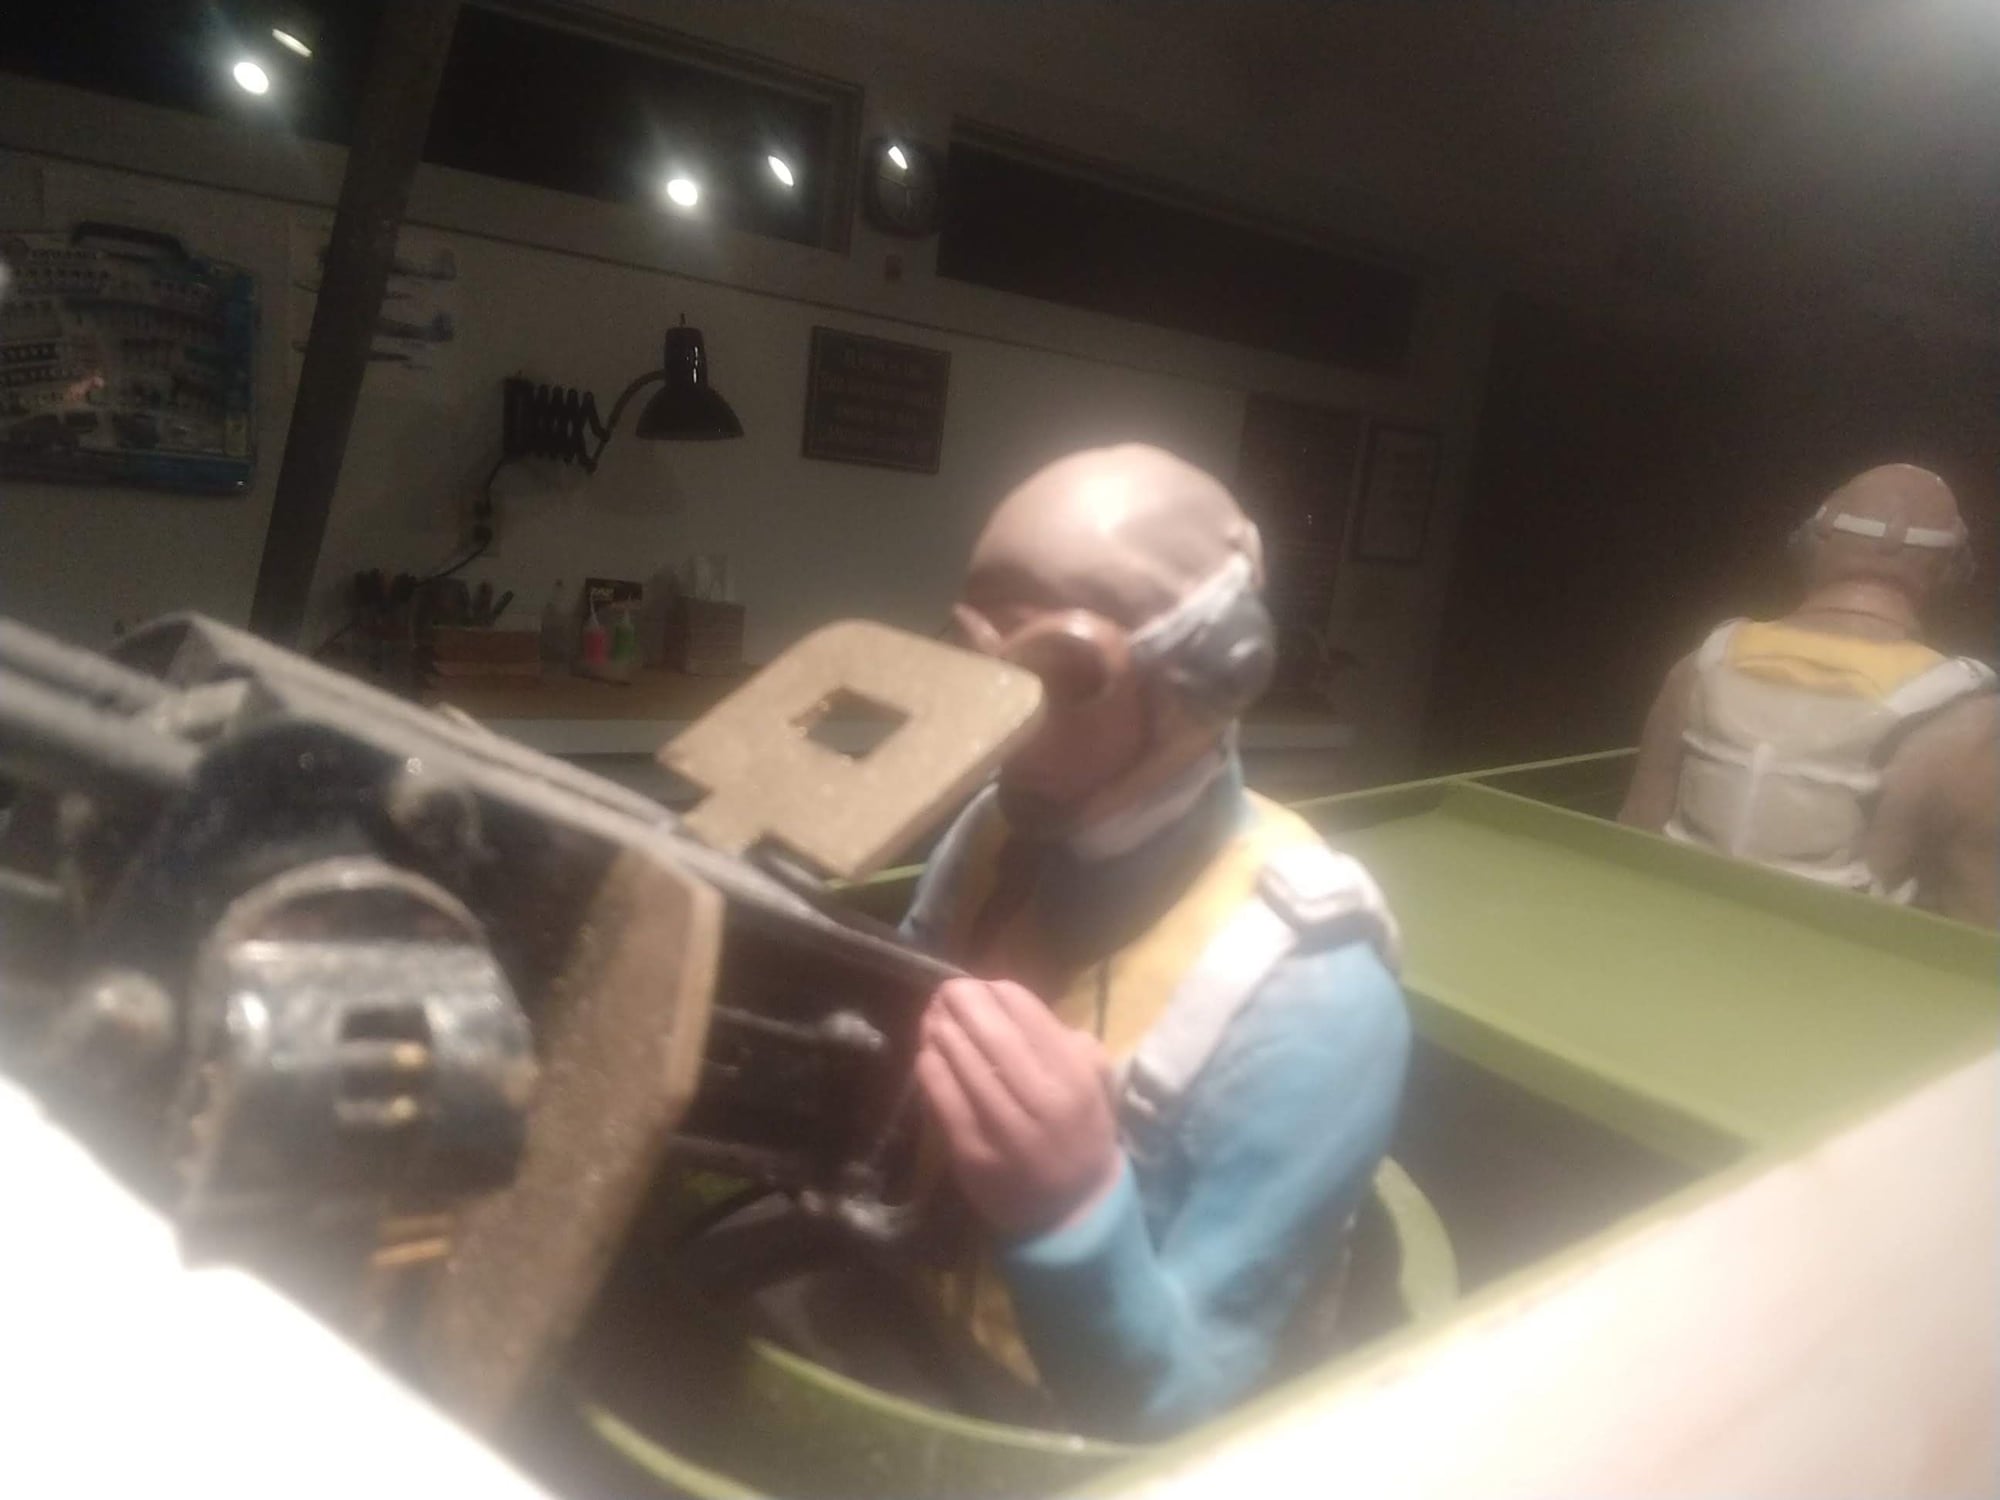
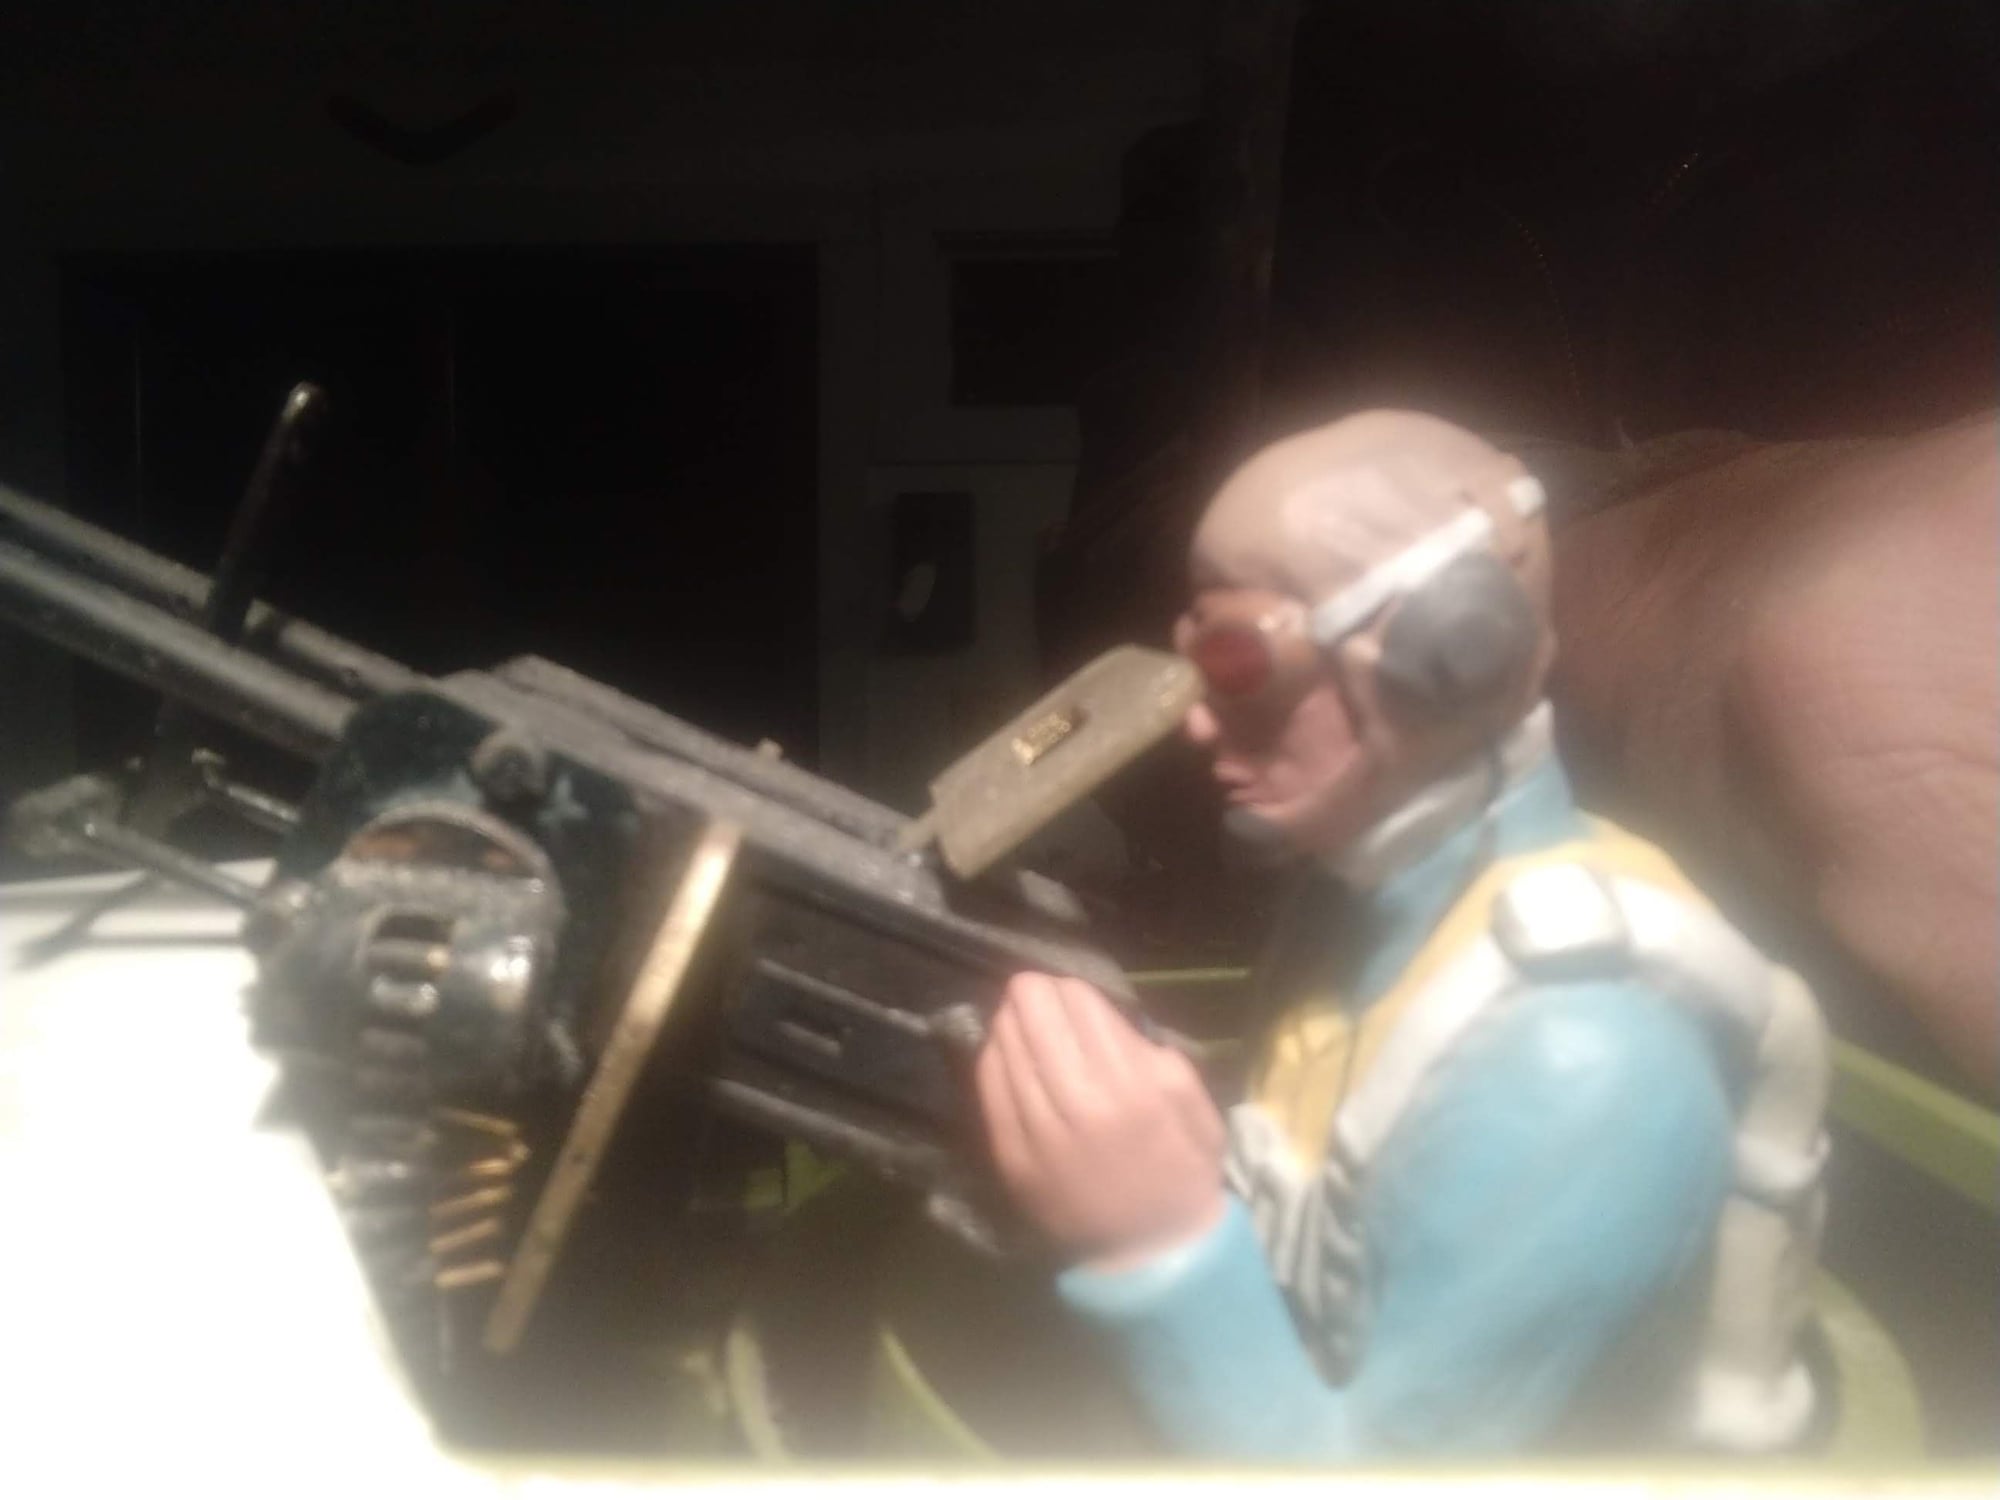
Been doing some more work on the dauntless. Gerry did his magic on my gunner and pilot adding goggles and a life like face to this pair of vaily aviation pilots. Should look really good flying with open canopies.
01-21-2019, 08:48 PM
#91
Thread Starter
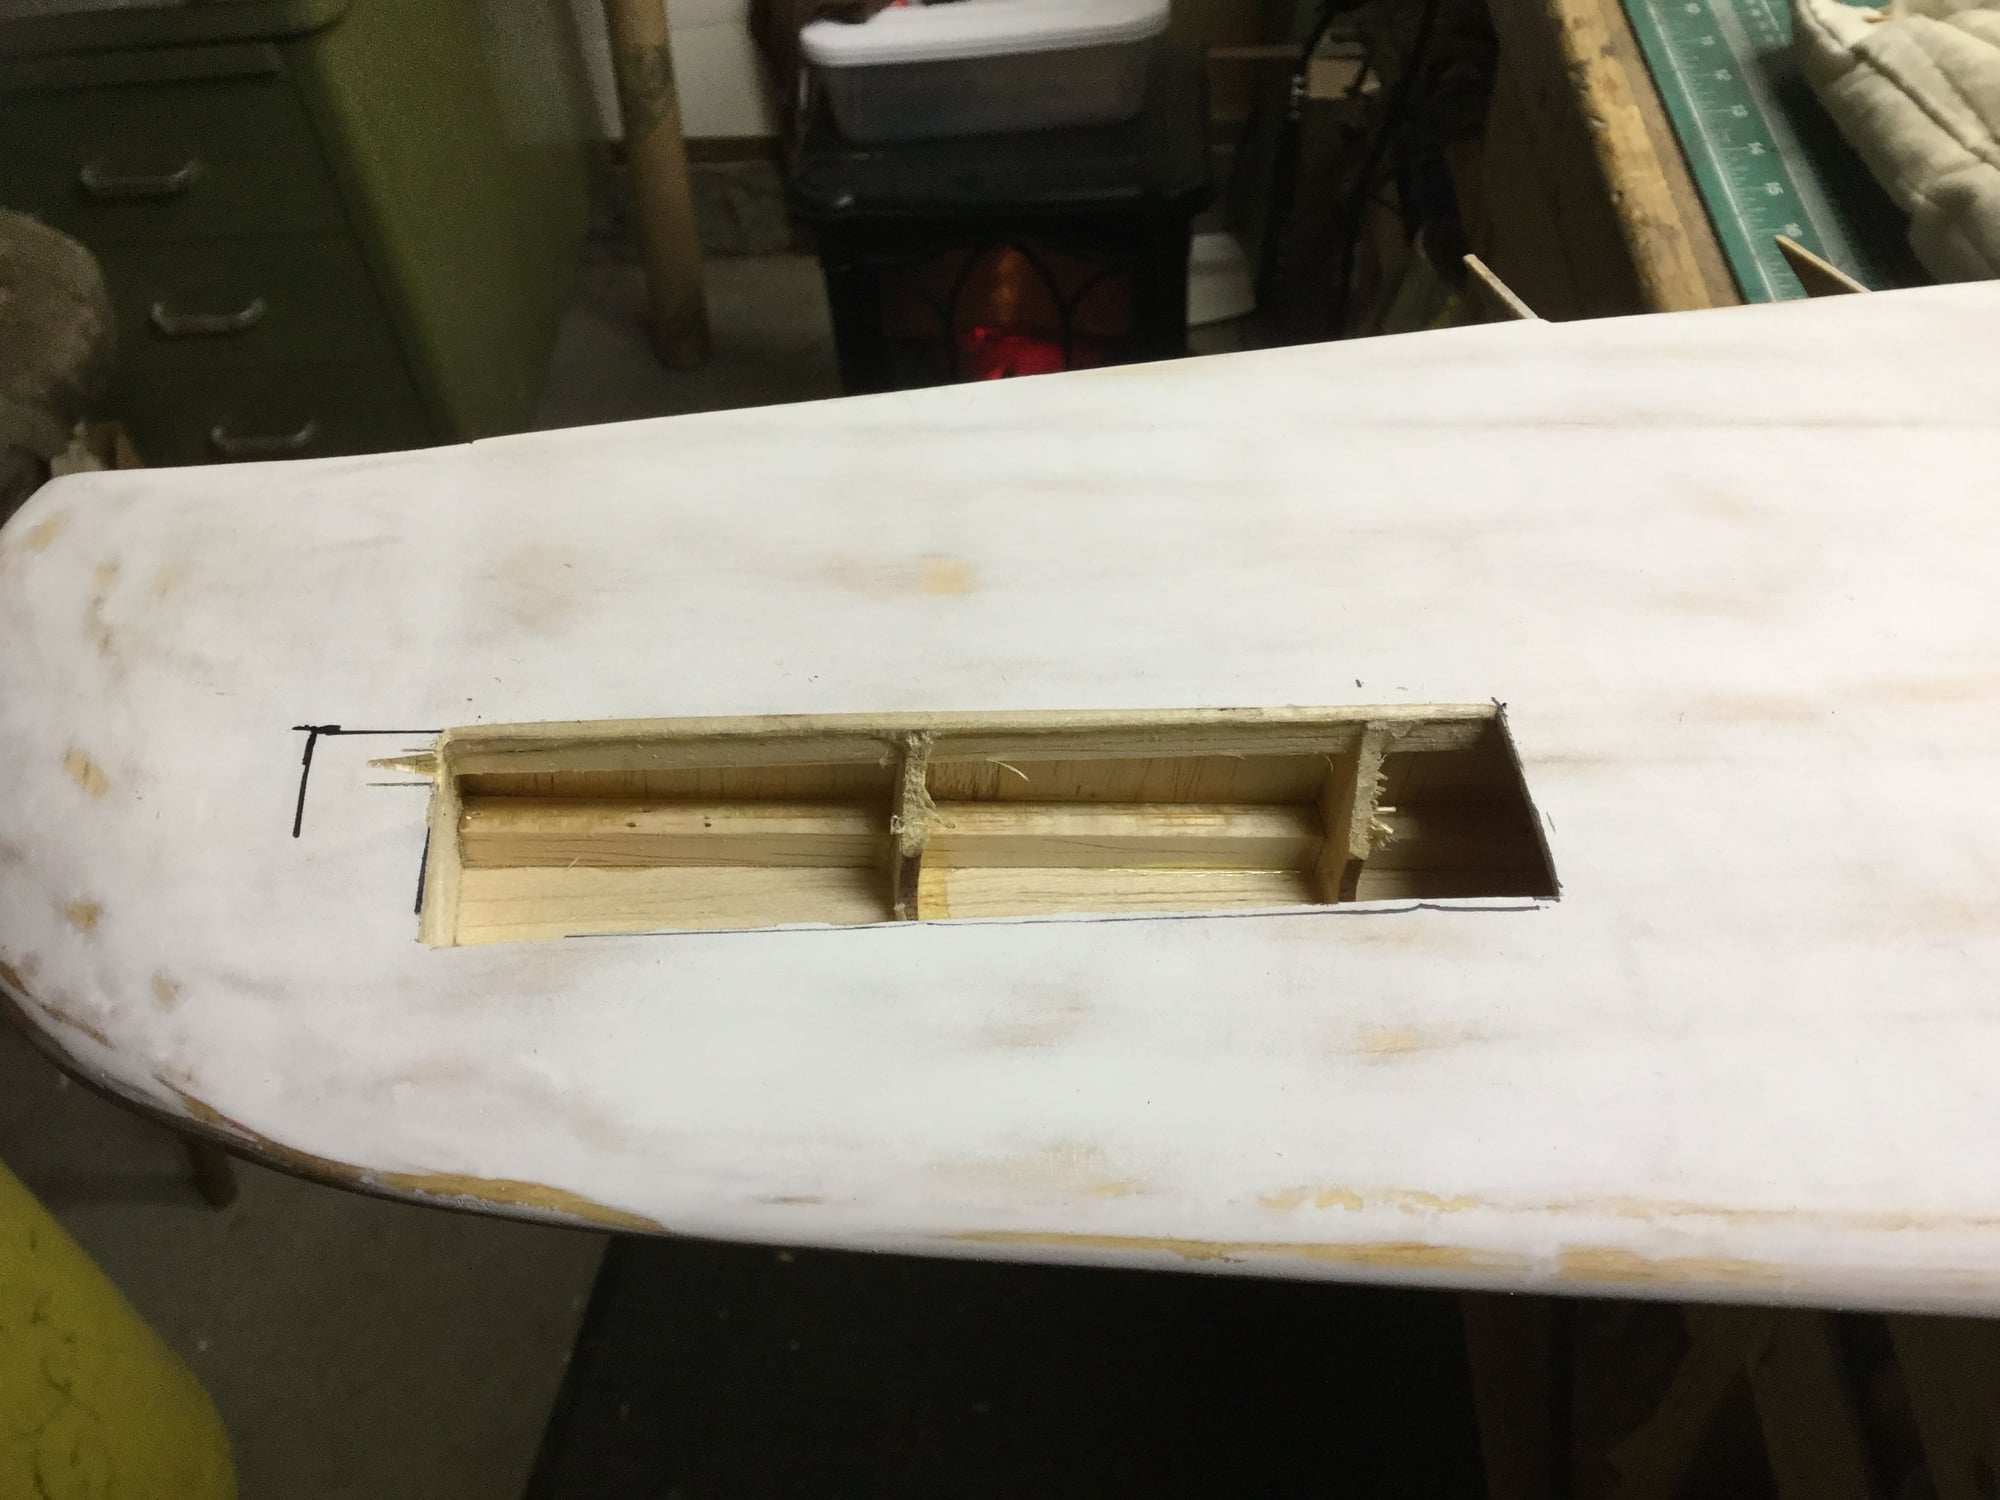
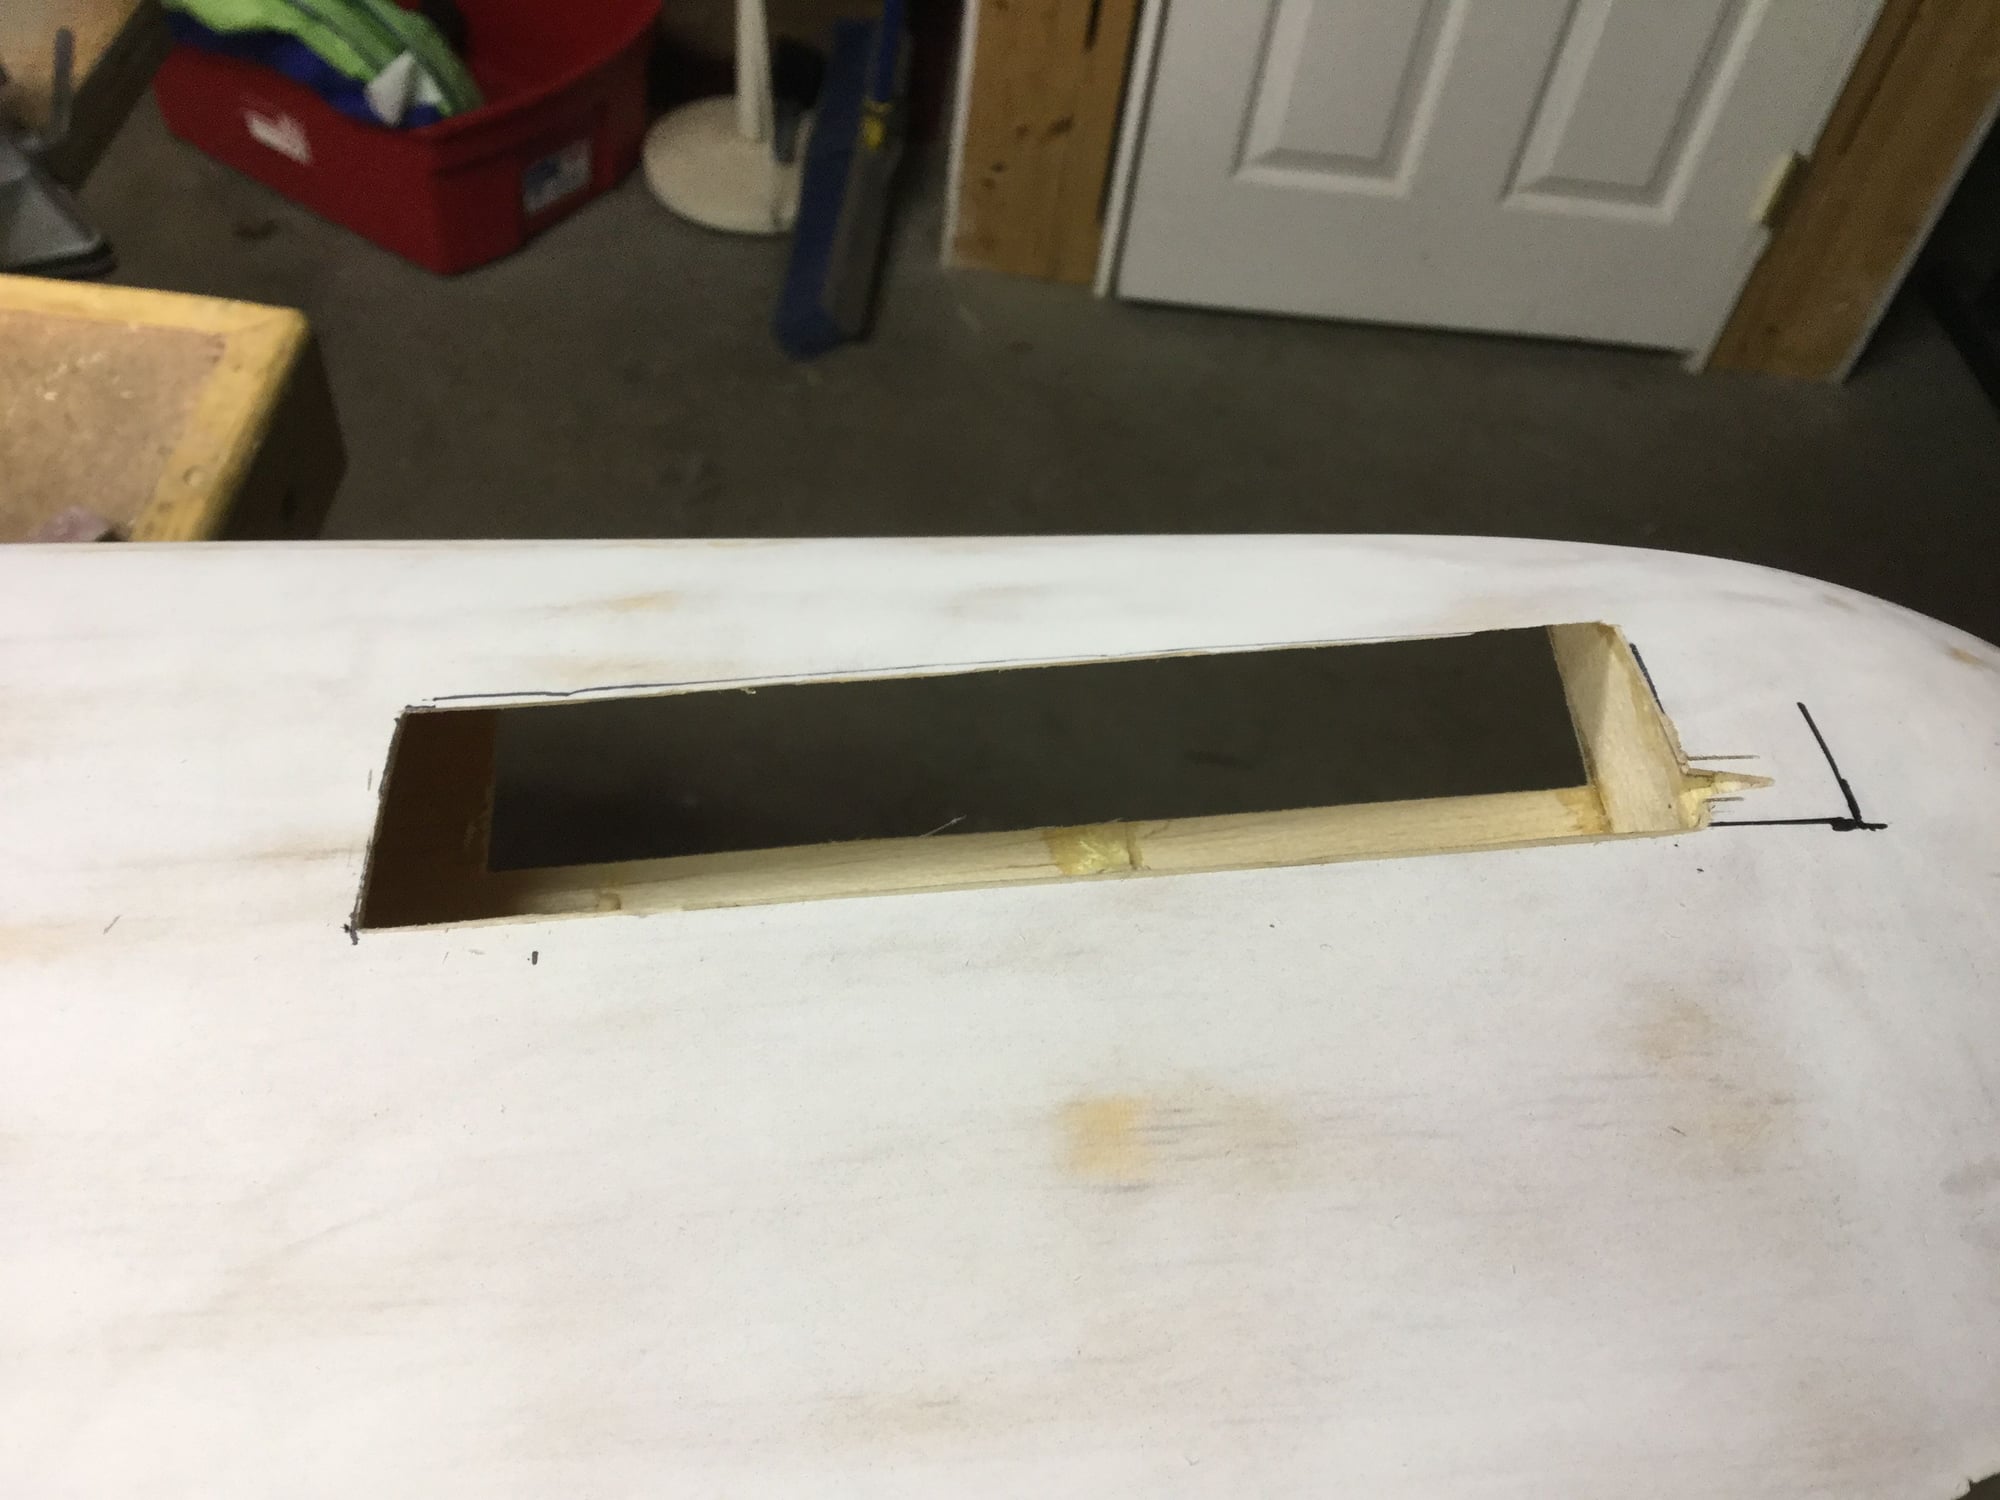

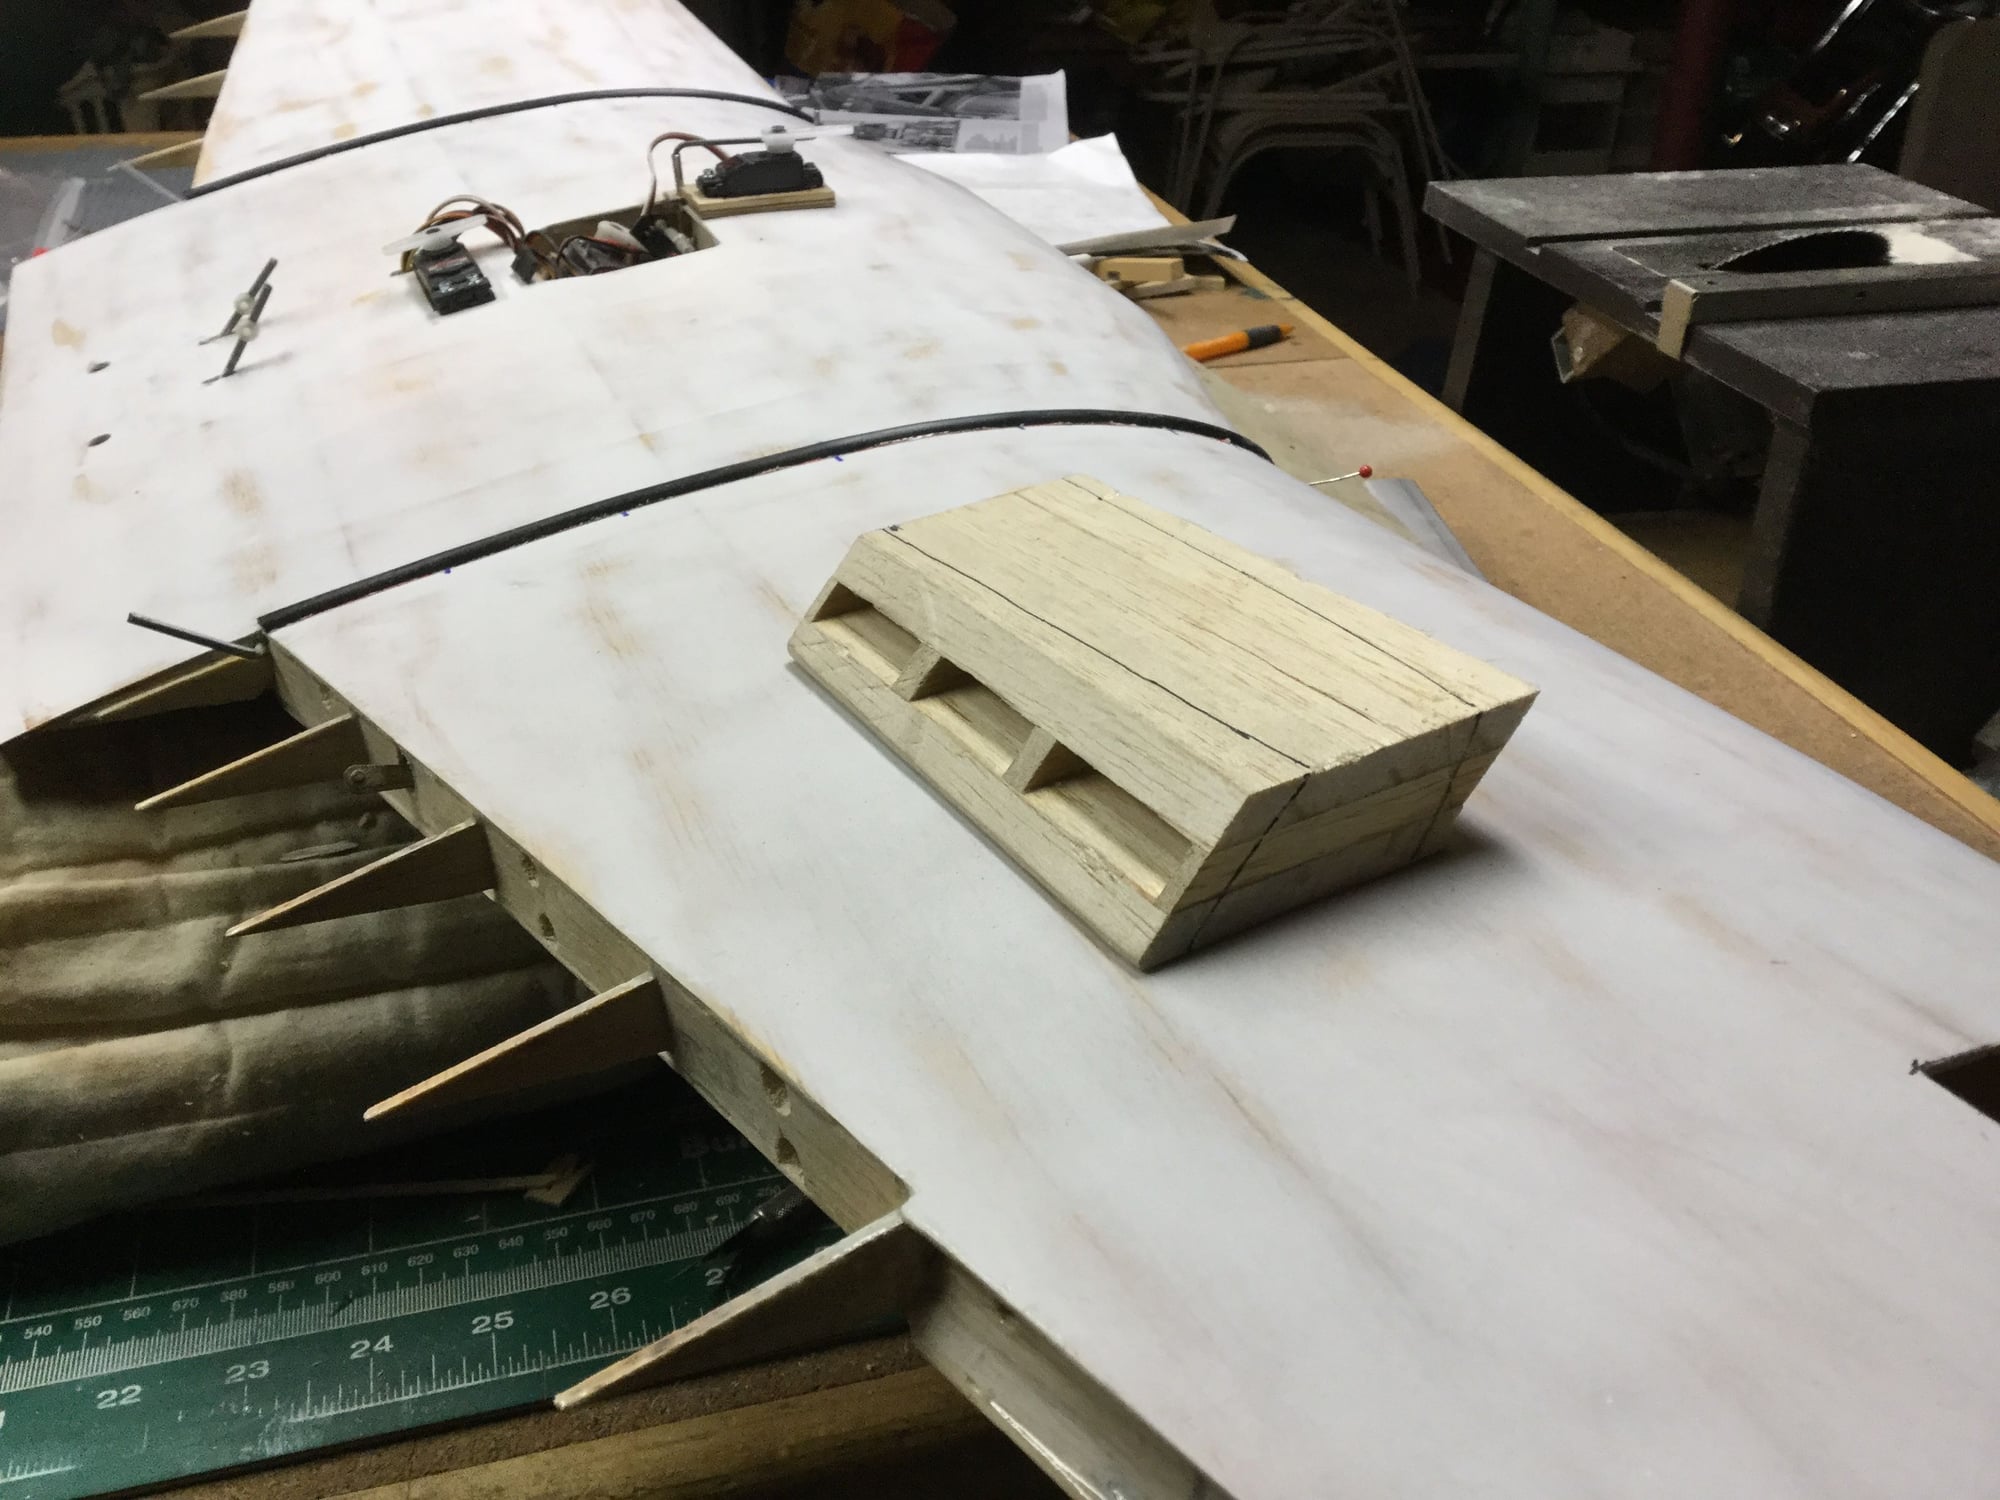
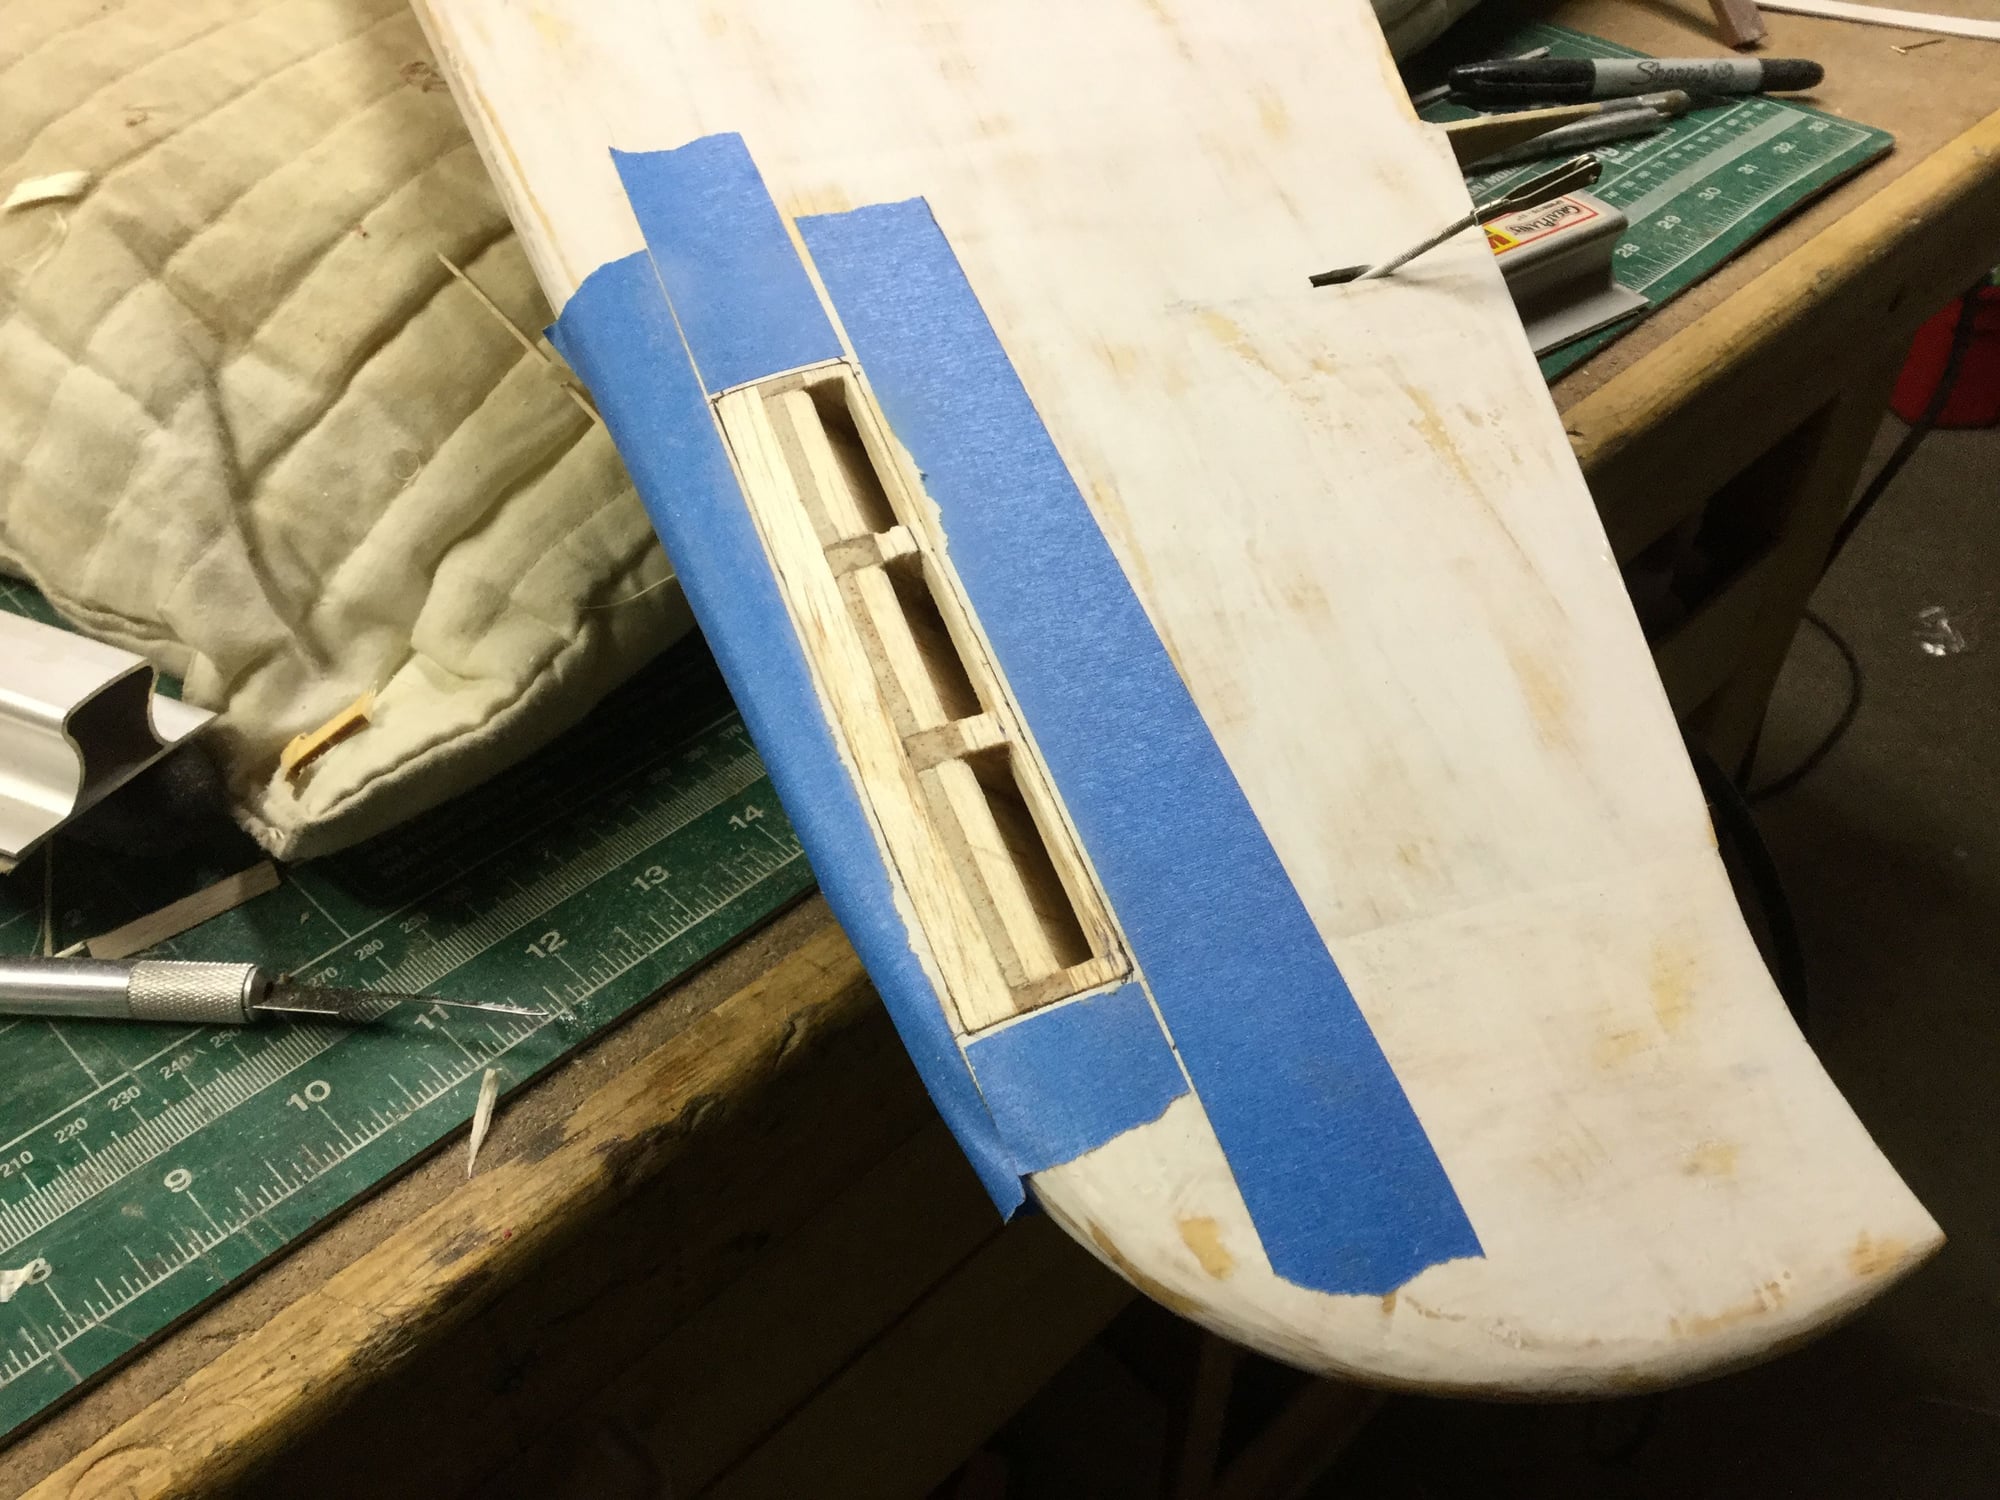
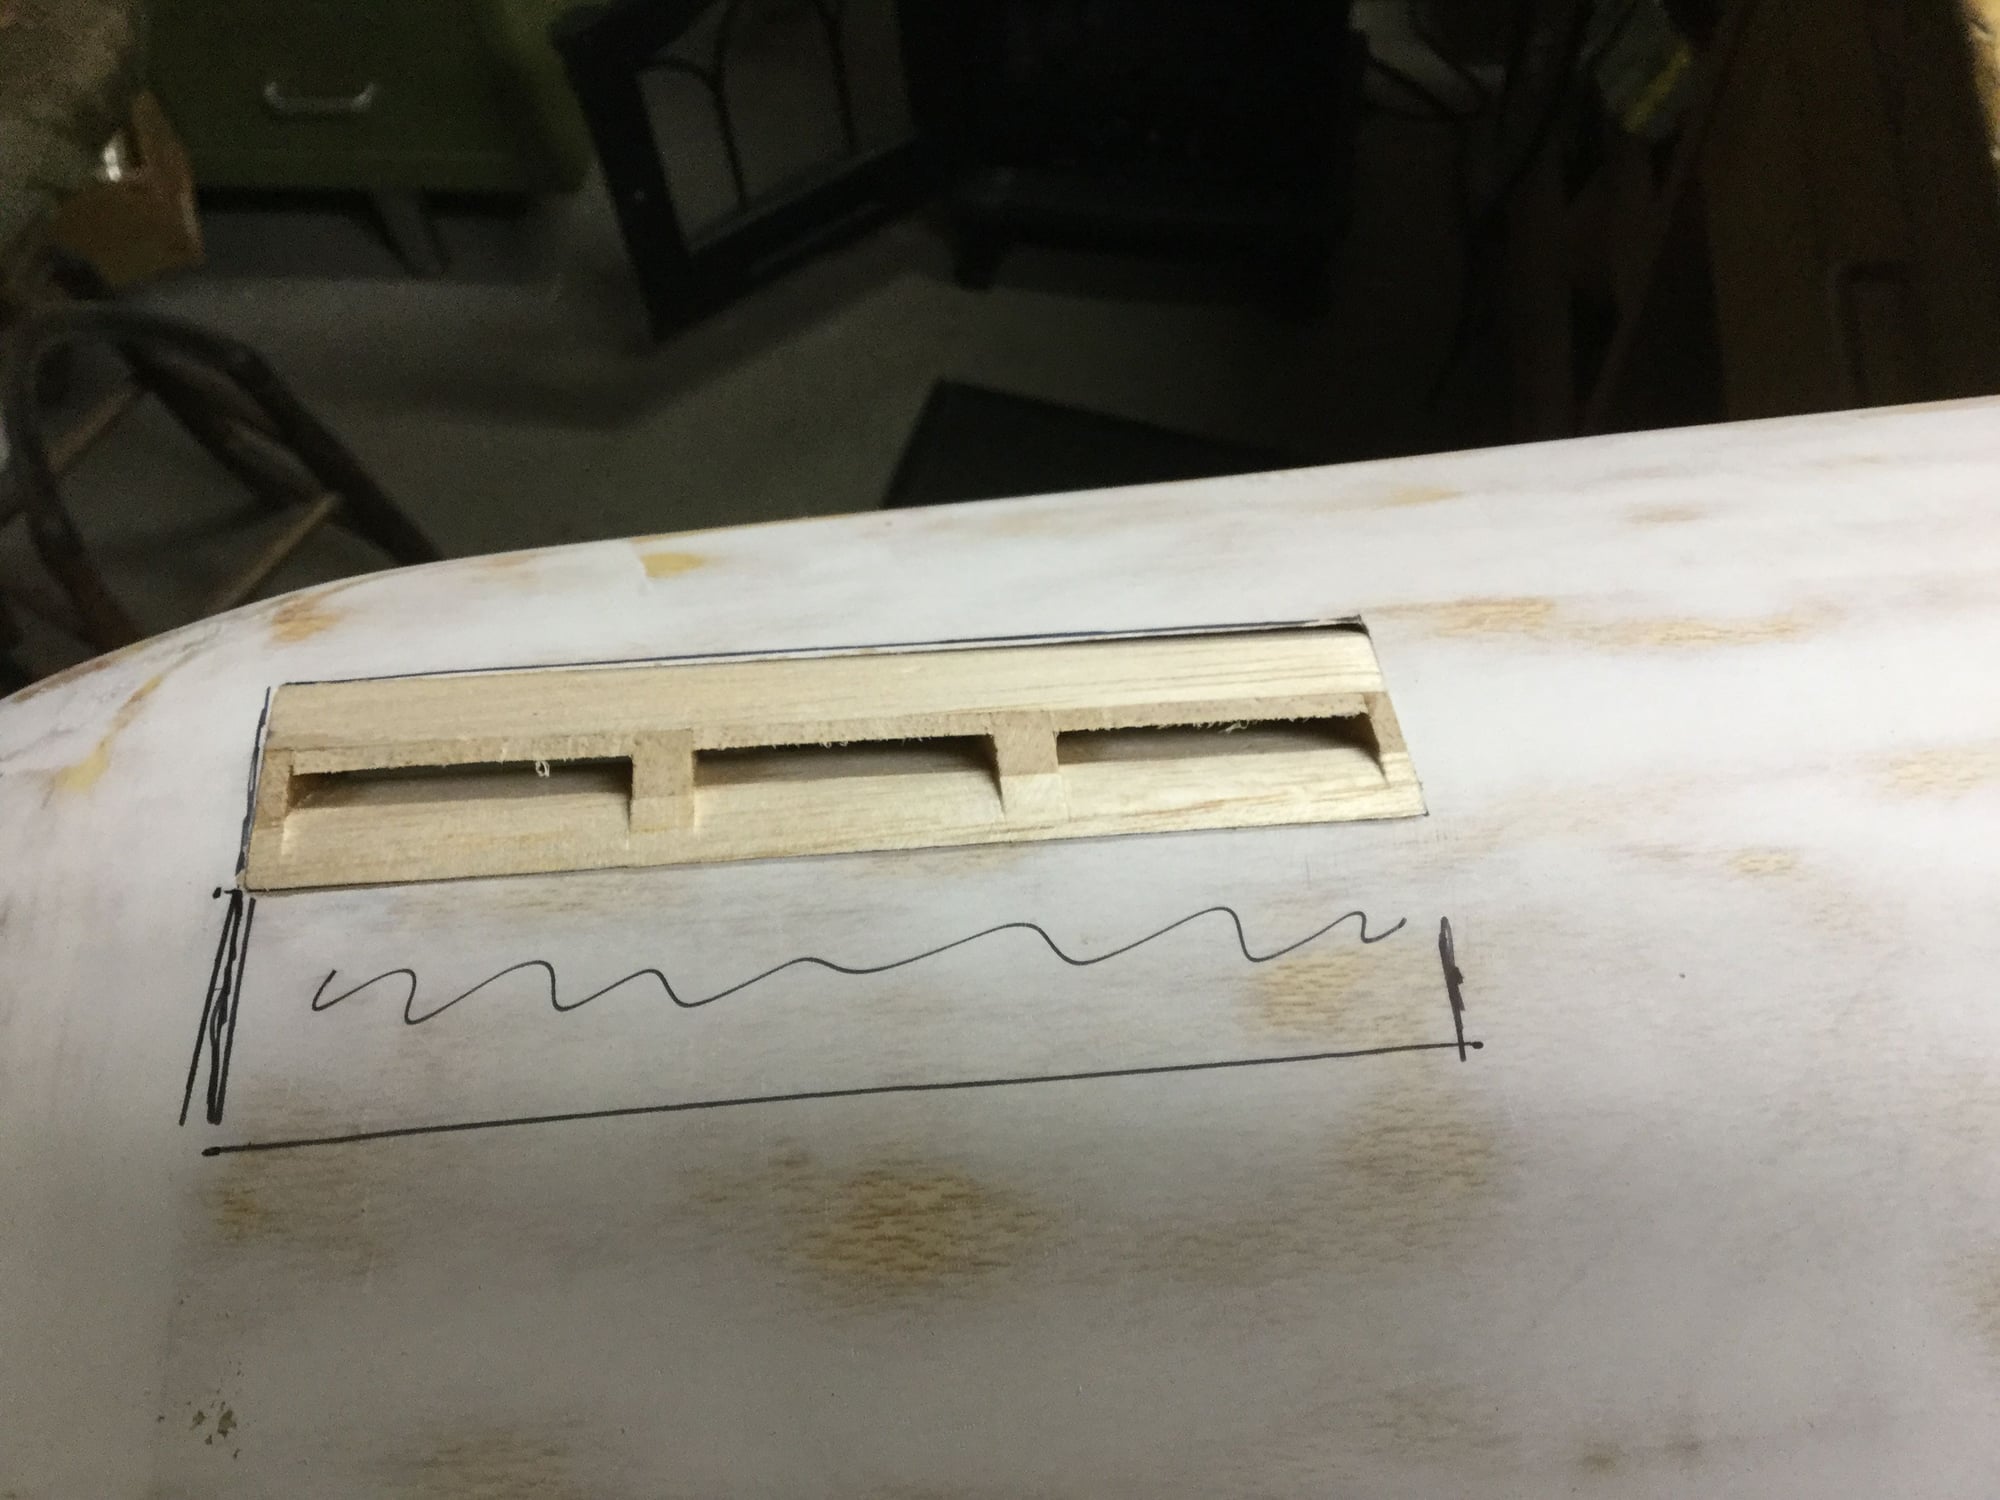
Sorry about those pilot photos, my cell phone takes lousy pictures. Decided to put in the three leading edge wing tip air flow slots. Made up a 5� long box using 1/4� square and sheet stock. Cut into the wing in the appropriate area and slid the box in. Will razor plane off the excess the put some tape on the wing around the slots and sand it down flush with the wing. The slots will then get some further work to duplicate the shape of the slots on the top and bottom of the wing. I�m curious if putting these in will have any effect on the planes flying.
01-23-2019, 09:15 PM
#92
Thread Starter
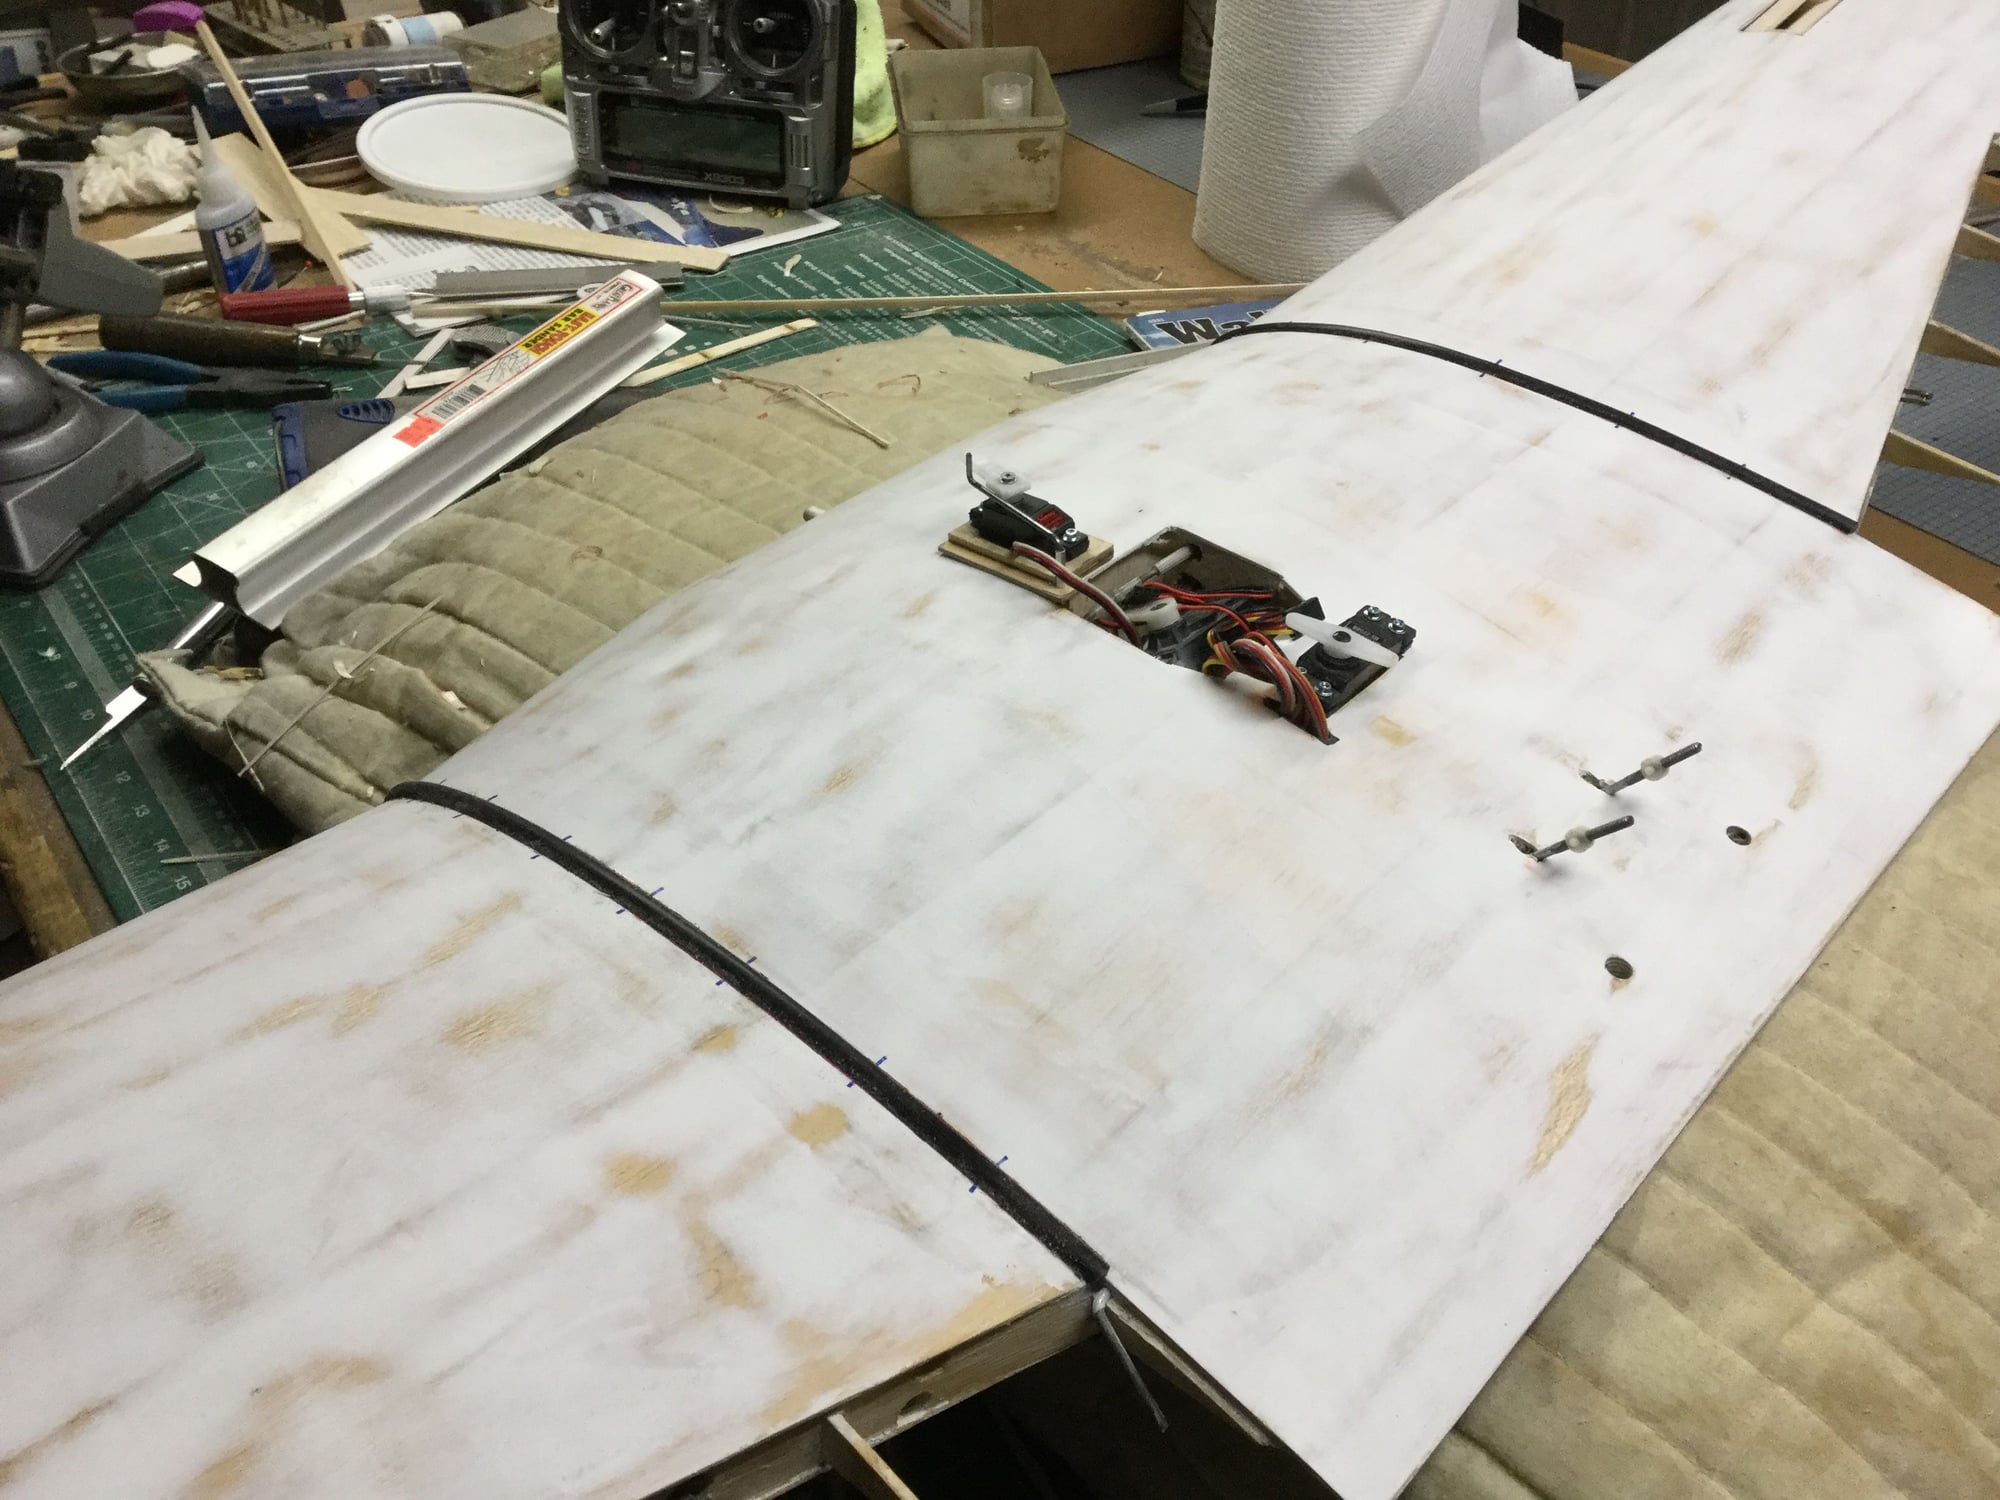
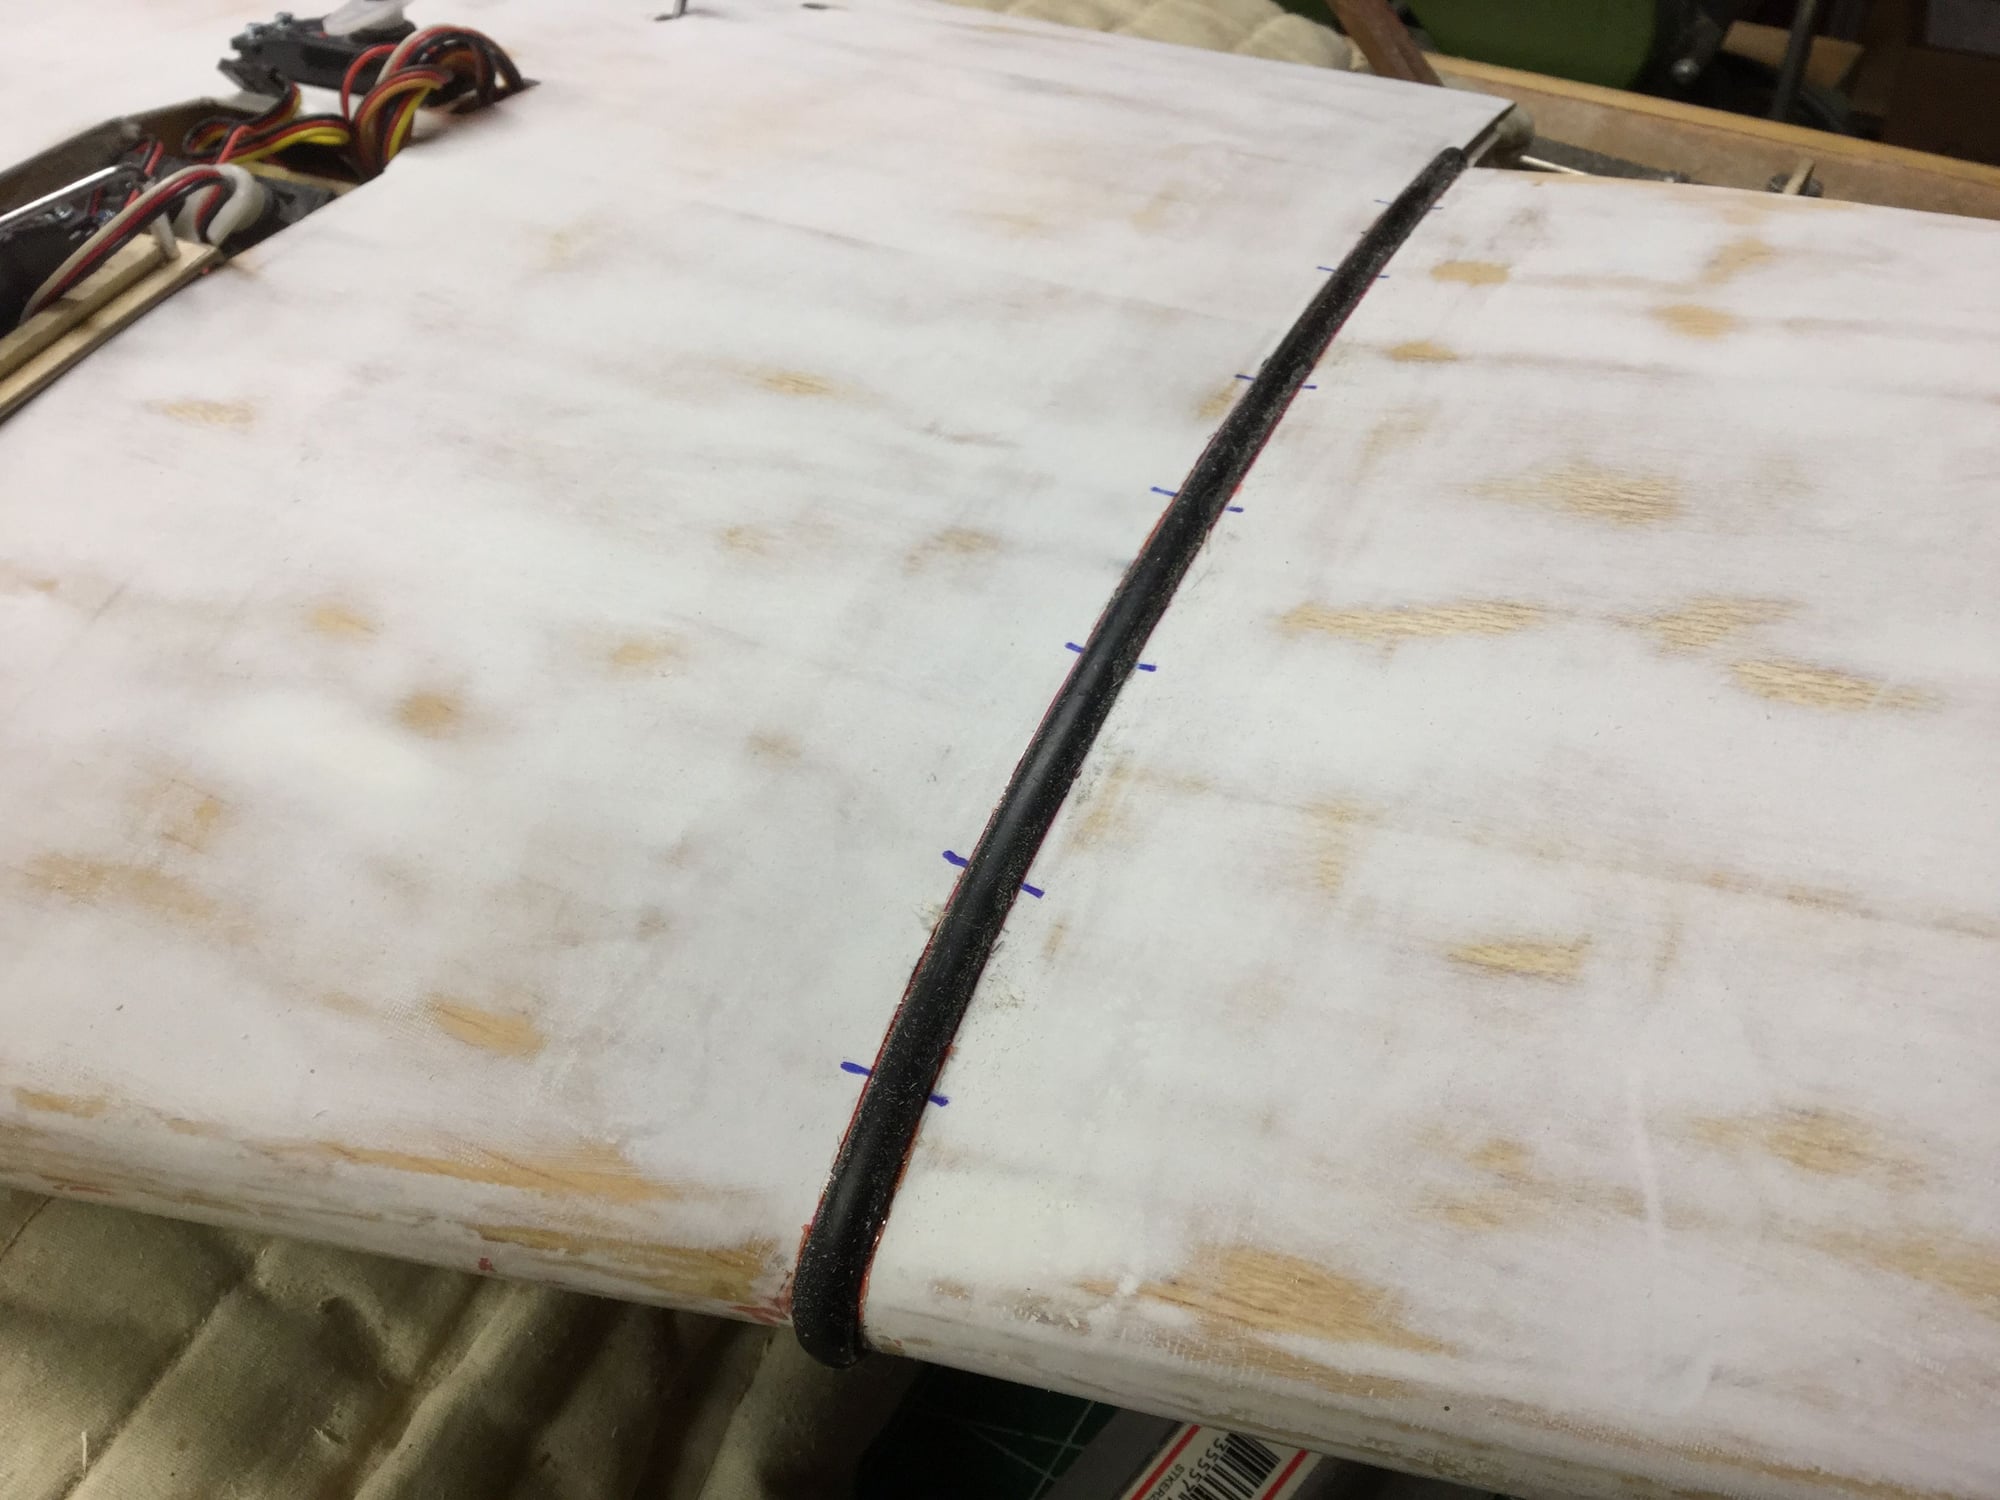
Finished making the mailbox slots. They will get resin inside and finished up inside then get glued into the wing. Then they will get block sanded completely flush with the wing. Split some black soft tubing with a custom tool I made then we glued the tubing down with goop and some Zap. Very happy with the results.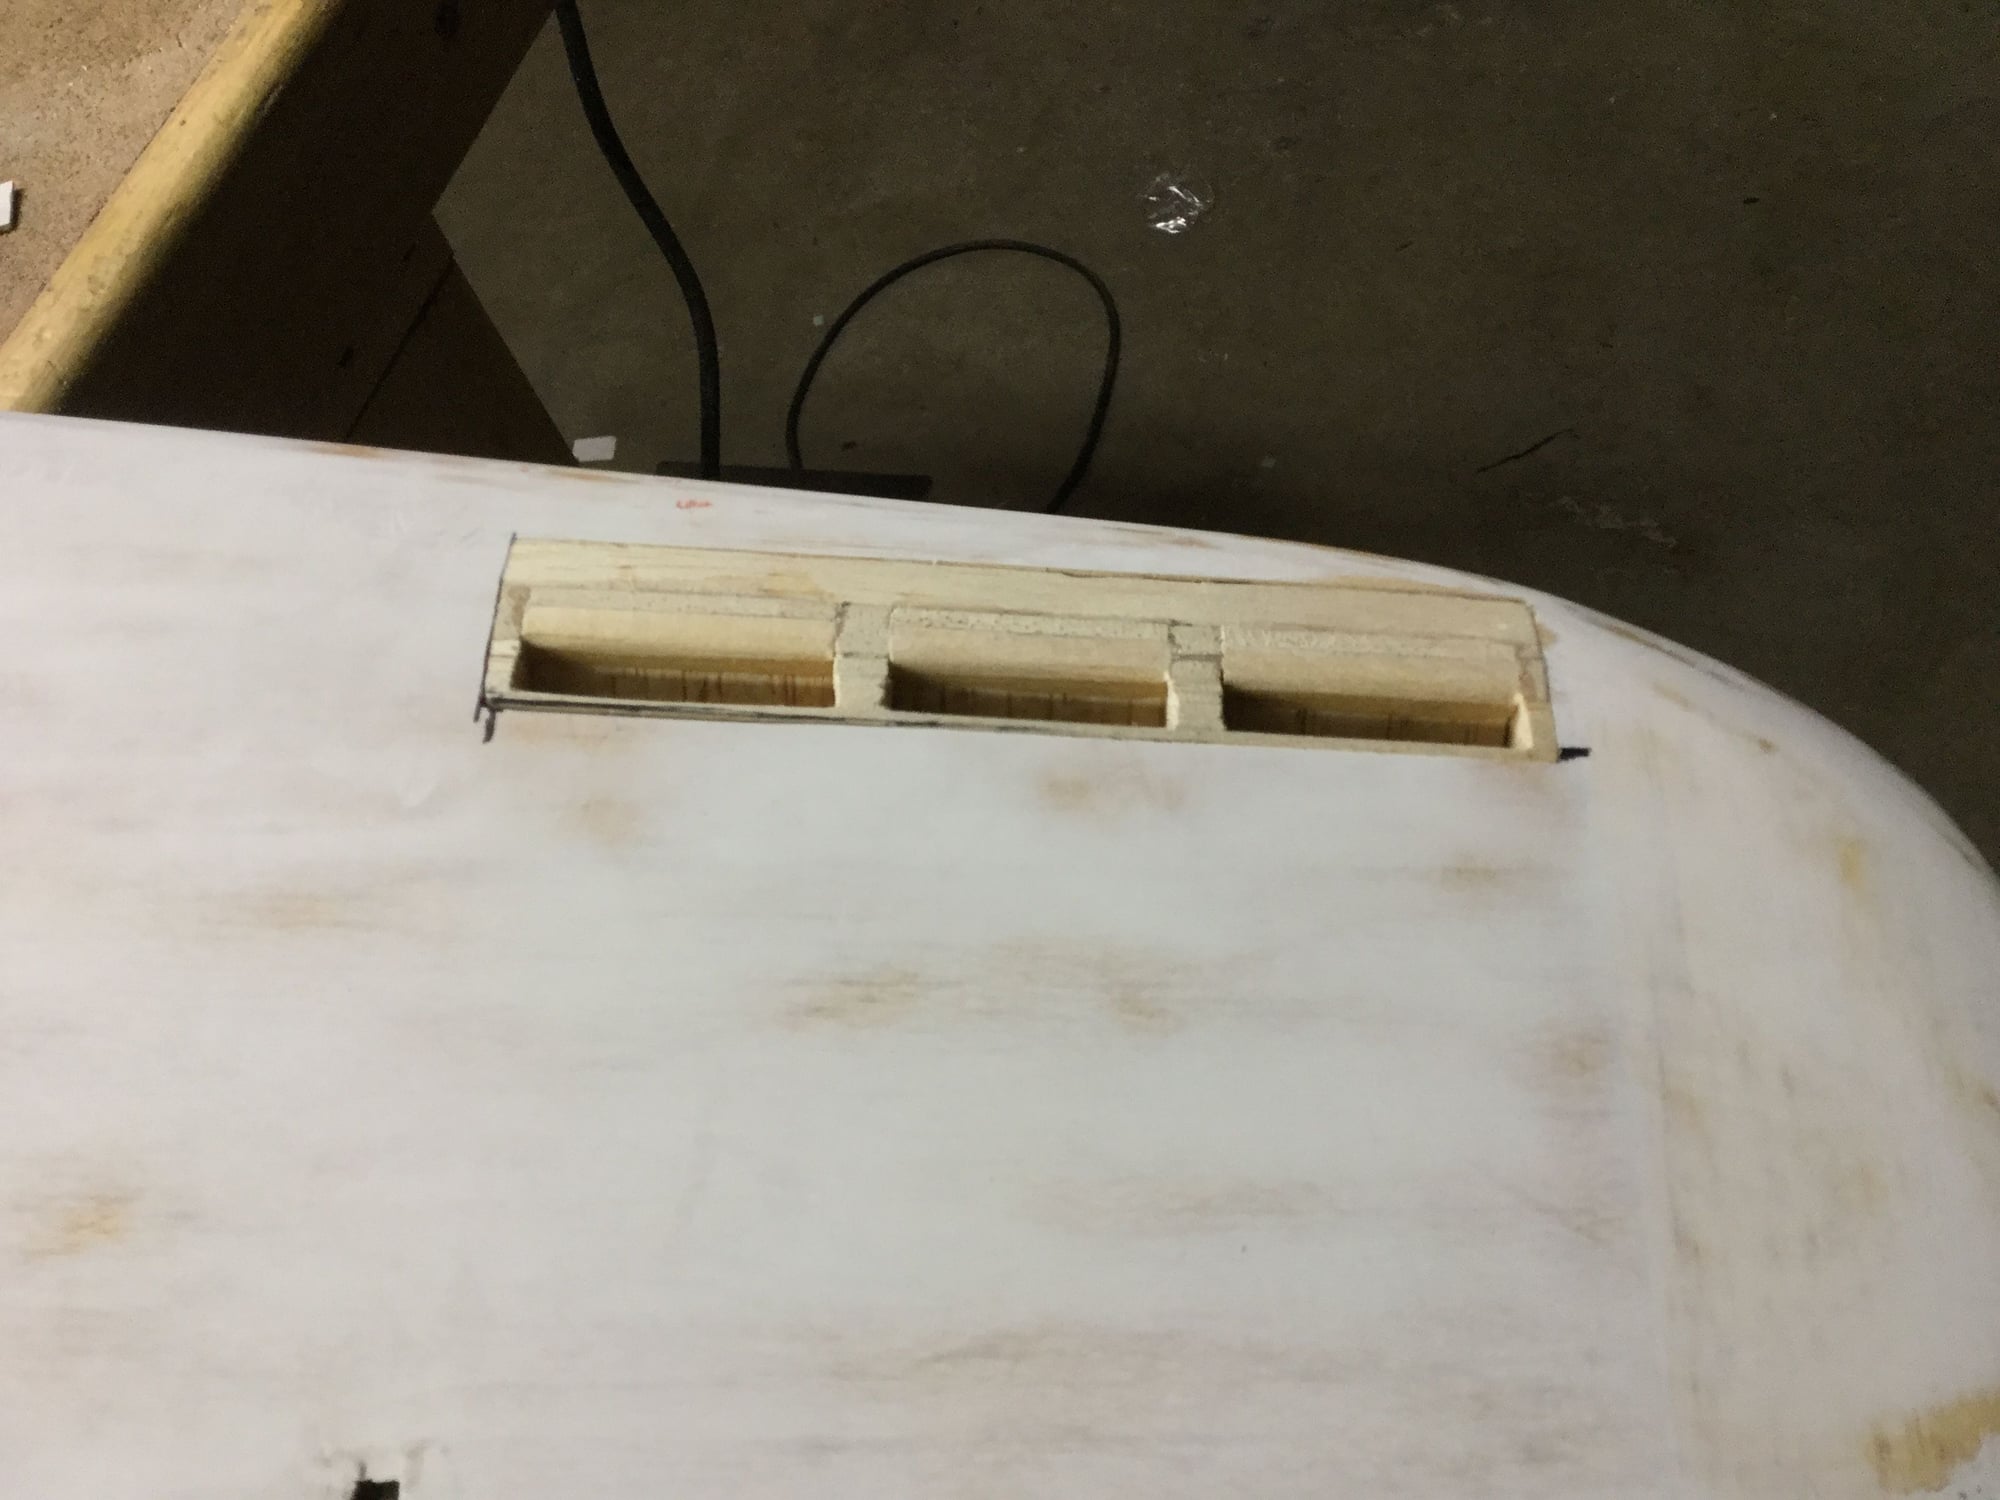
02-12-2019, 07:01 PM
#93
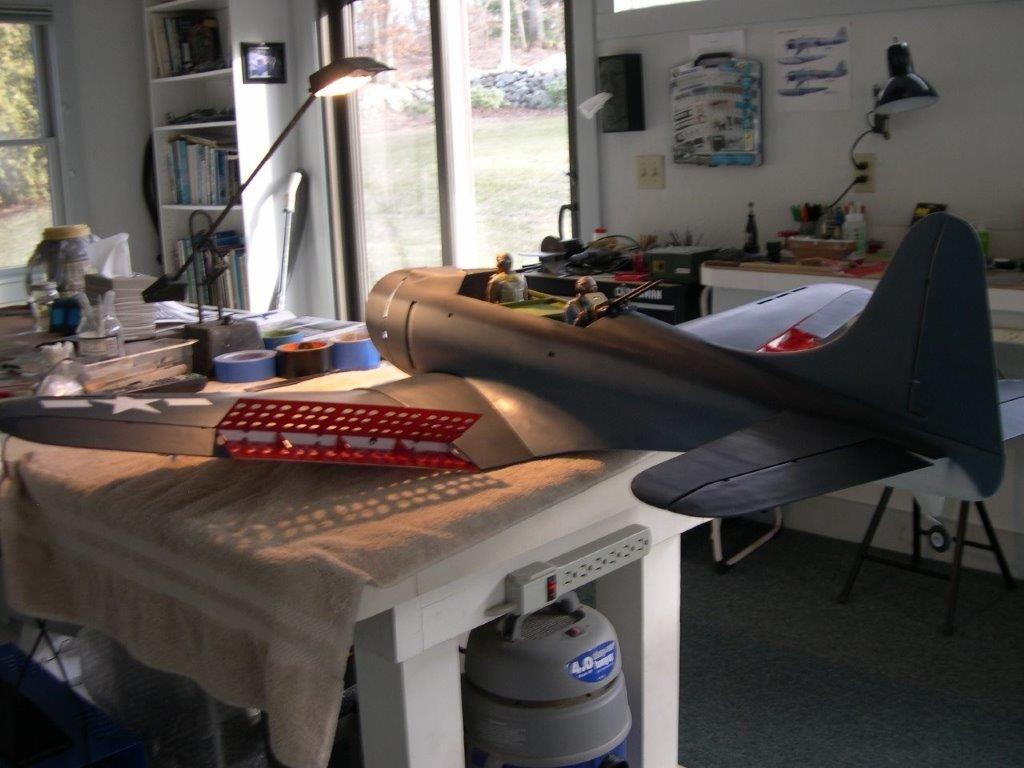
Thread Starter
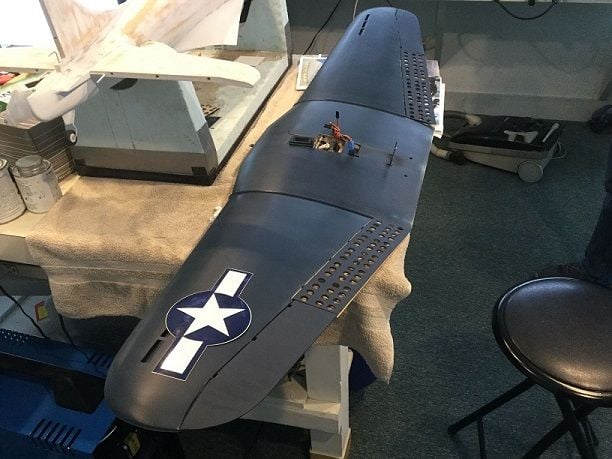
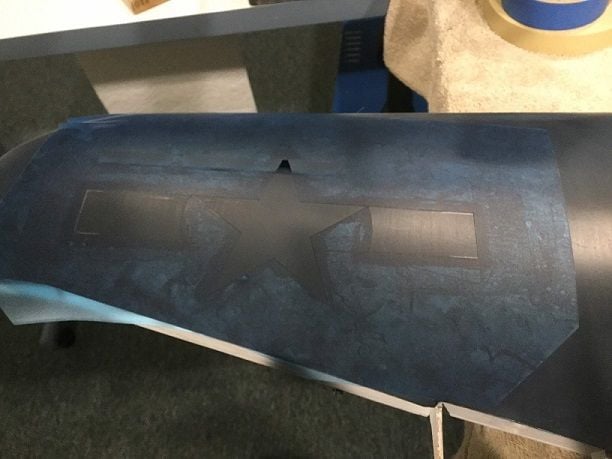
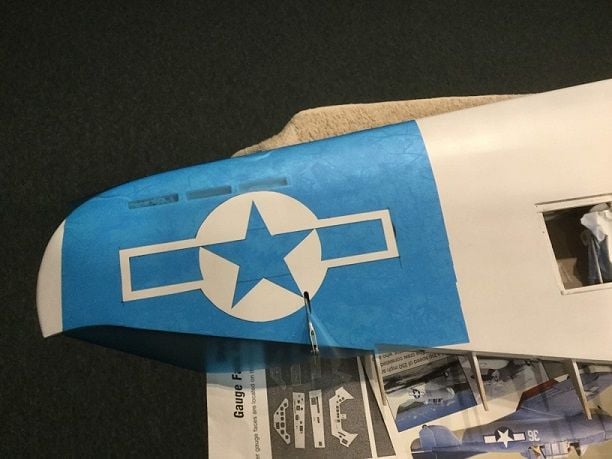
Gerry got some painting done. Painted the white on the bottom of the fuse, bottom of the wing, and the small parts like wheels, retracts, flaps and ailerons. He painted the dark blue on the top of the wing, dive brakes, and aileron tops. Using the supplied decals for size and shape, I layed out Oracal blue stencil film on the wing and cut out just the star and bars on the top and just the blue outline on the bottom. Both will get sprayed their respective colors. 
 02-18-2019, 09:04 AM
#97
Thread Starter
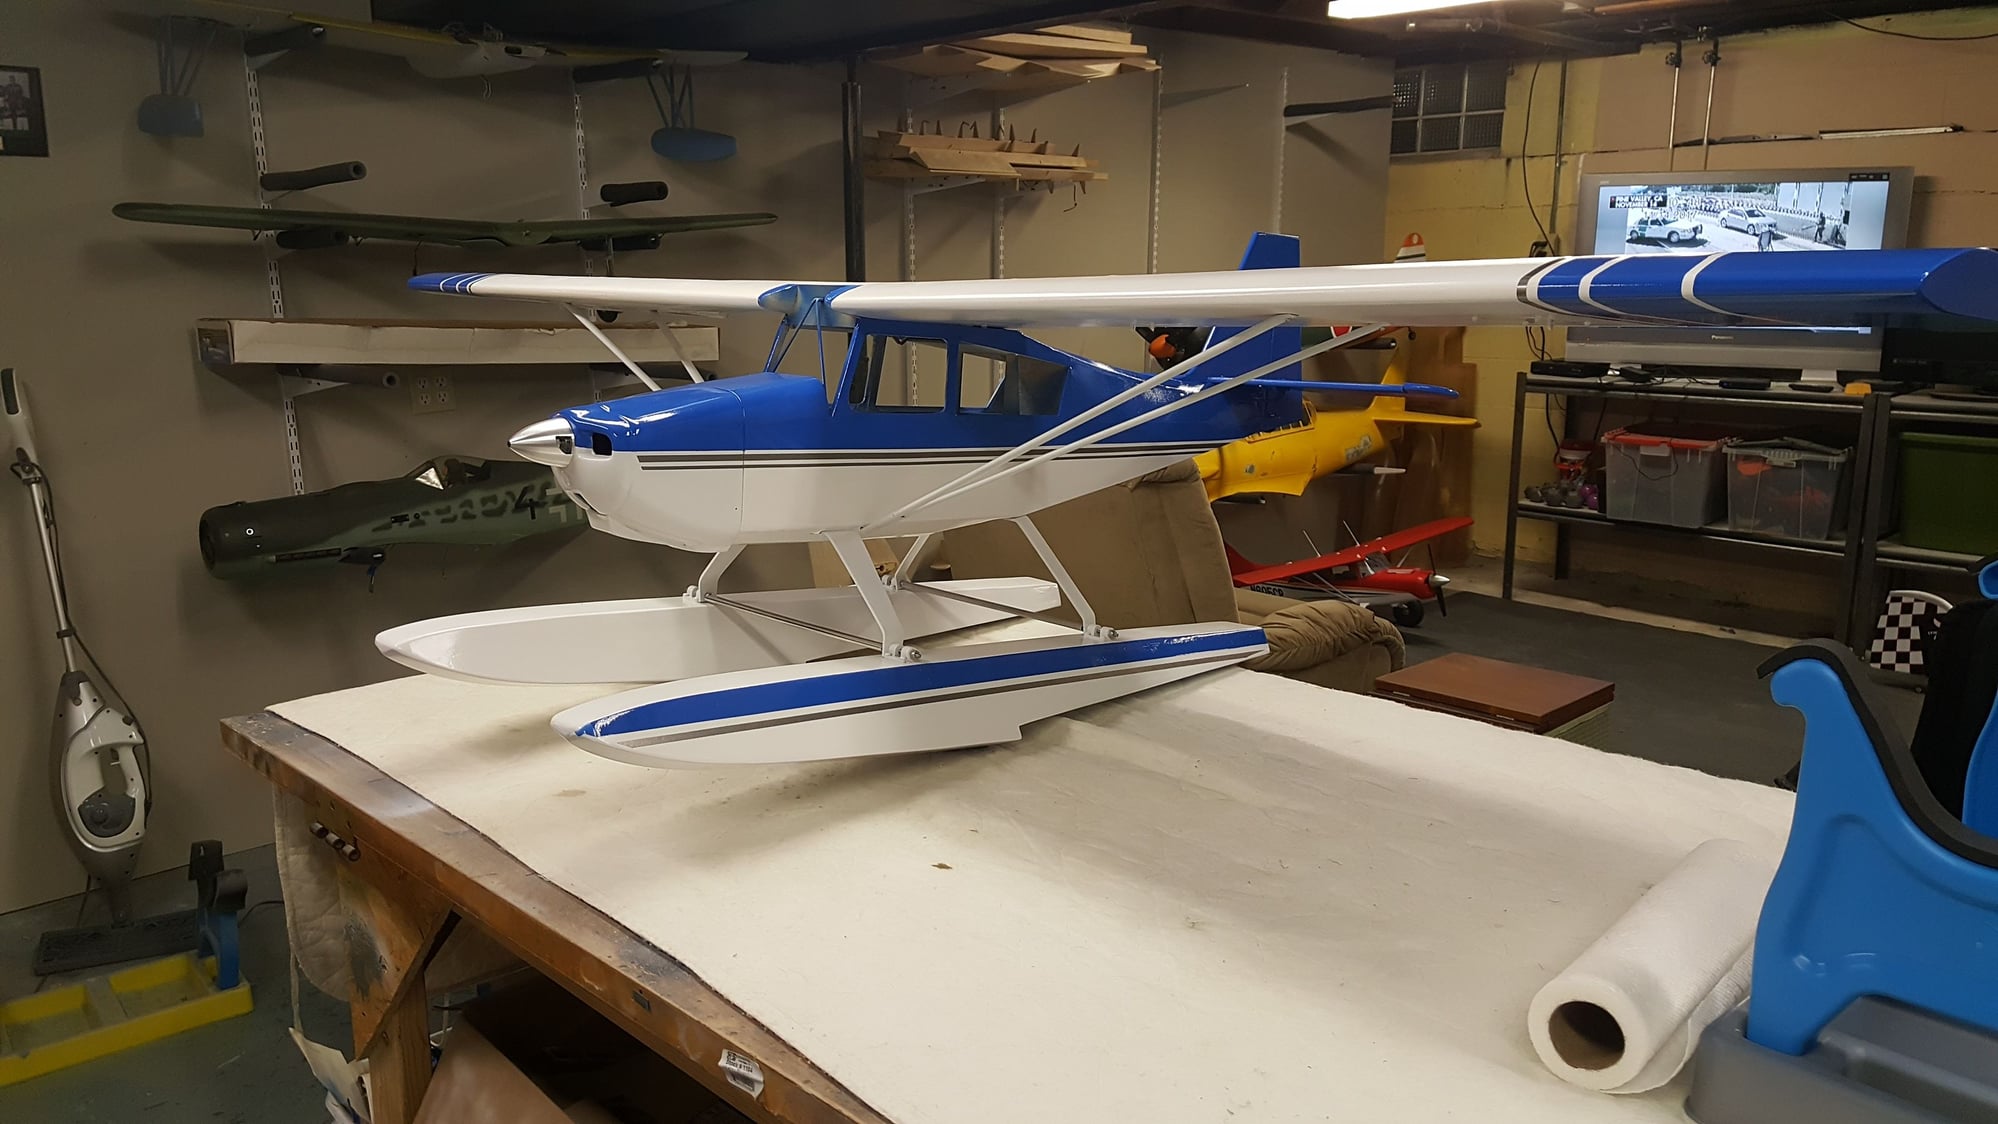
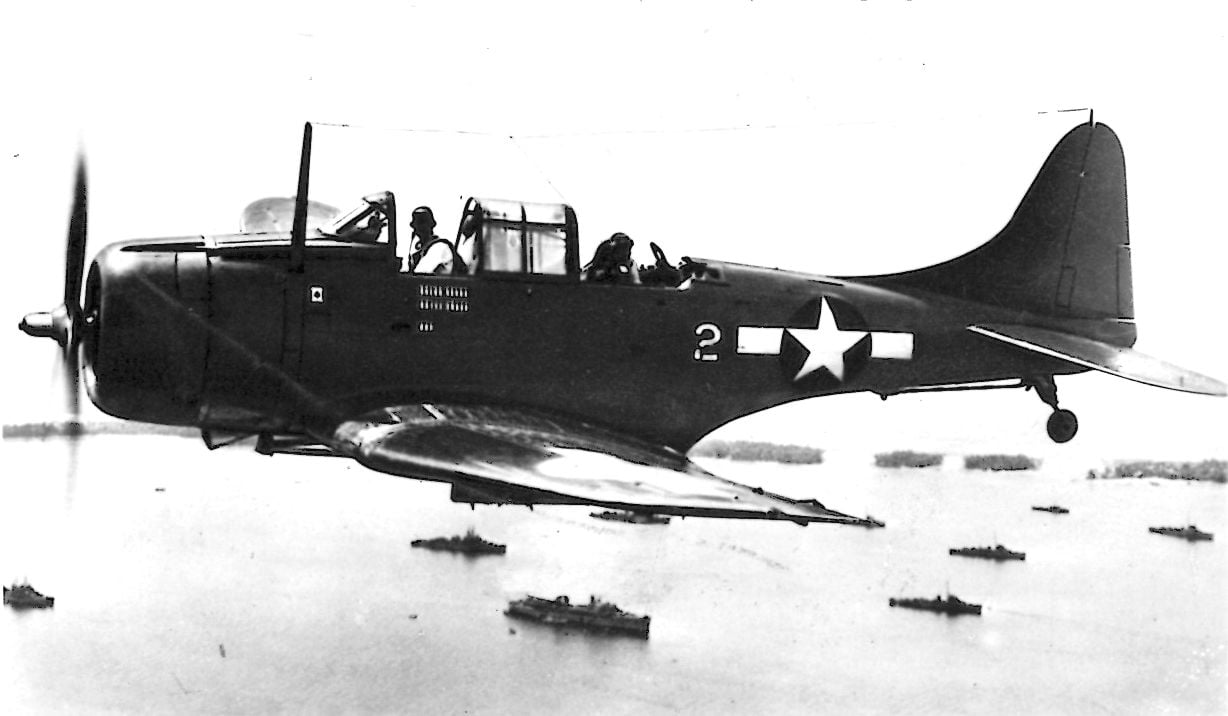
He does a lot on the canvas too. I’m hoping this plane flies good as I’m adding a bunch of stuff to it and it’s going to have a ton of bling for a 57” wingspan model. Going to model the “ace of spades” SBD 5.

 02-28-2019, 04:09 AM
#100
Thread Starter
Finished up the bomb release mechanism. Used mainly 3/16� dowel and some light ply. Using a Dremel saw blade, I cut through each joint and used pieces of 1/32 ply to reinforce each joint. Thefront of the mechanism has a drill bit in it but it will get a pin that can be removed so the trapeze can taken off when pulling the wing.