


Skyshark Dauntless Build


 03-04-2019, 06:08 AM
#102

Thread Starter


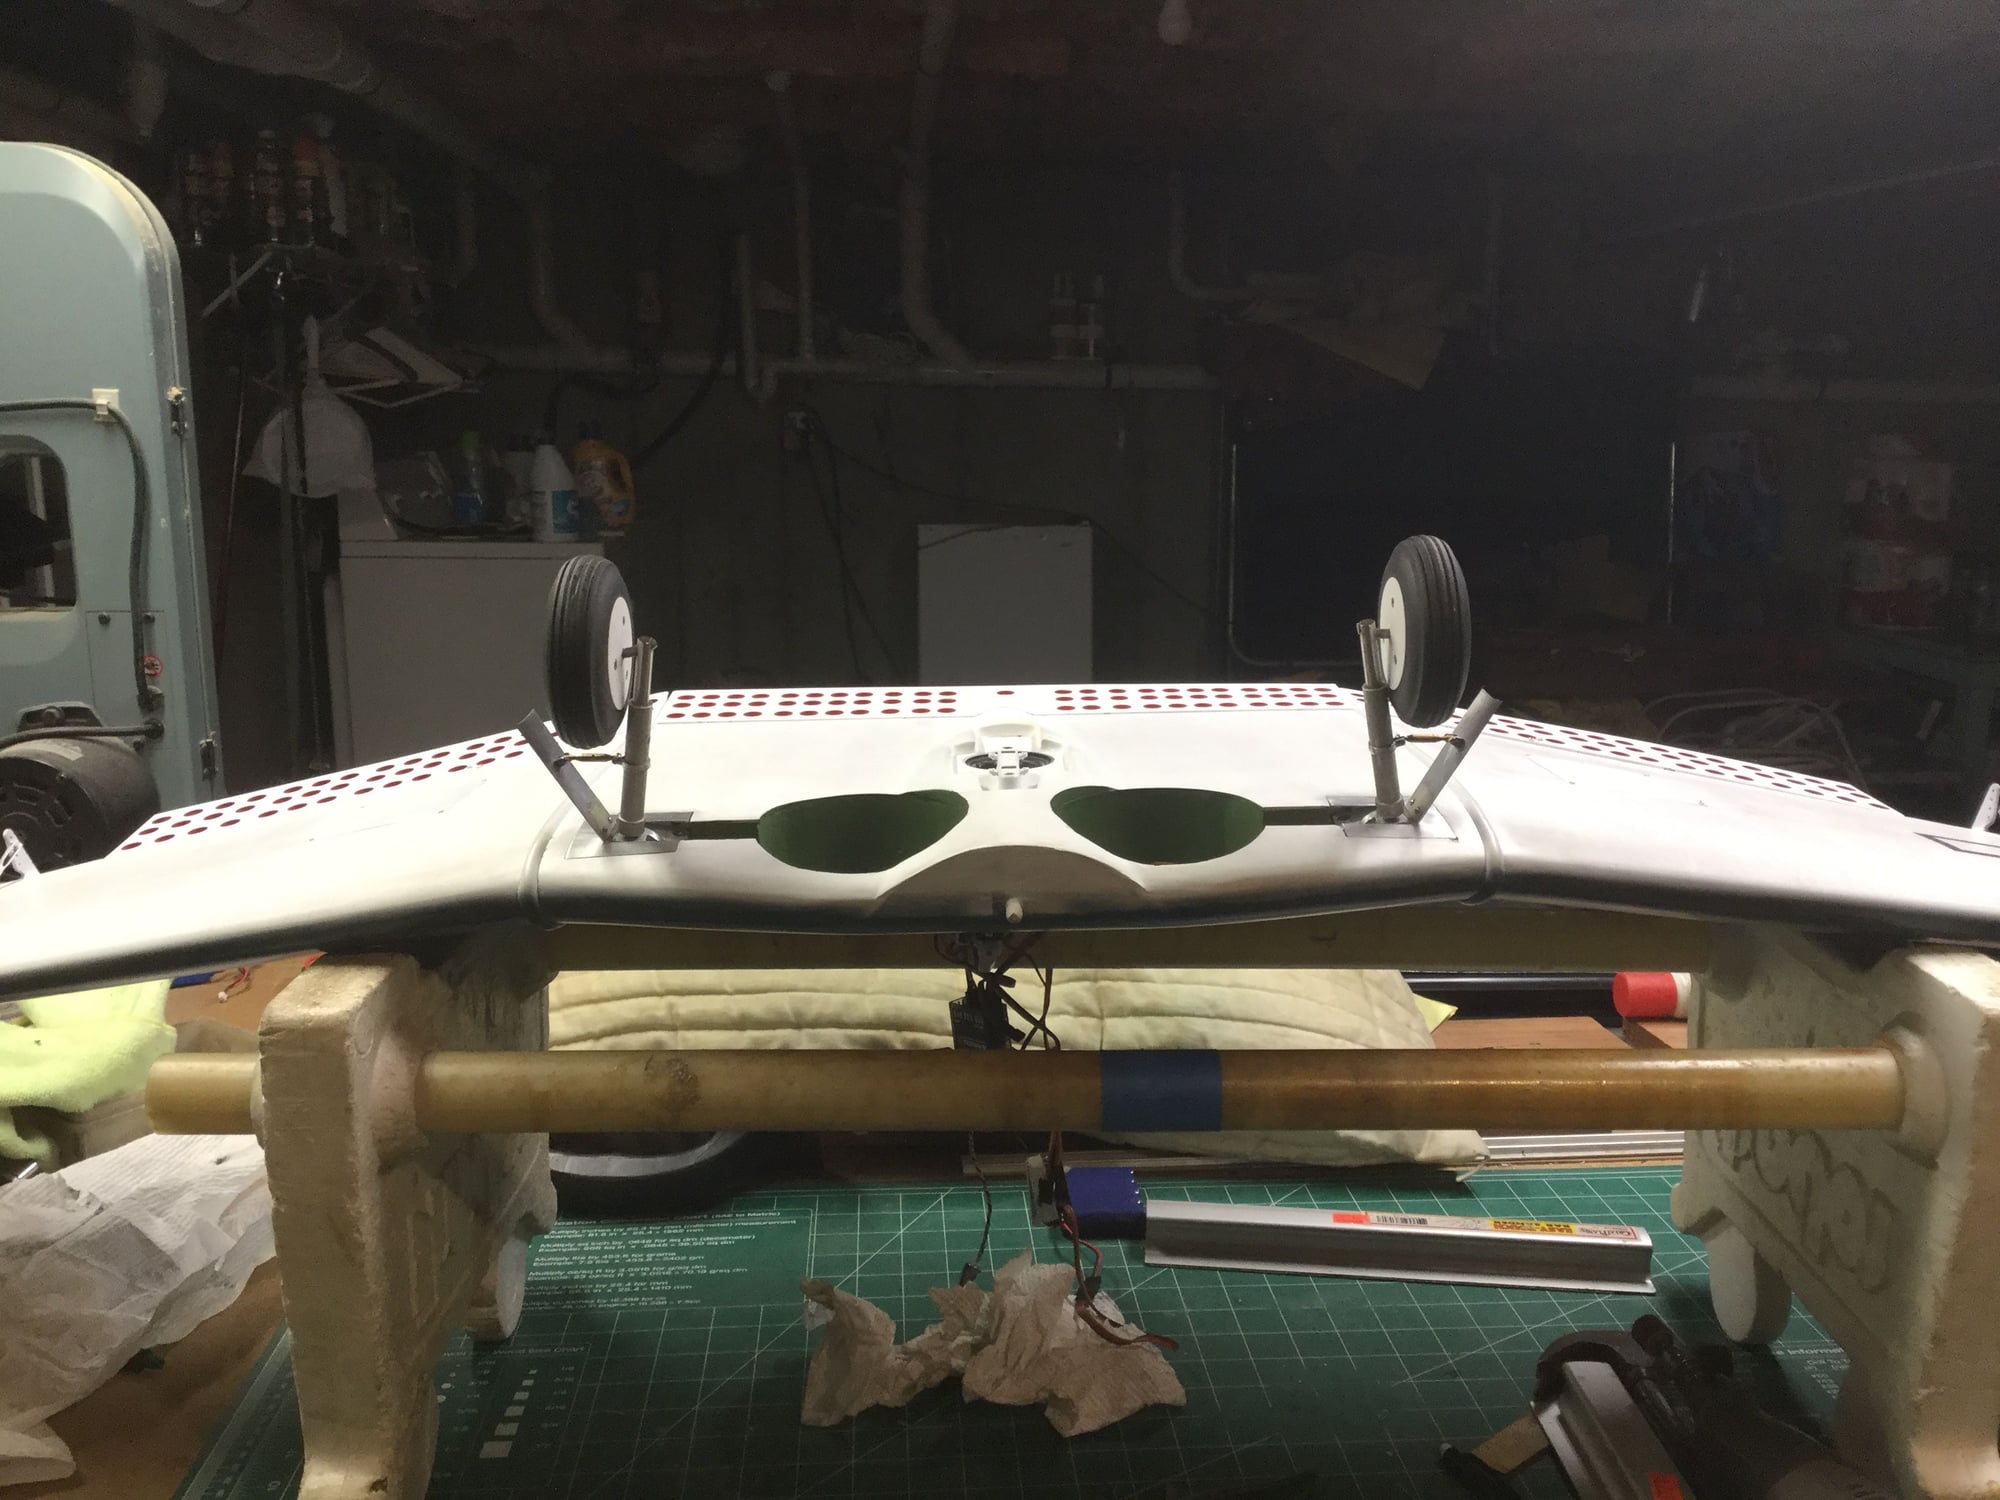


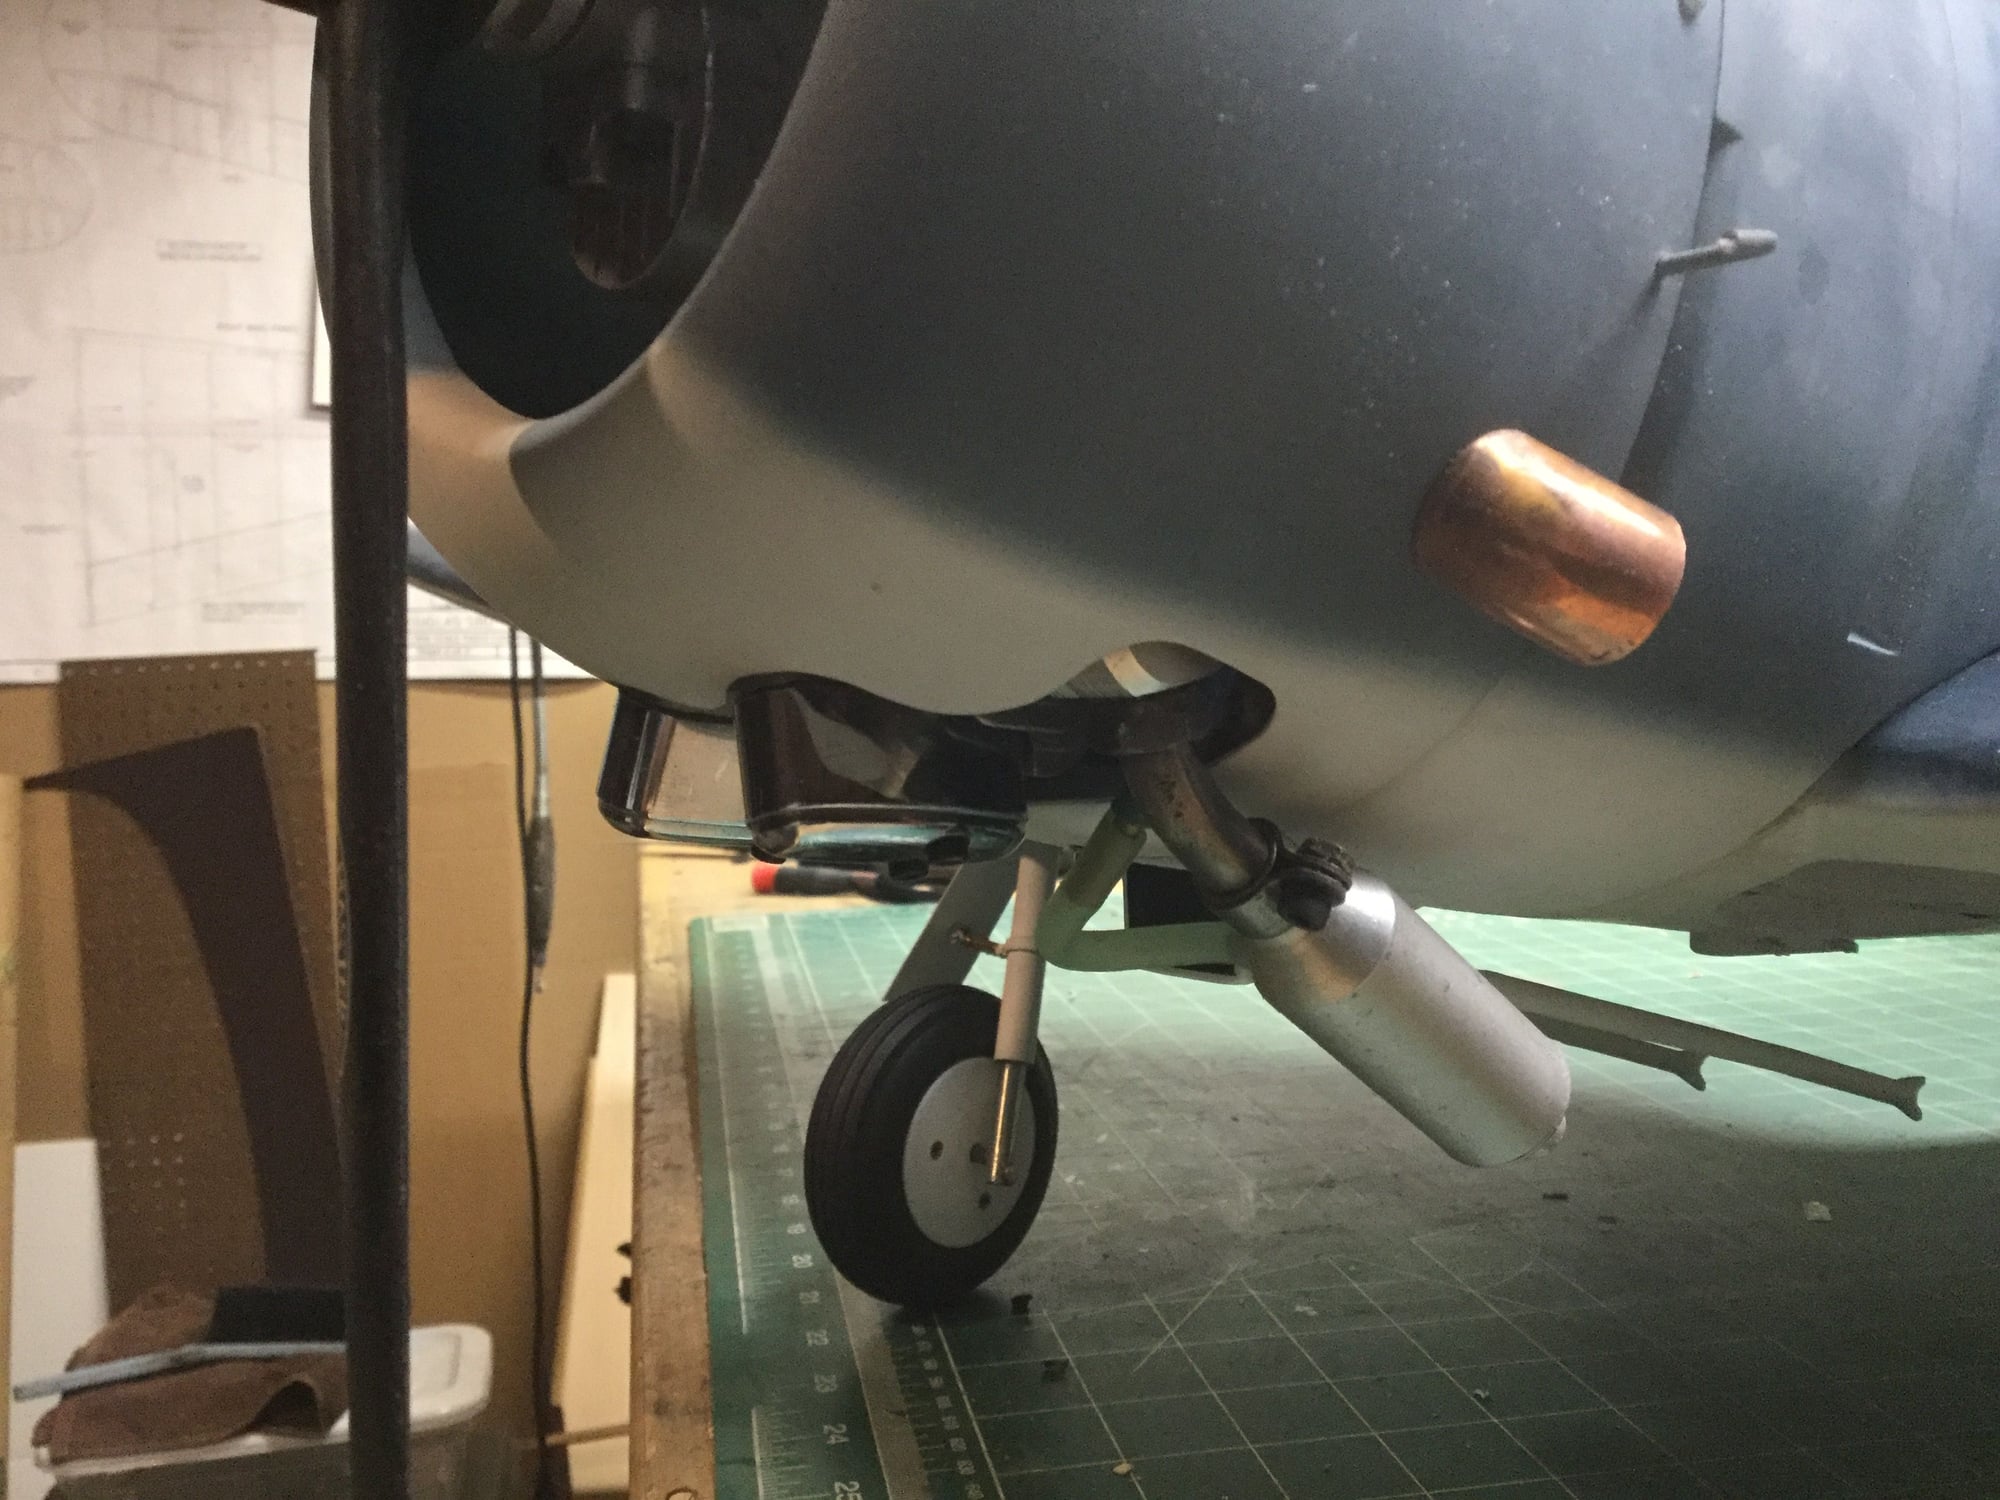
Made up retract base covers, gear doors, and actuating linkage. The covers and doors are out of.032 aluminum. Linkage is aluminum with brass turnbuckles. Works as the original.
 03-10-2019, 06:37 AM
#105
Thread Starter
Geez Tom, I thought you would have come back at me with some sort of funny comment ��. The covers have two angled sides bent at a 90d on them that equal the depth of the top of the retract mounting plate. I drilled a 5/32 hole through each one and put a small hex servo mount screw through each one into the wood on each side of the retract bay. The screws are accessible with the door up and with a 5/32” Allen ball driver used a a low angle through the door opening. Once in tight, the screws are not visible with the gear down as the heads are tucked way over on each side. I’ll get some pictures when I put them back in as they are out right now getting painted.
 03-10-2019, 07:01 PM
#107
Geez Tom, I thought you would have come back at me with some sort of funny comment ��. The covers have two angled sides bent at a 90d on them that equal the depth of the top of the retract mounting plate. I drilled a 5/32 hole through each one and put a small hex servo mount screw through each one into the wood on each side of the retract bay. The screws are accessible with the door up and with a 5/32� Allen ball driver used a a low angle through the door opening. Once in tight, the screws are not visible with the gear down as the heads are tucked way over on each side. I�ll get some pictures when I put them back in as they are out right now getting painted.
 03-10-2019, 07:02 PM
#108
Thread Starter
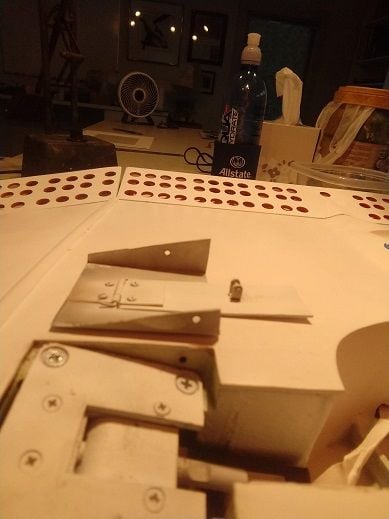
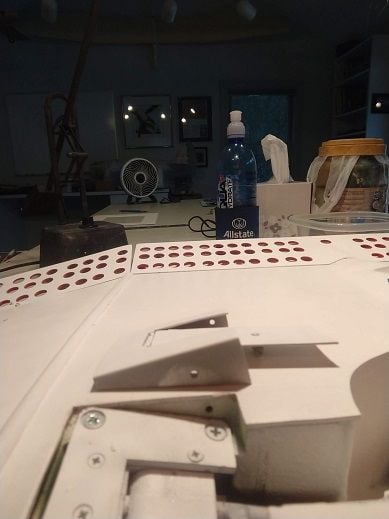
This picture shows the underside of the retract cover with the angled sides and the holes for the retaining screws in each side.
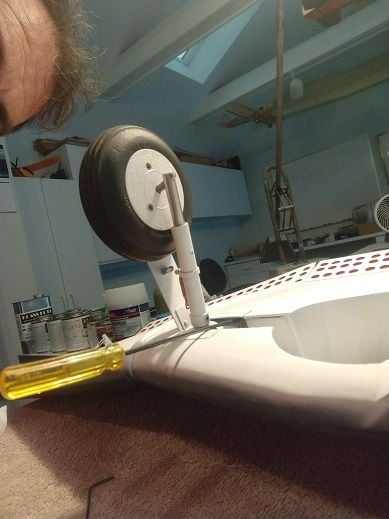
This picture shows how the allen head screws are accessed through the door when the retract is open.
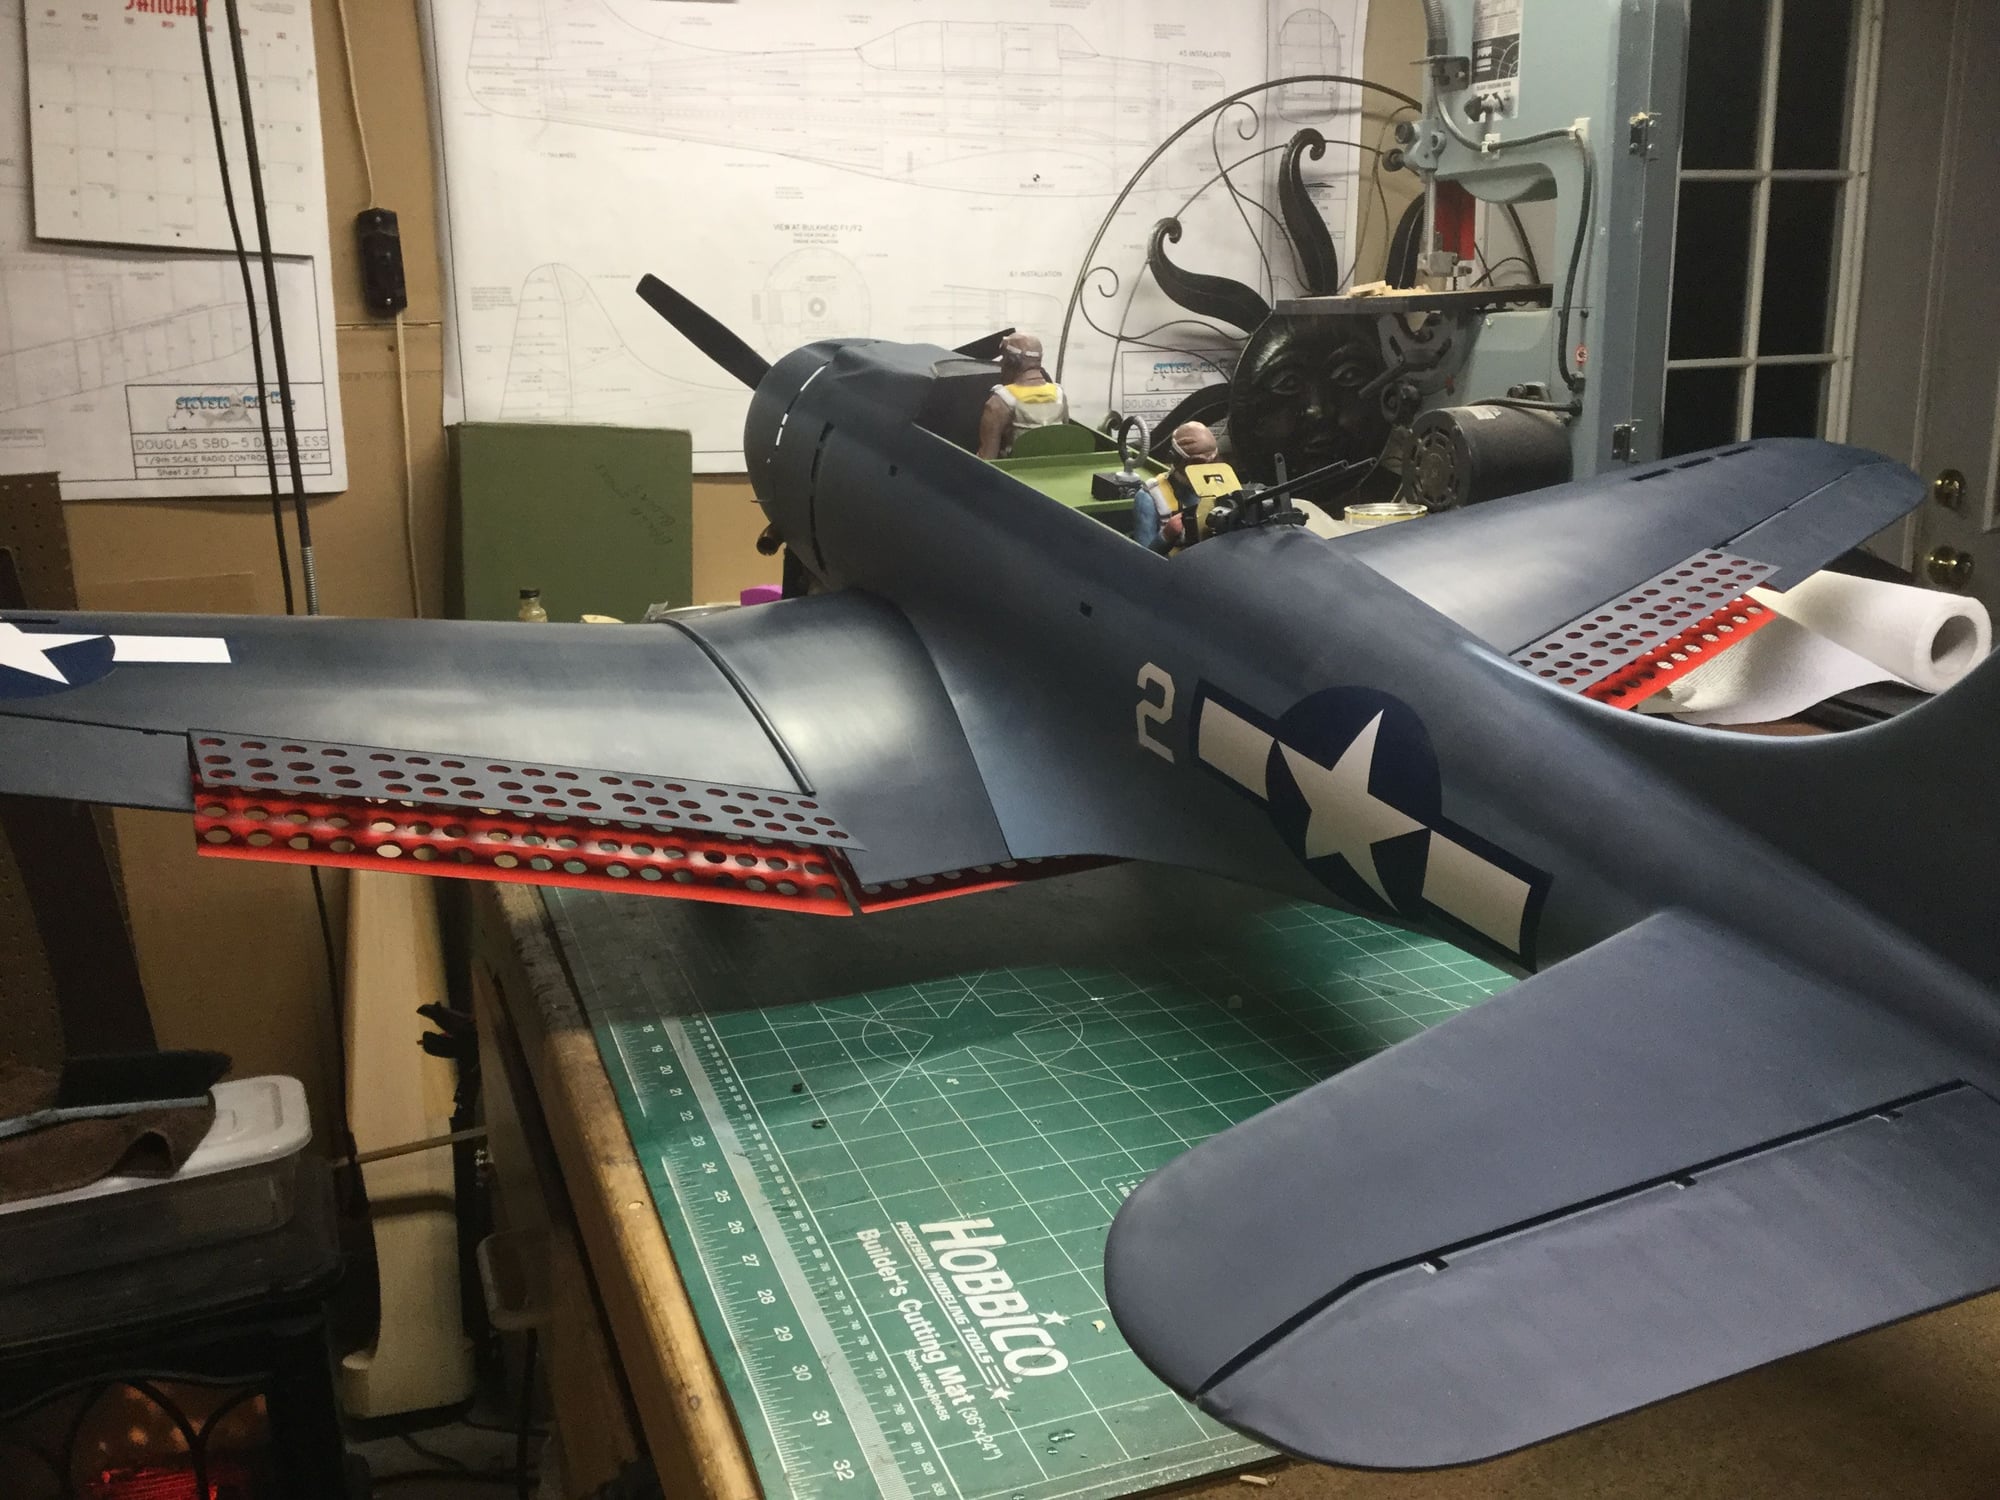
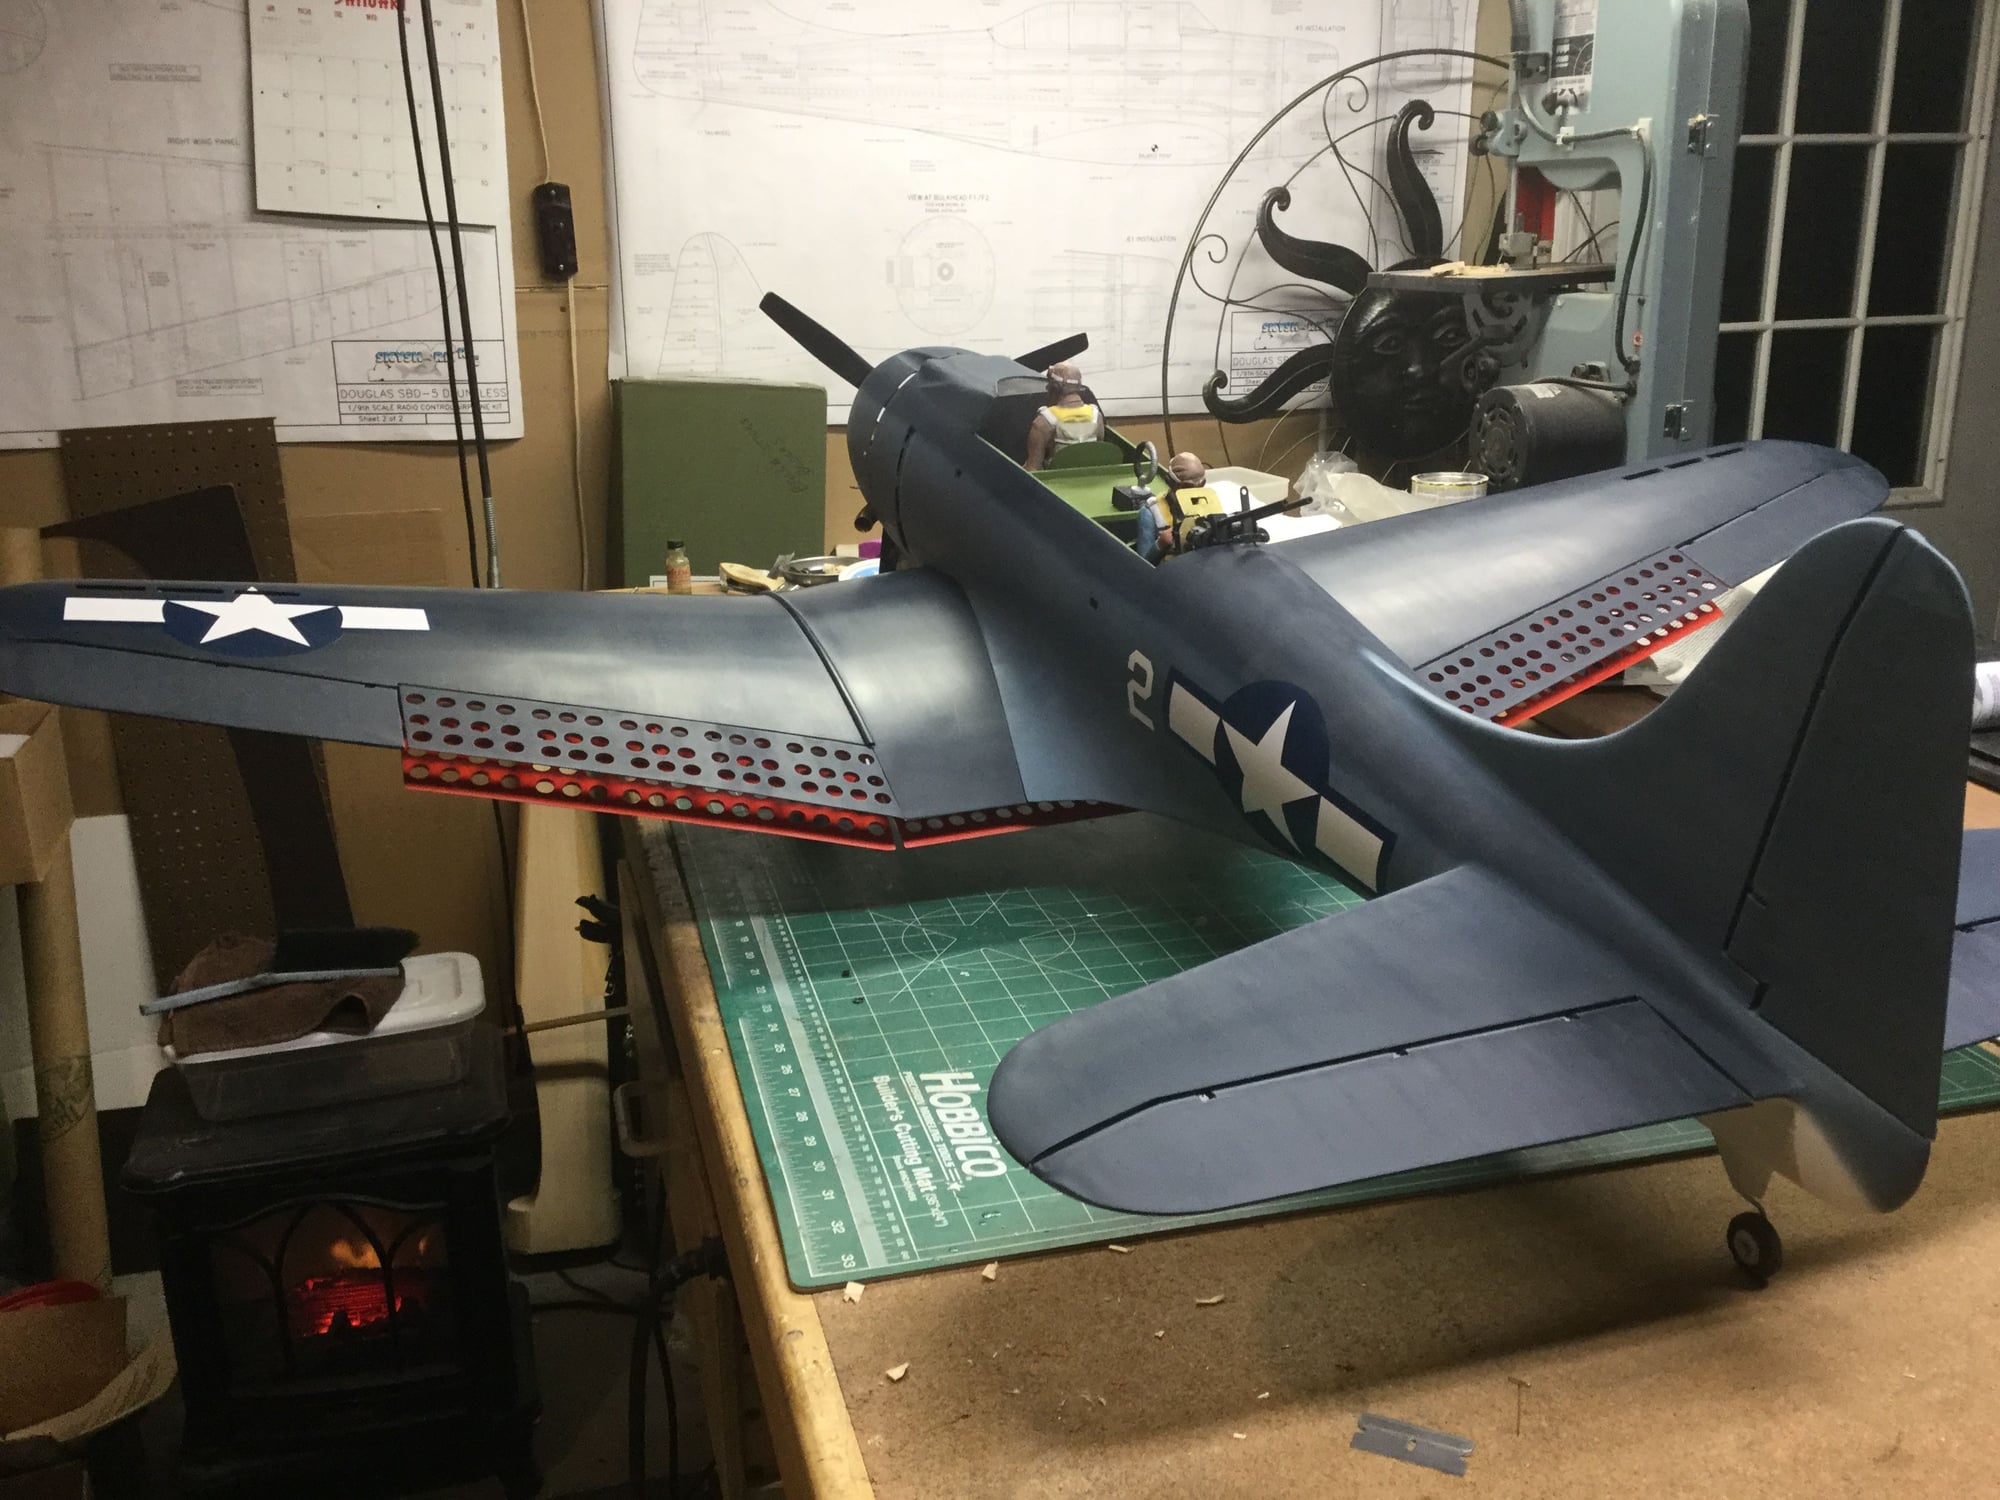
Gerry painted the struts, retract covers, and the wheel wells insignia white. He had originally painted the wells chromate green thinking that was the correct color like most WWII USA birds but the Dauntless was all painted the same color of the wing bottom and in this case, it's white. He also painted the fuse stars and bars along with the number "2" for the "Ace Of Spades". I reinstalled the covers and using fine wire, secured the turnbuckles from turning by putting the wire through the barrel and the end. This should keep the doors in the correct position.
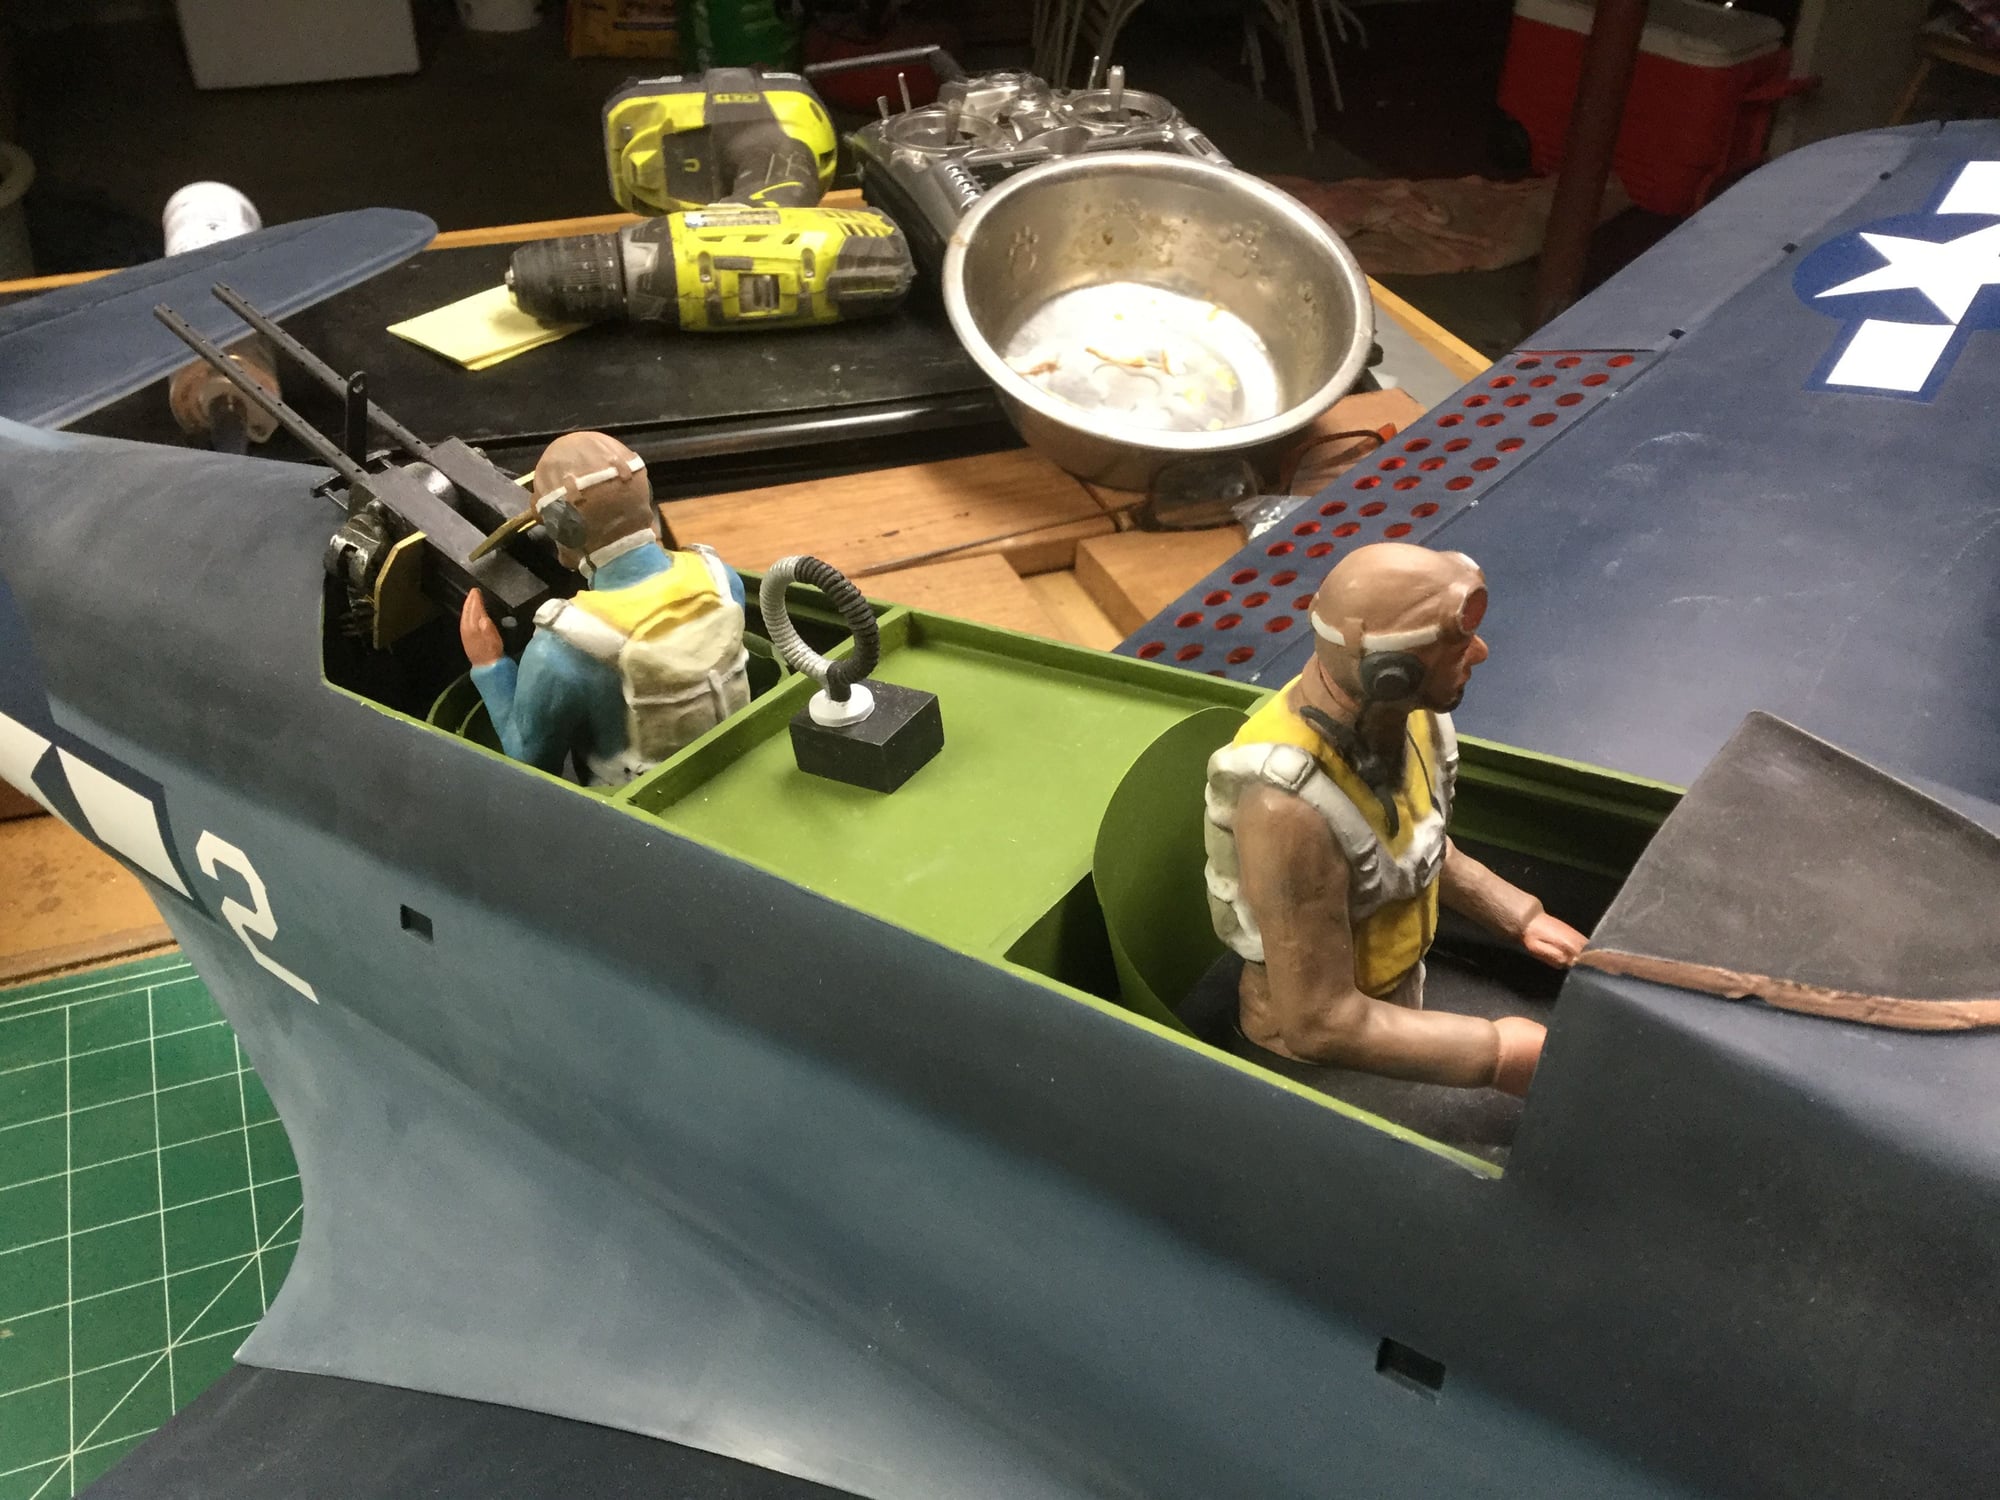
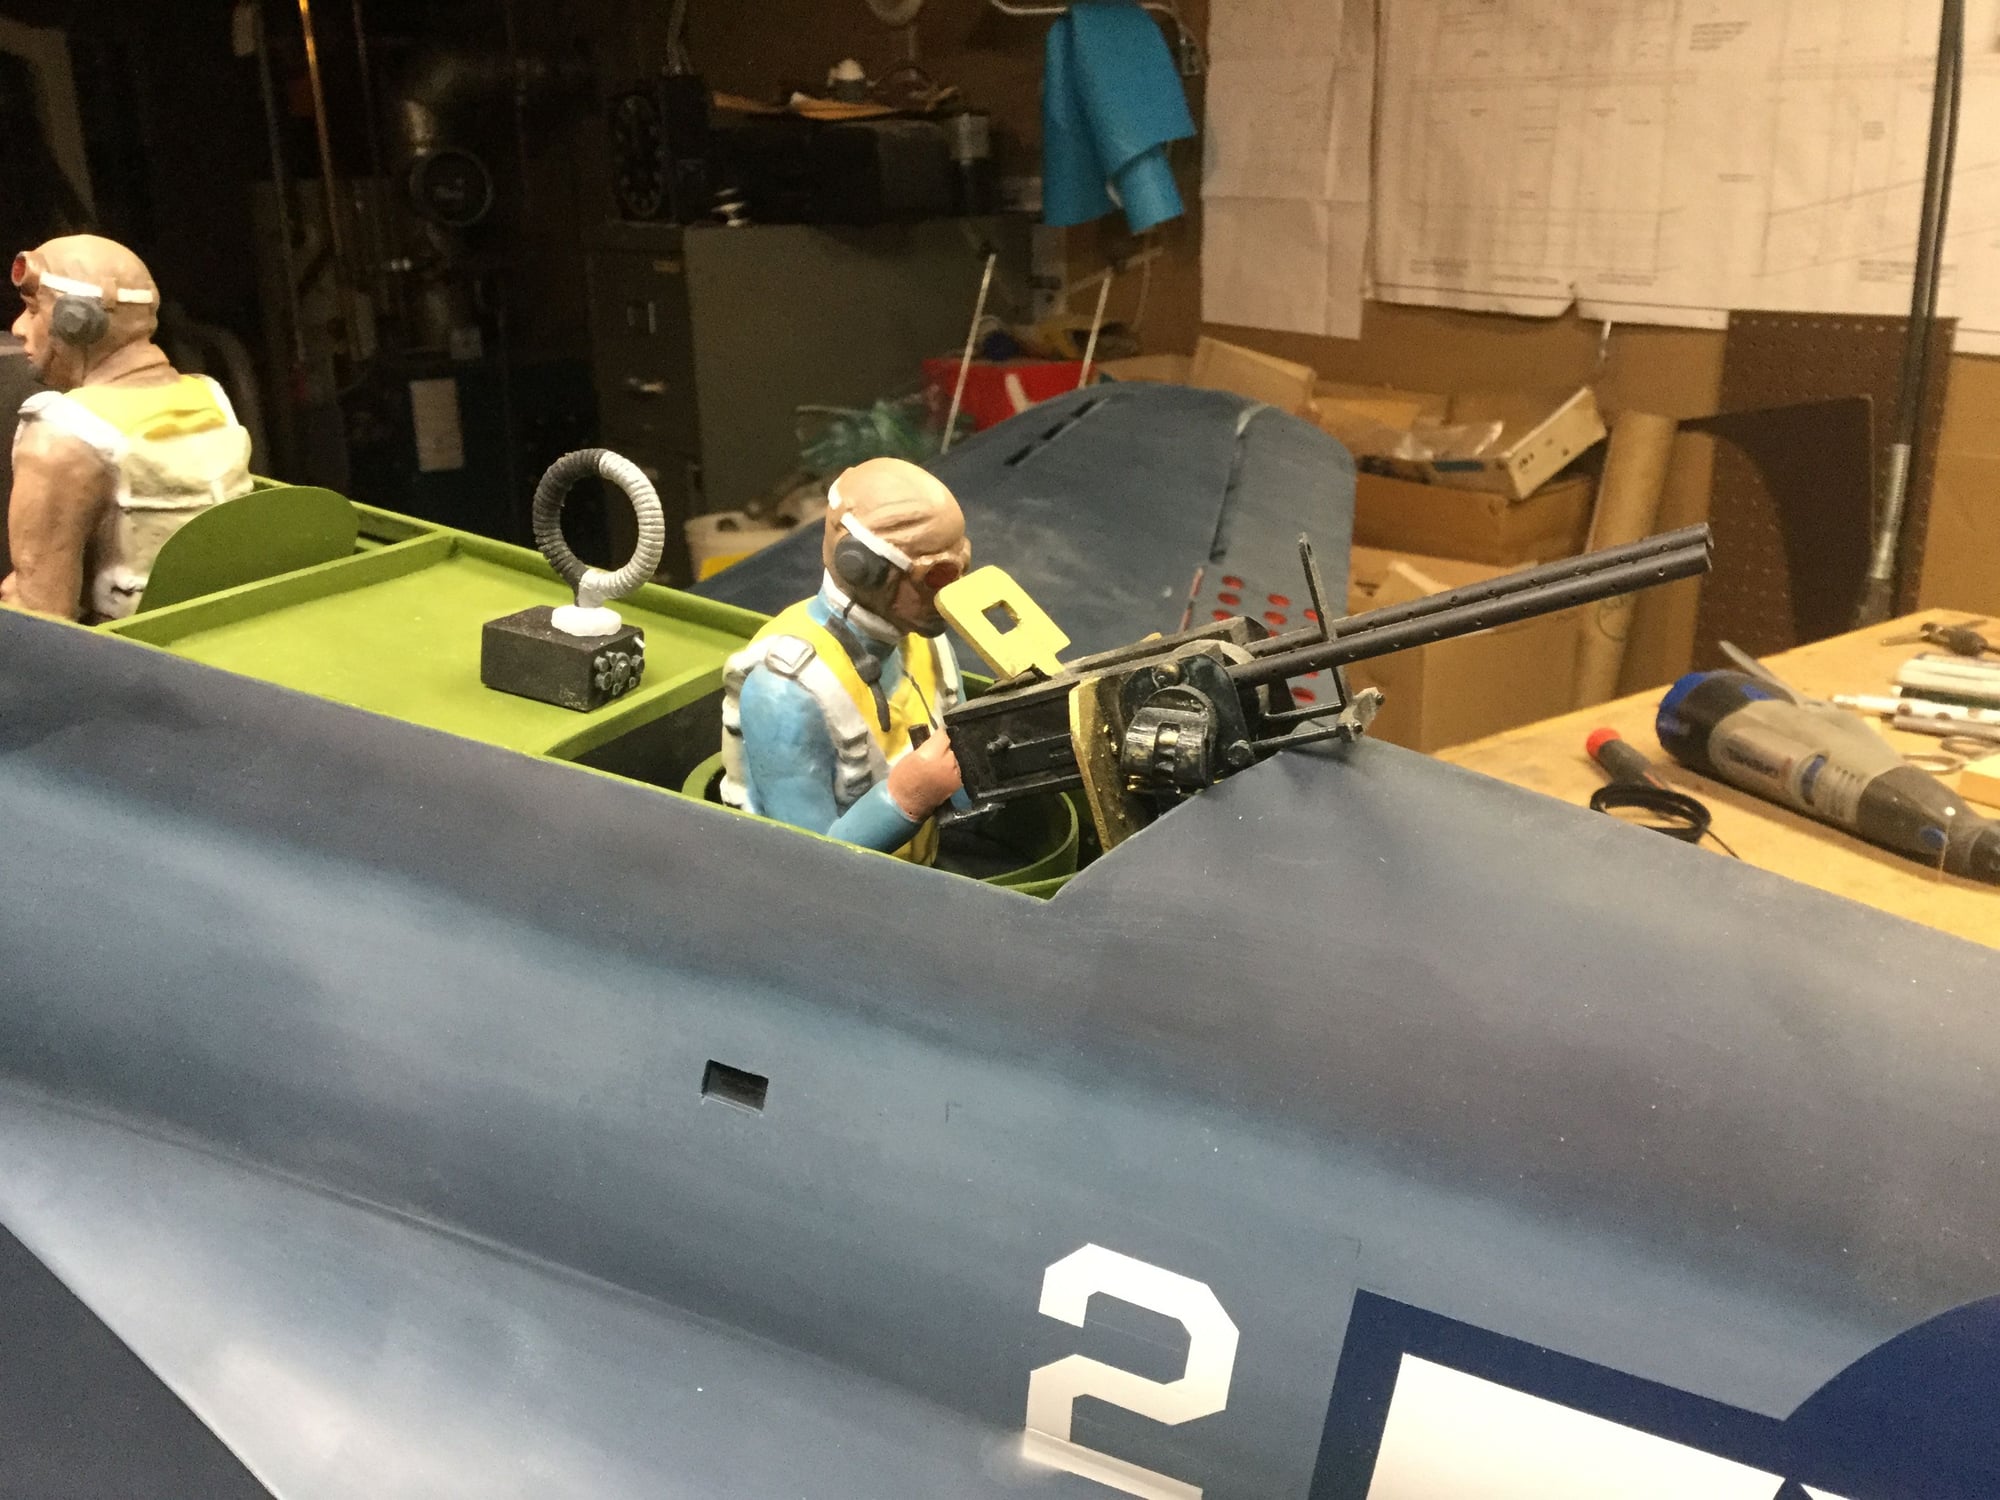
I decided to put the on/off/charge switch in the cockpit alongside the pilot seat rather than putting it in the fuse side. I made a ply box and set it in at an angle similar to the right side panel. Because the glow plug access is difficult do to the cowl mounting block, I'm thinking I'm going to put in on-board glow. If I do, the charging jack will also be in the cockpit.
Going to start installing everything tomorrow to see what the weight and balance looks right. I imagine the weight will be up there some but we'll see. The wing is virtually the size of my BT Kingfisher and that weighs in at 10.5 and flies great so we'll see on this dauntless.
On a side note: Gerry surprised me with a nice framed photo of the Ace Of Spades to go along with the model when it's done.
03-12-2019, 08:05 PM
#109
Thread Starter
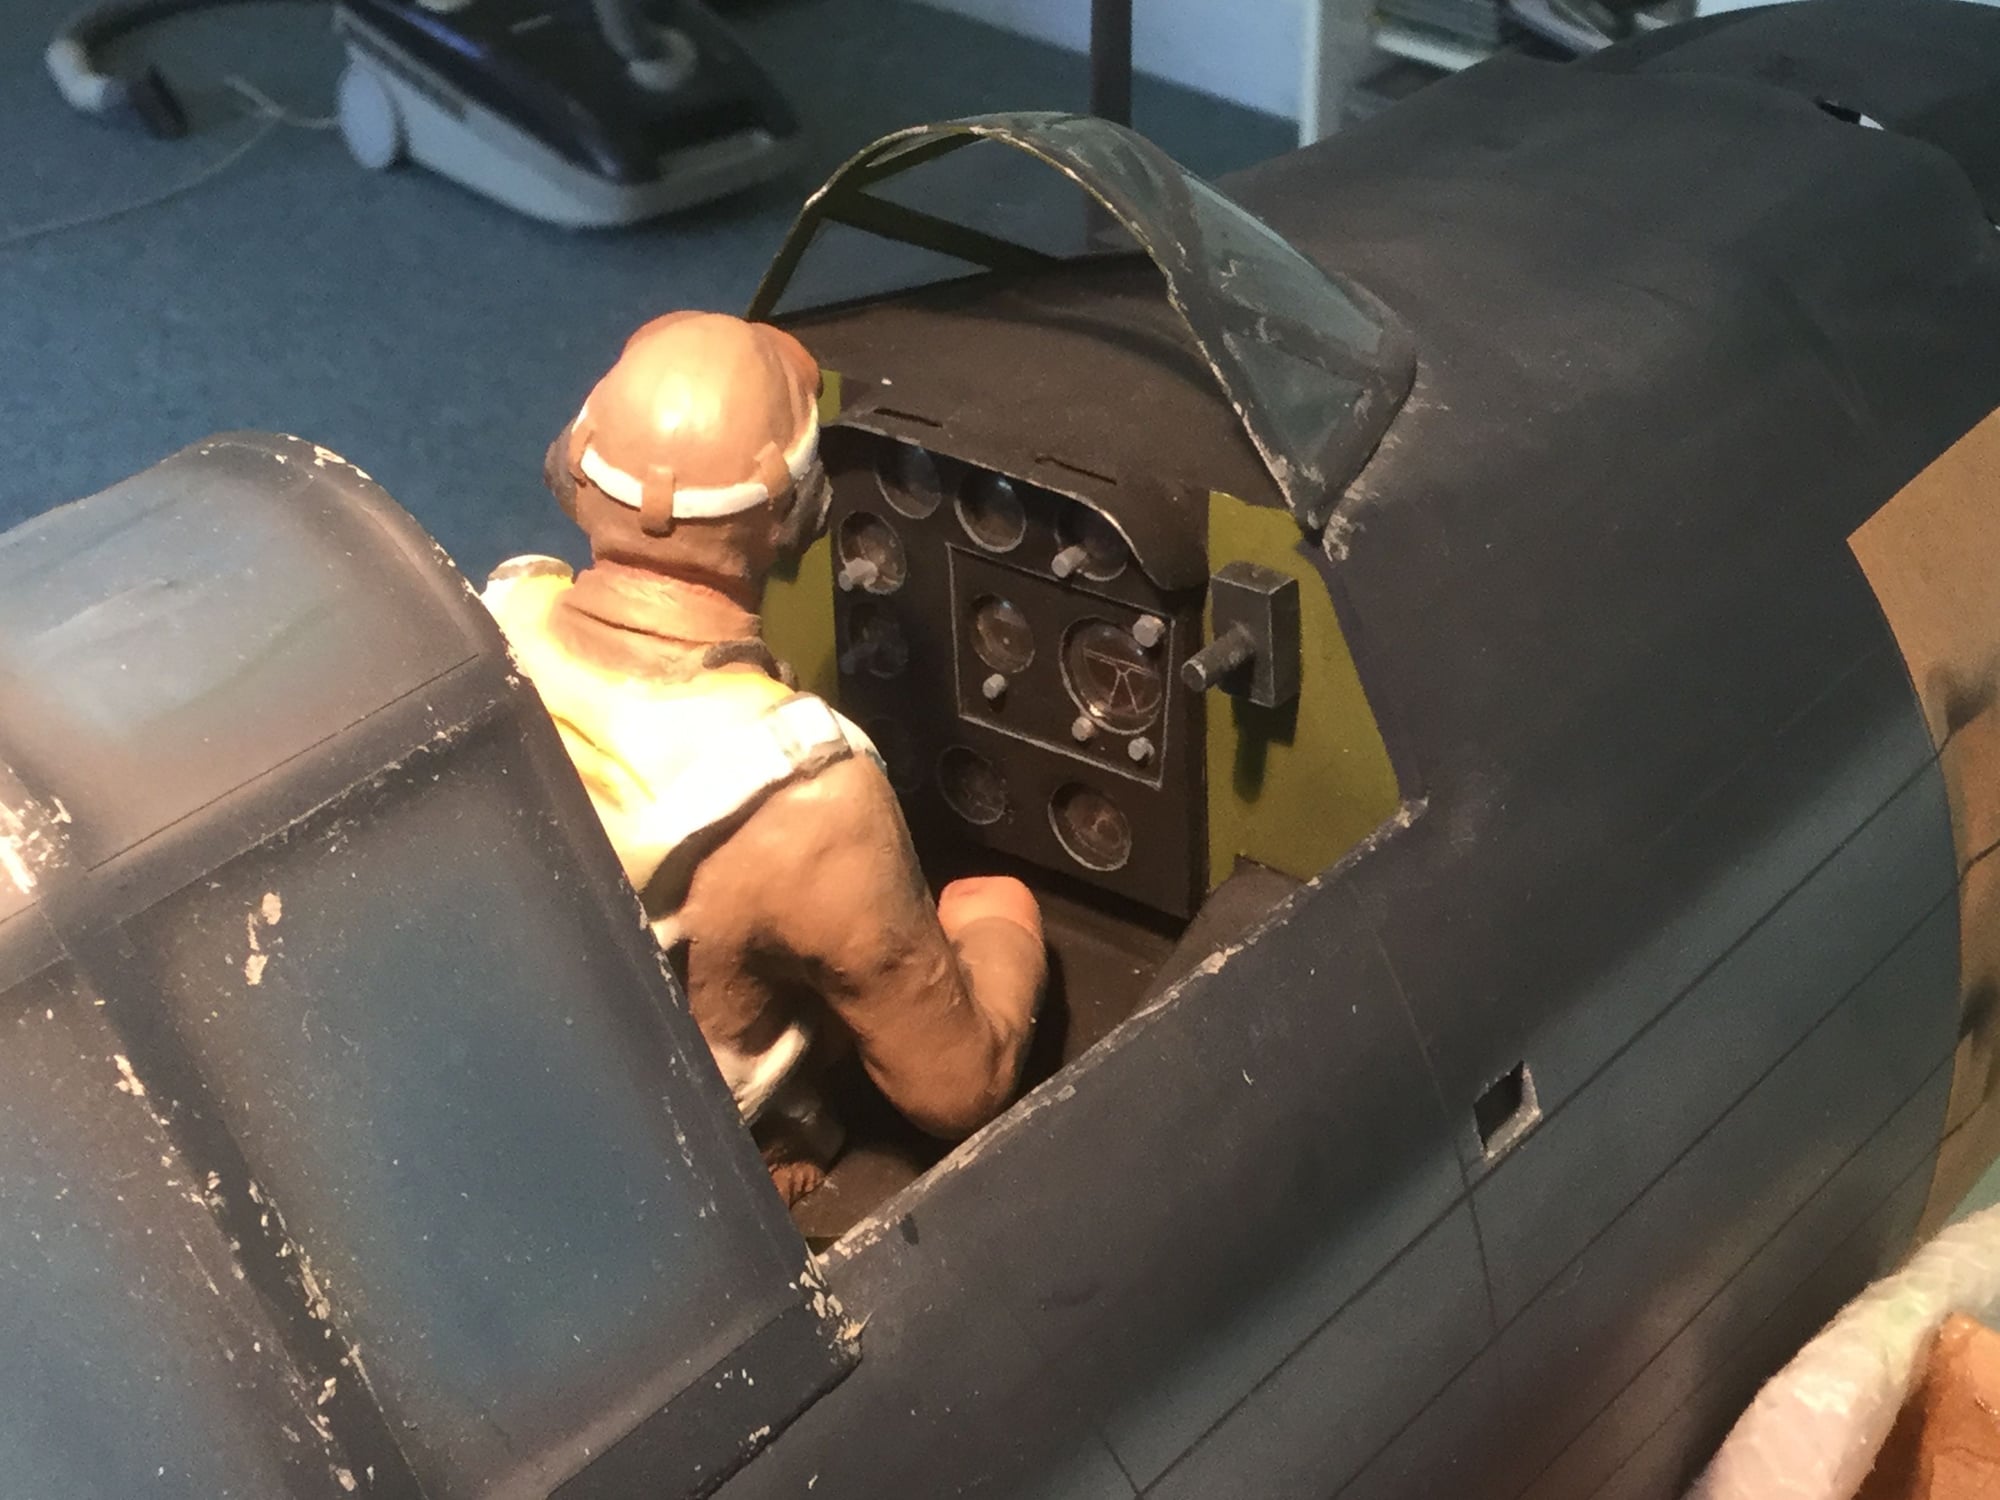
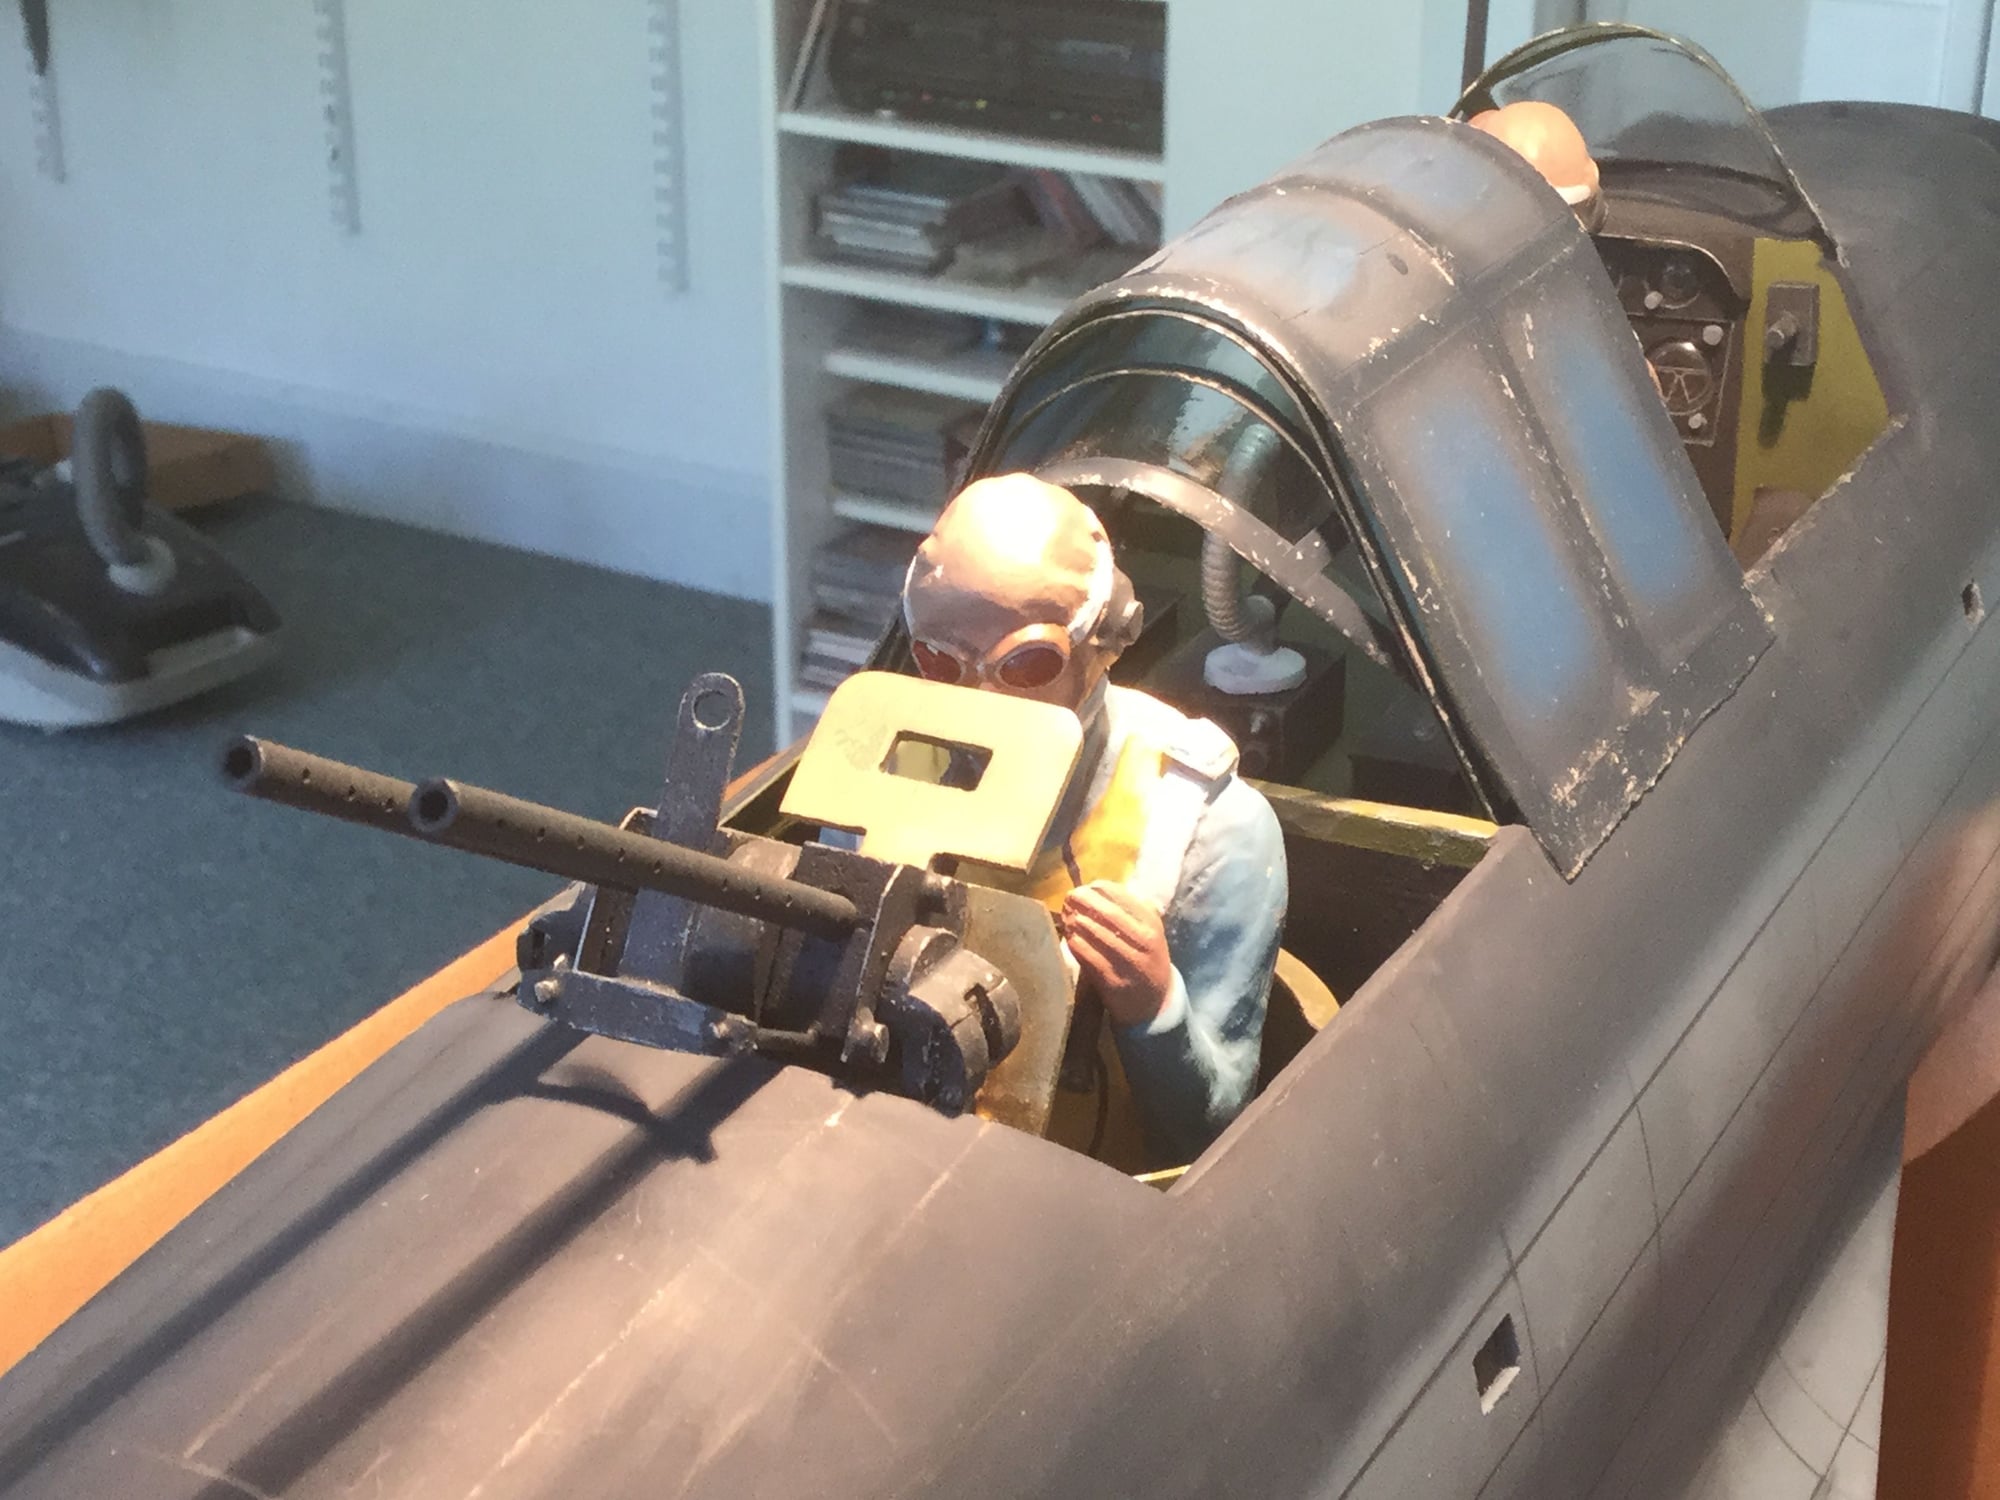
Getting close to canopy time.

Looks like Mark Knoffler from Dire Straits!

Guns firing. The speaker is really loud and I�m sure we�ll hear it over the engine.
Dive brakes activated
Flaps down
My copper elbow exhaust. Needs paint.
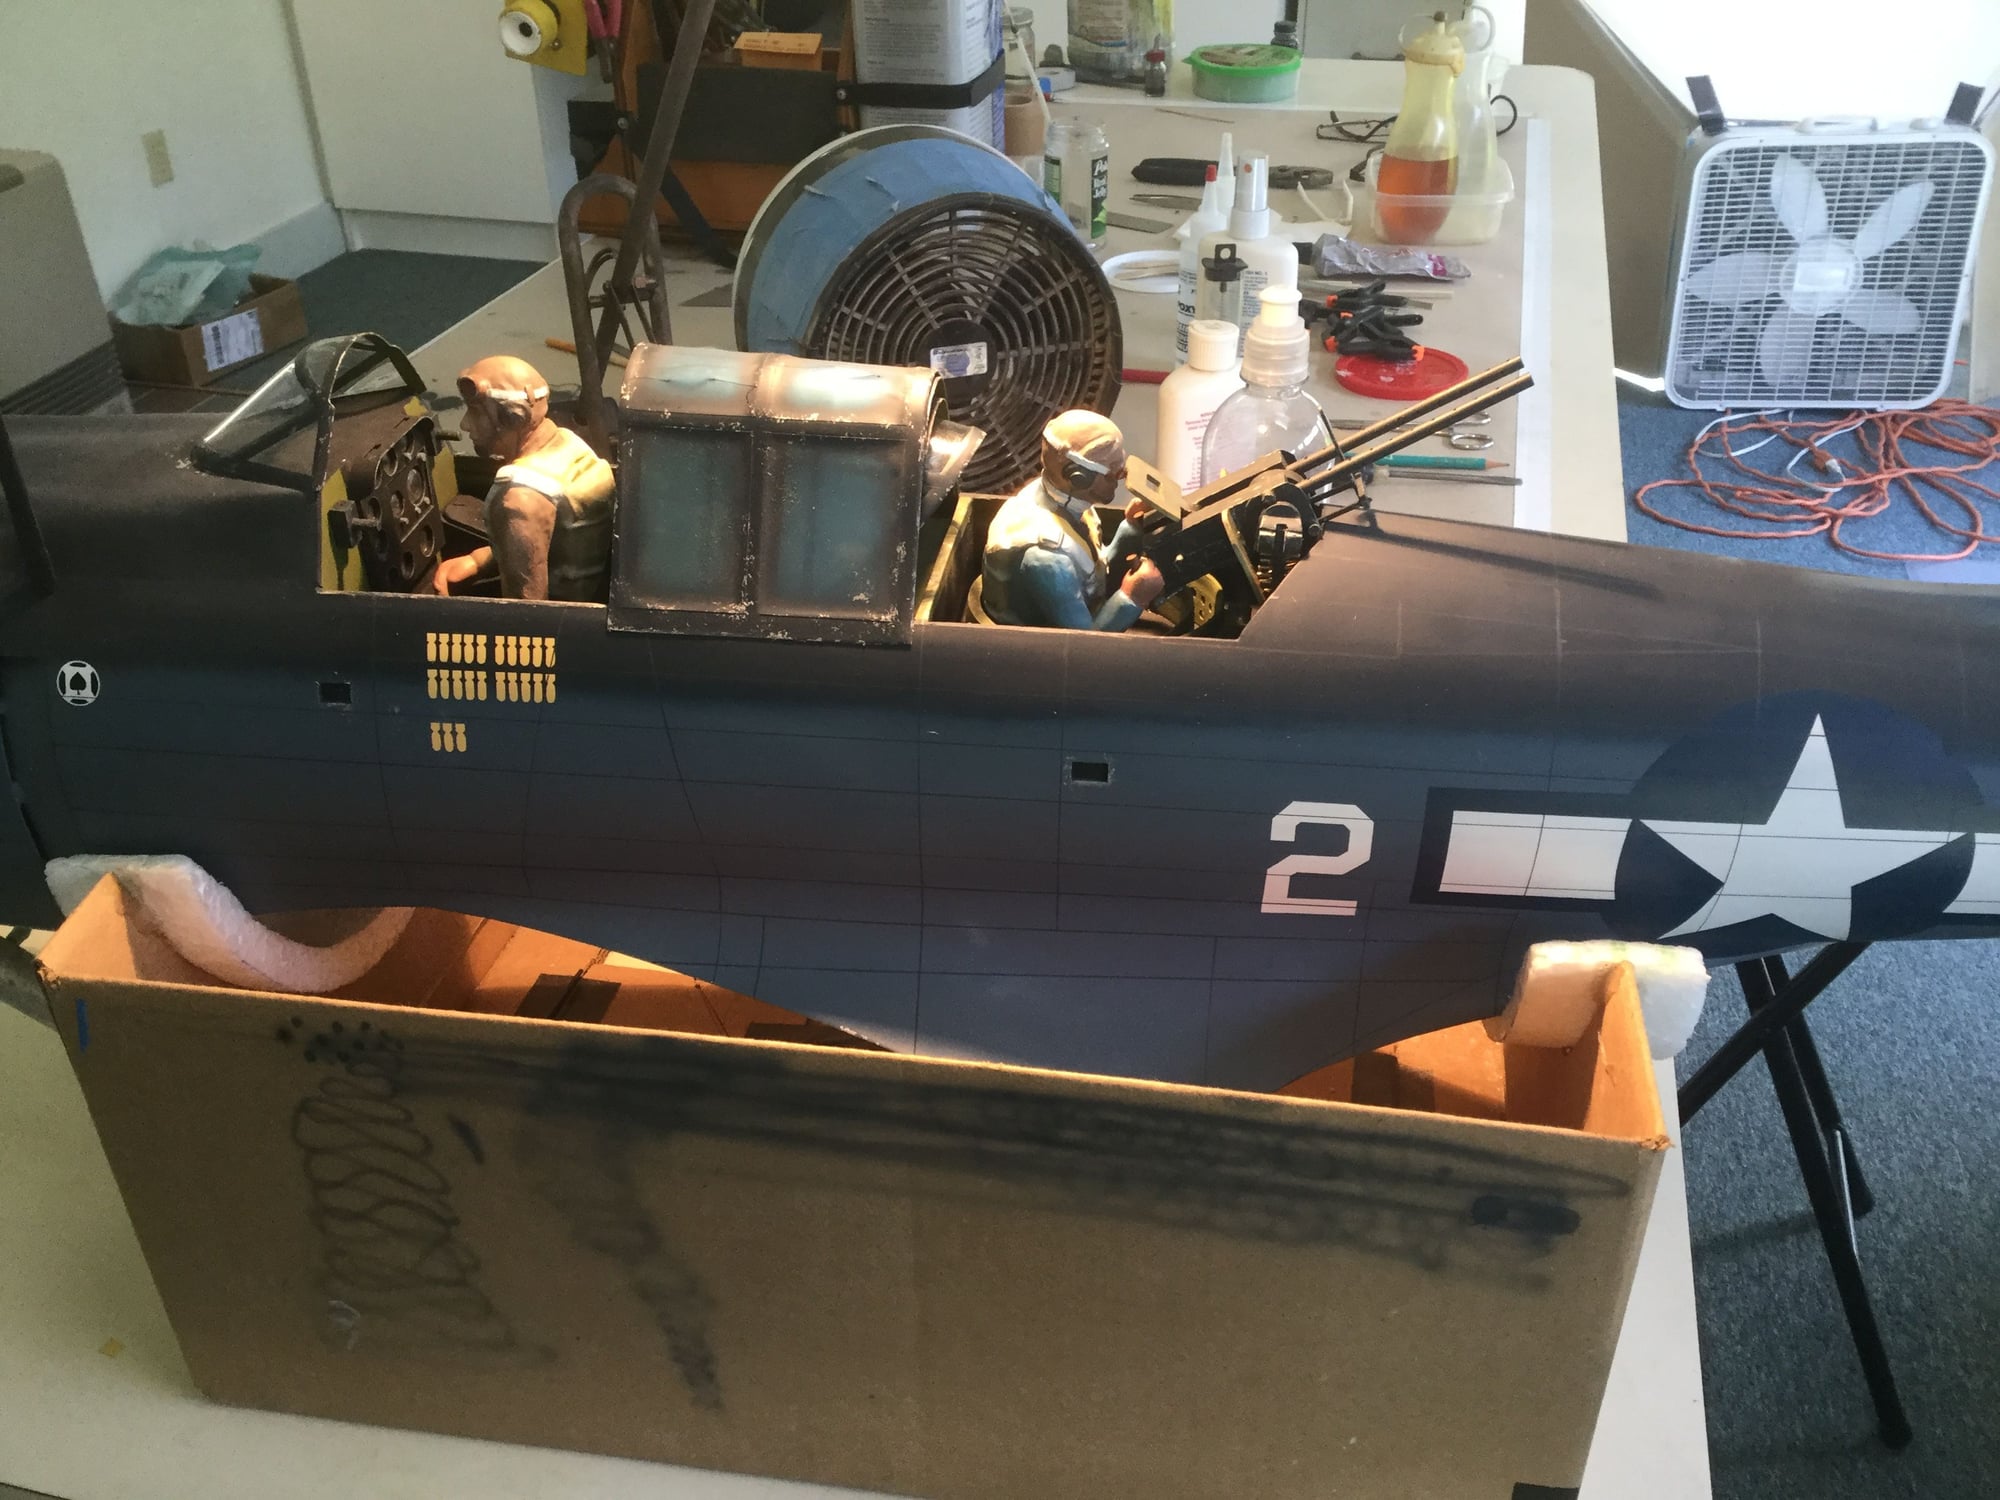
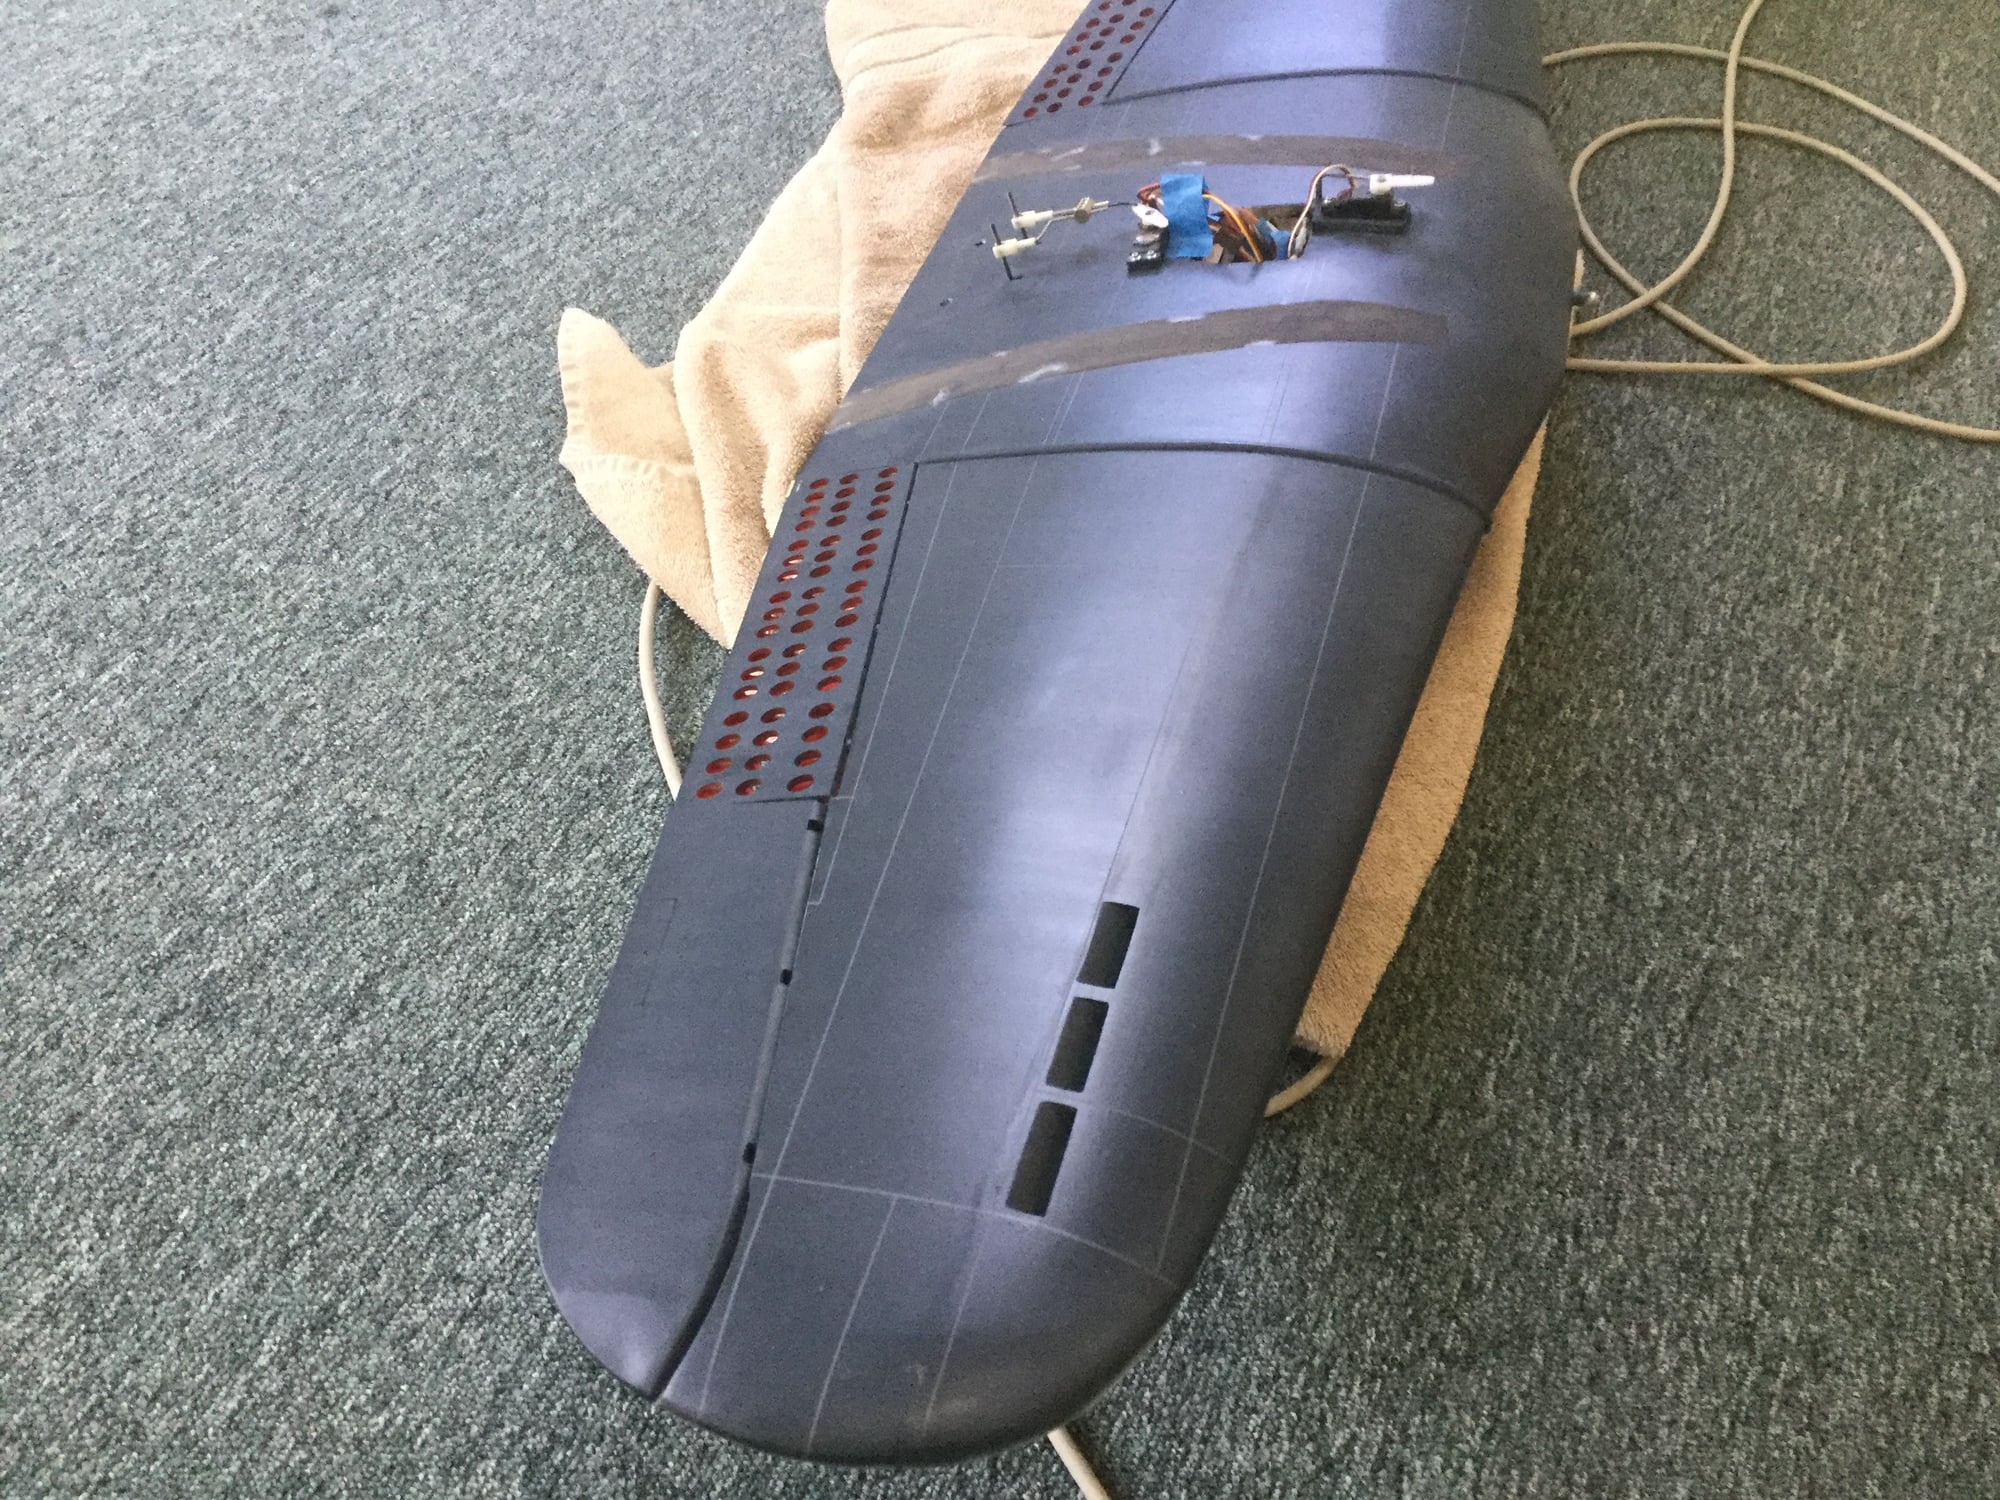
Getting more done. Put the radio gear all in with a 6v battery up against the back of the firewall. Installed the LED machine gun lights in the front facing guns, the engine, fuel filler valve and other small things. Still more to do but it�s coming together. More paint work yet and then final assembly. Put it on the balancer to see how much lead I would need to add and it was almost dead on with no prop or muffler on at the time! I haven�t weighed it yet but will do so tomorrow.
04-17-2019, 06:18 PM
#110
Thread Starter
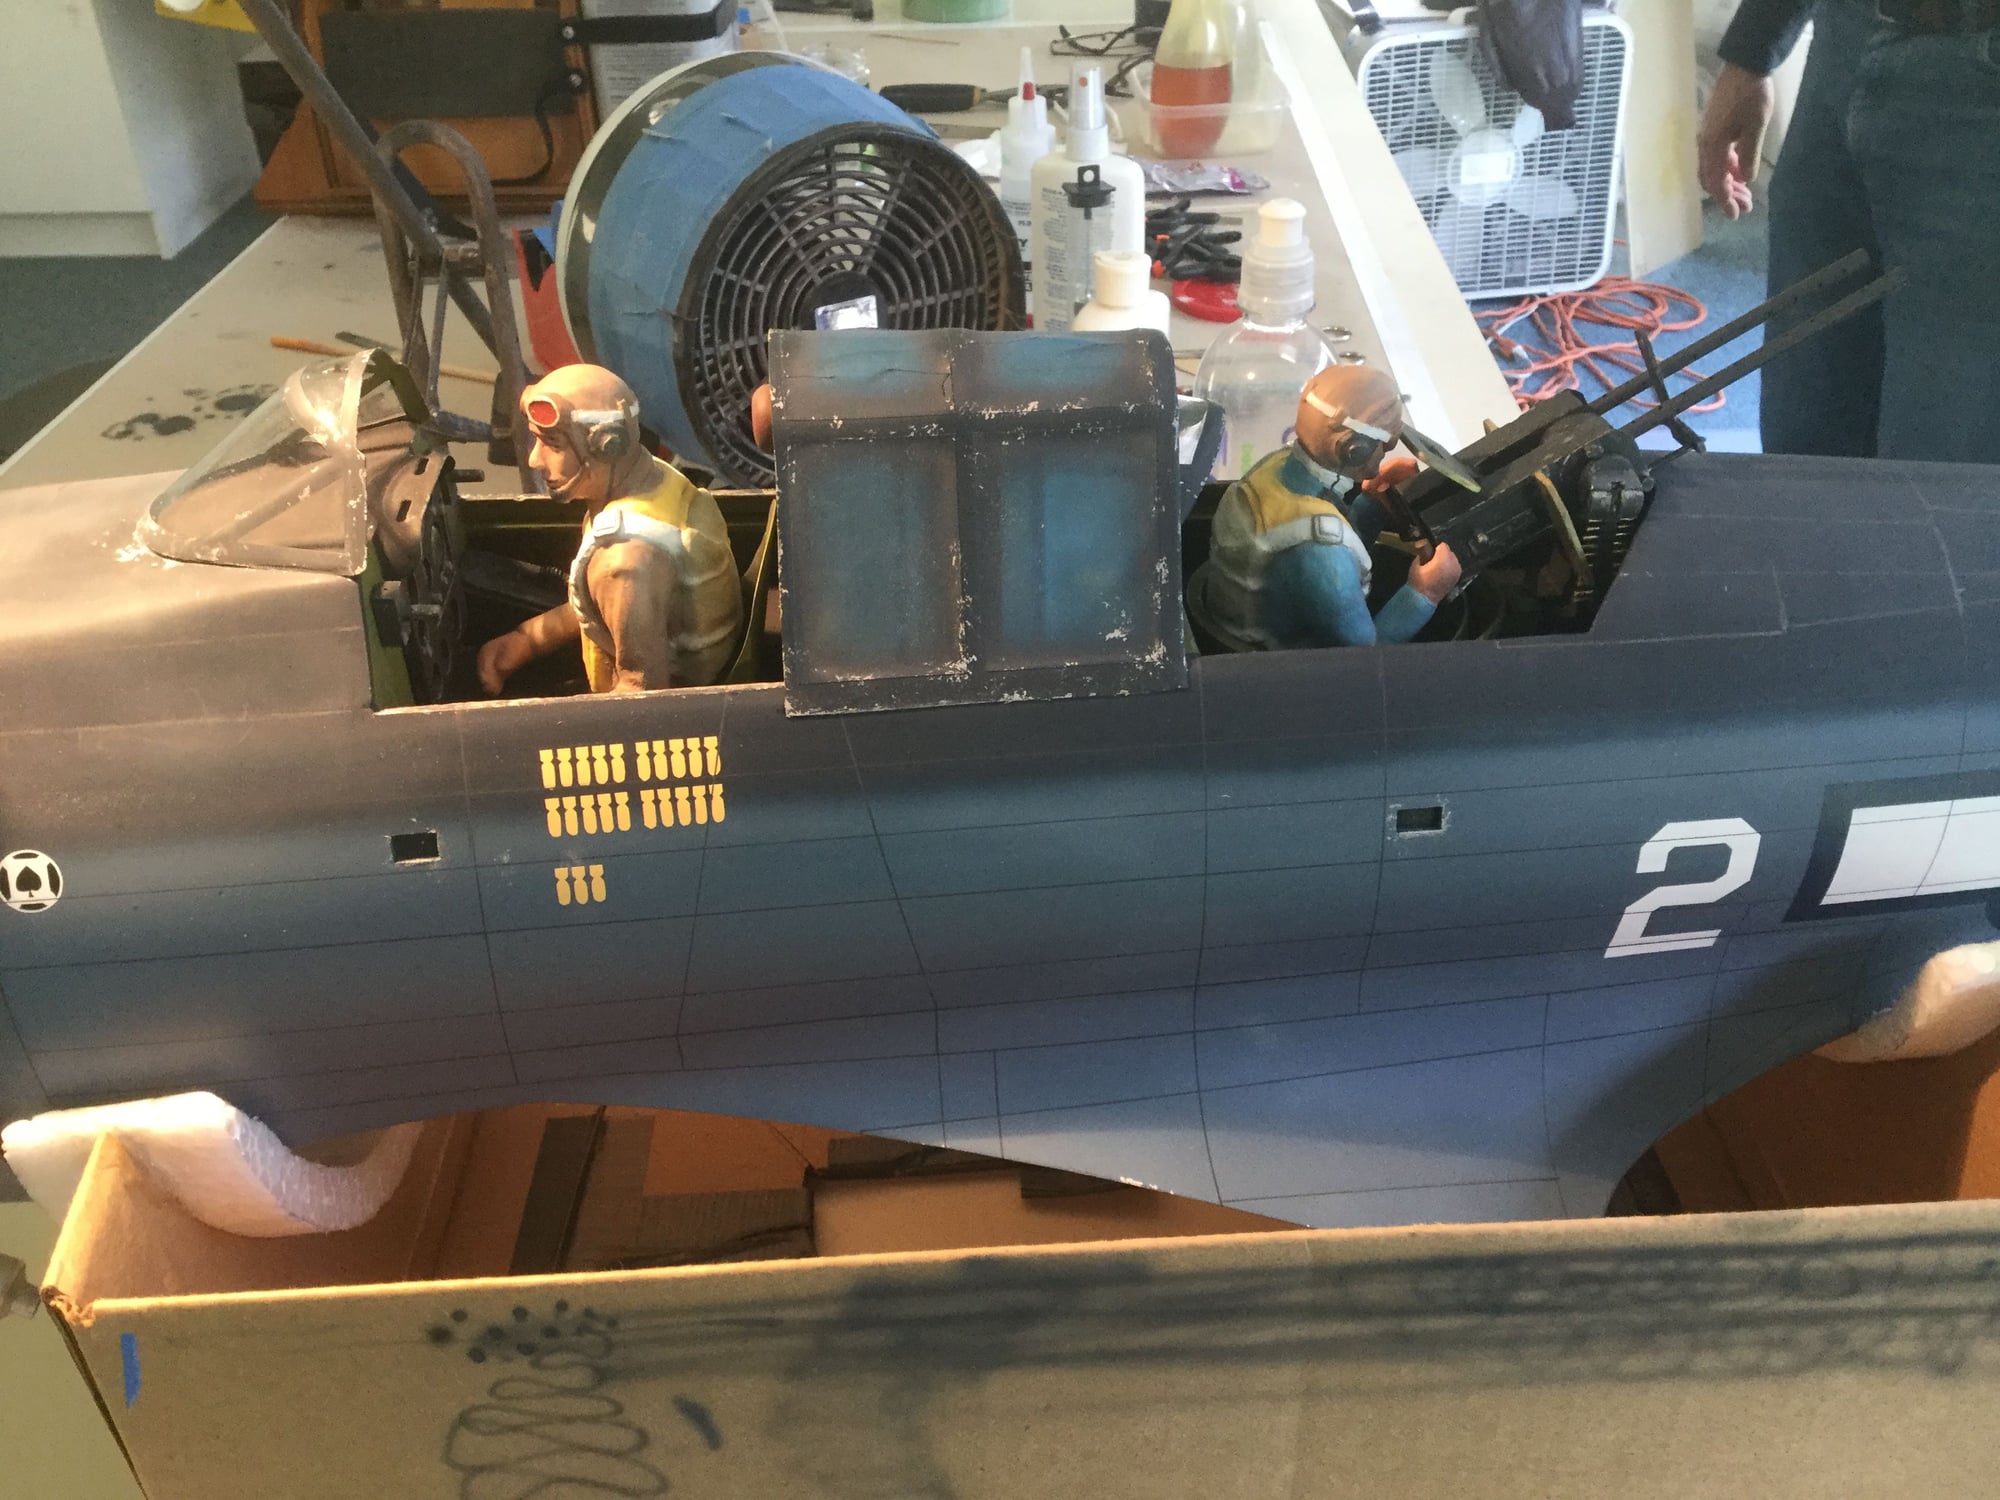
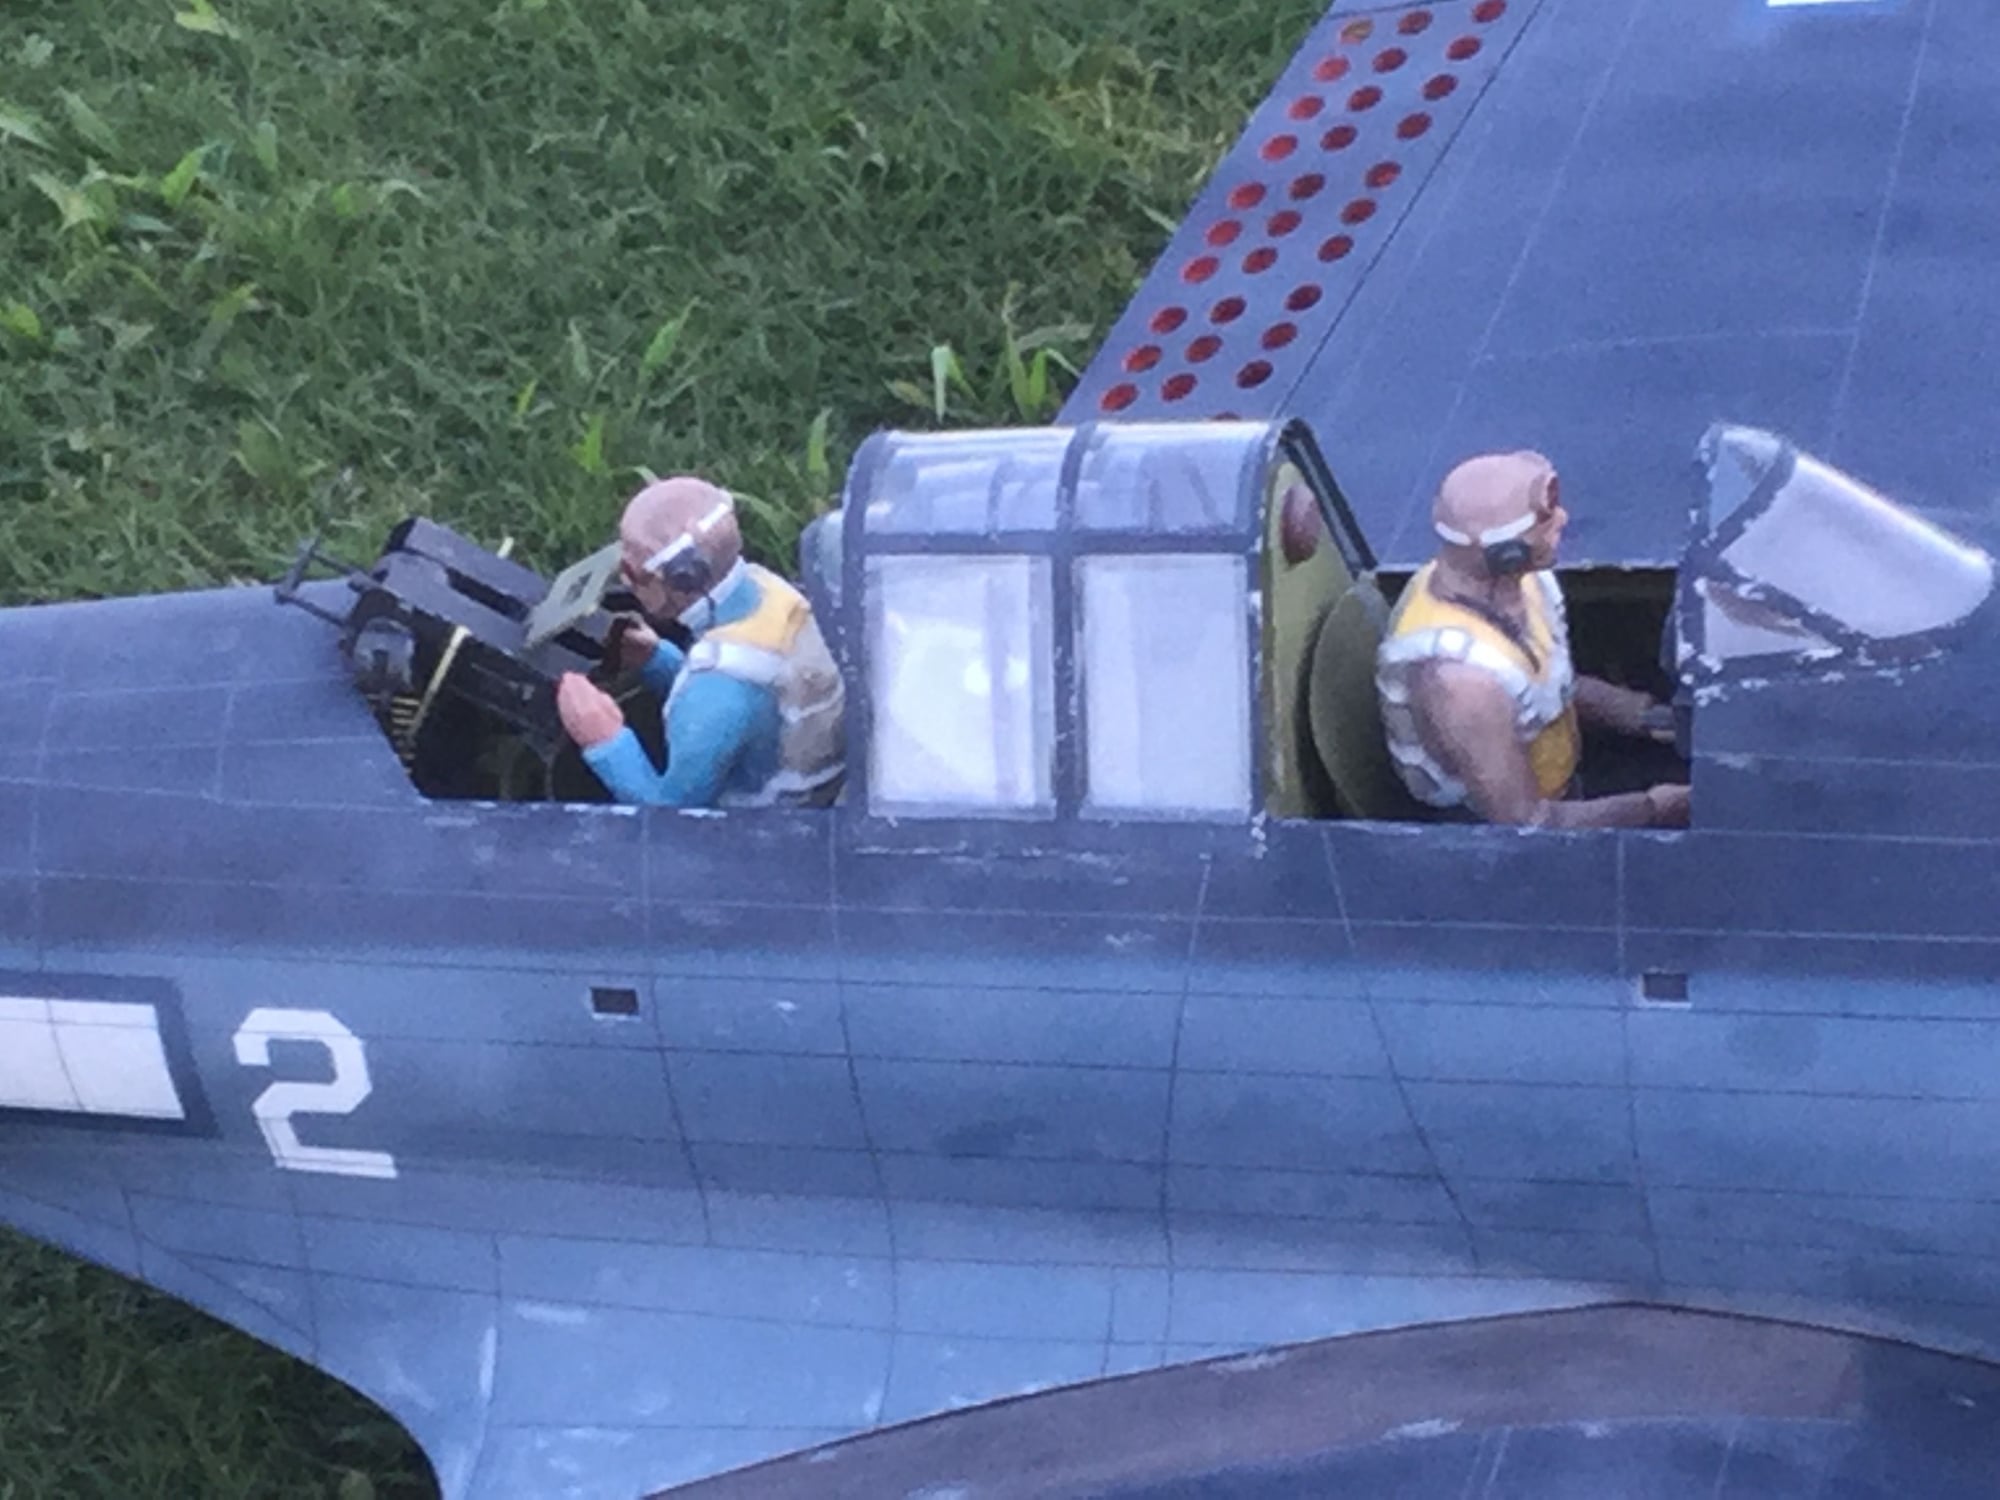
been doing some more work. Gerry did some more magic with his painting duplicating the bombs and the Ace. Canopies are almost ready to glue on along with the rear gun. Both have been getting some weathering and the guns got new ammo belts made from shrink tubing and brass brads. Started drawing panel lines with a soft lead pencil and will put them on with an airbrush once all are drawn. 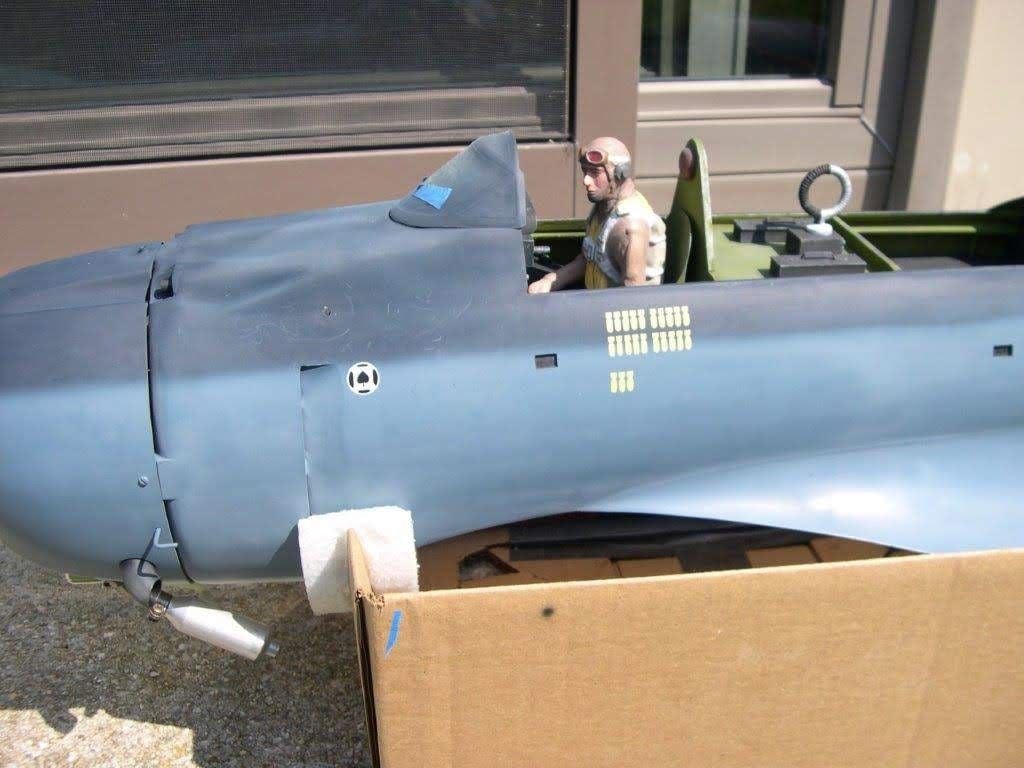


 05-16-2019, 07:31 PM
#114
Thread Starter
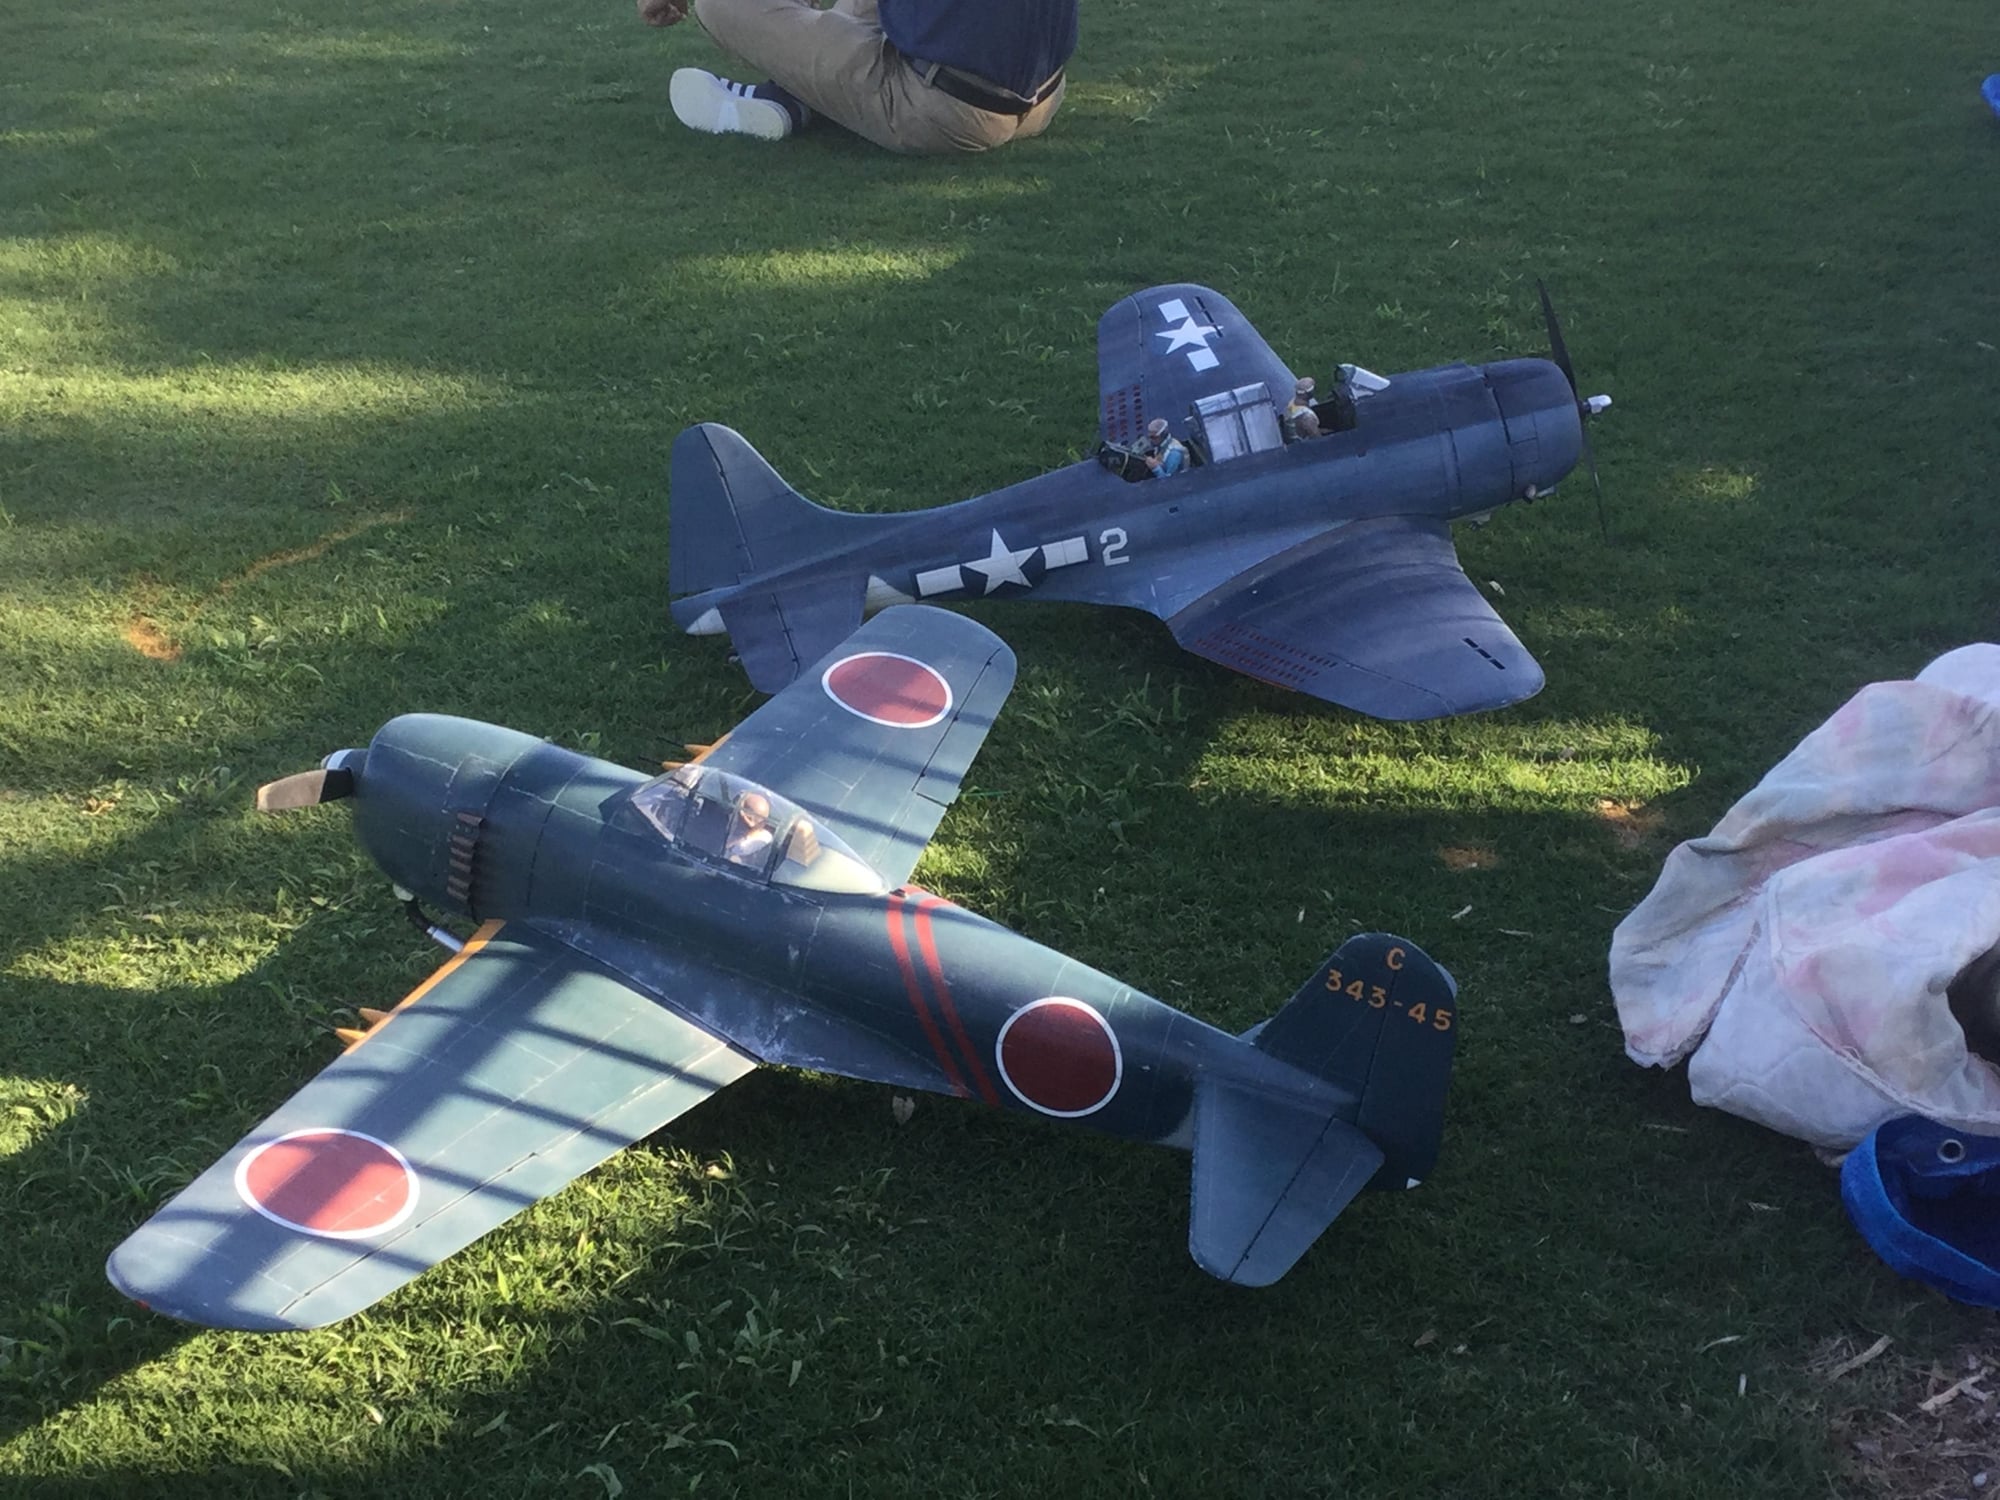
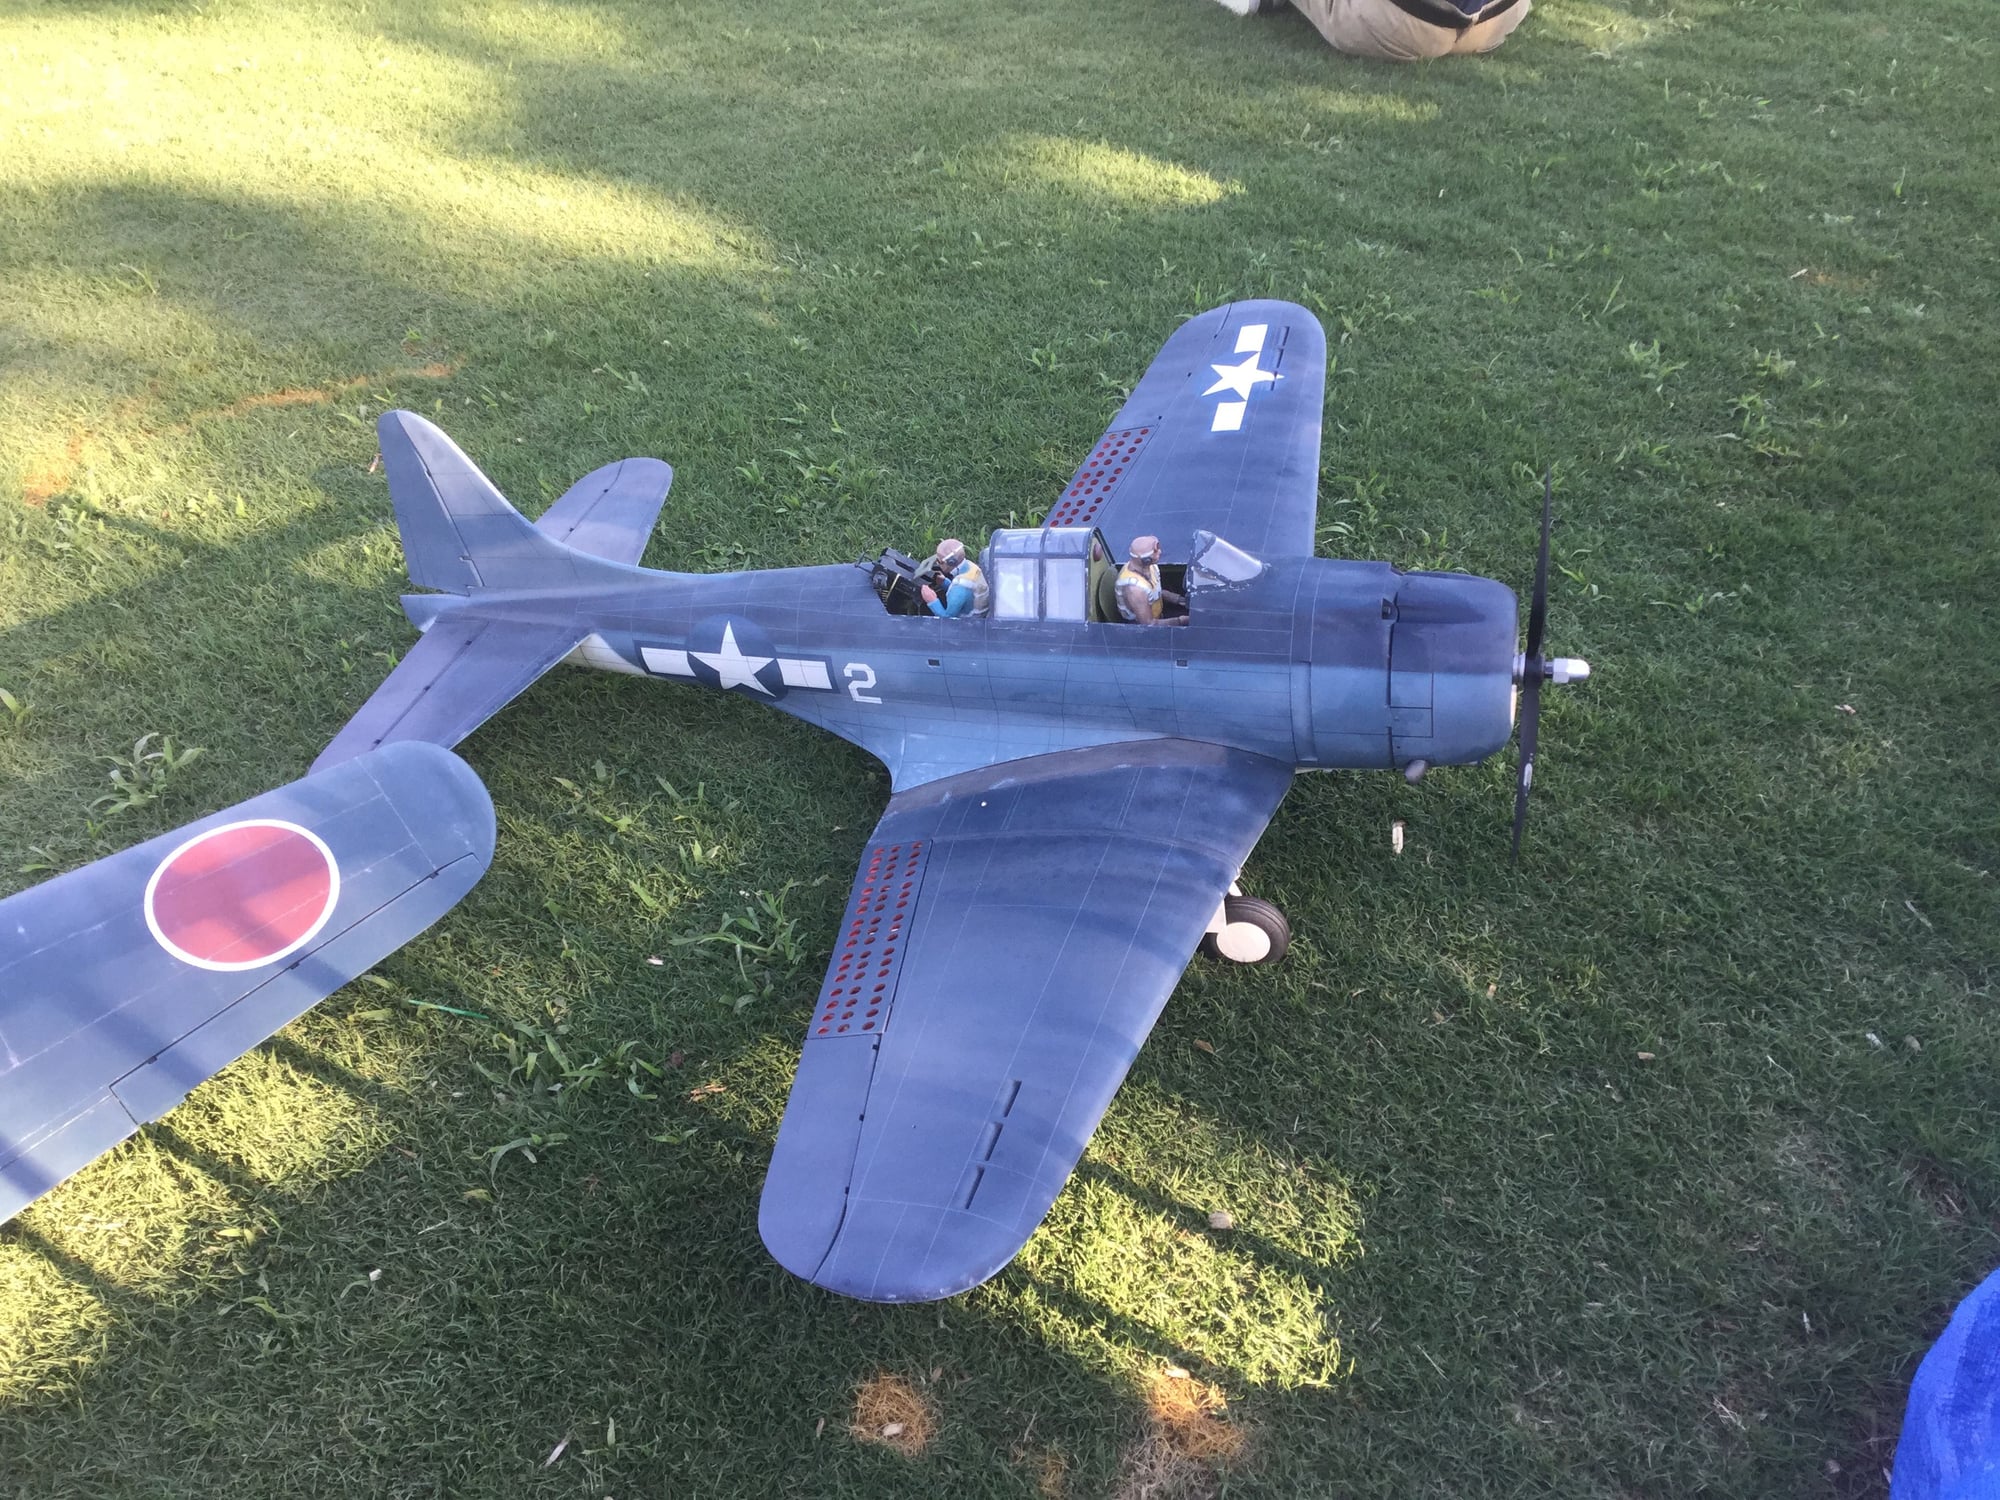
Got some pictures of the Dauntless at Joe Nall. Got her maiden. Have to say she flew great even at 8.19lbs. Guns and bomb drop worked great. Still have a little engine tuning to get figured out on the low end but other than that it was a total success. My last landing was much faster and almost forced off the runway as a turbine decided to overtake me on landing even though we had called our landing first. Never dropped full flap as I had to maneuver out of his way.
06-14-2019, 04:20 AM
#115
Thread Starter
Here�s the maiden video from Joe Nall. Landing was rushed because a turbine decided to land right along with me. You can�t see it but he came over the top of me so I had to put it down quickly.
