


1/7 Scale Blackburn Buccaneer All Composite Scratch Build
 12-16-2019, 07:07 PM
#351

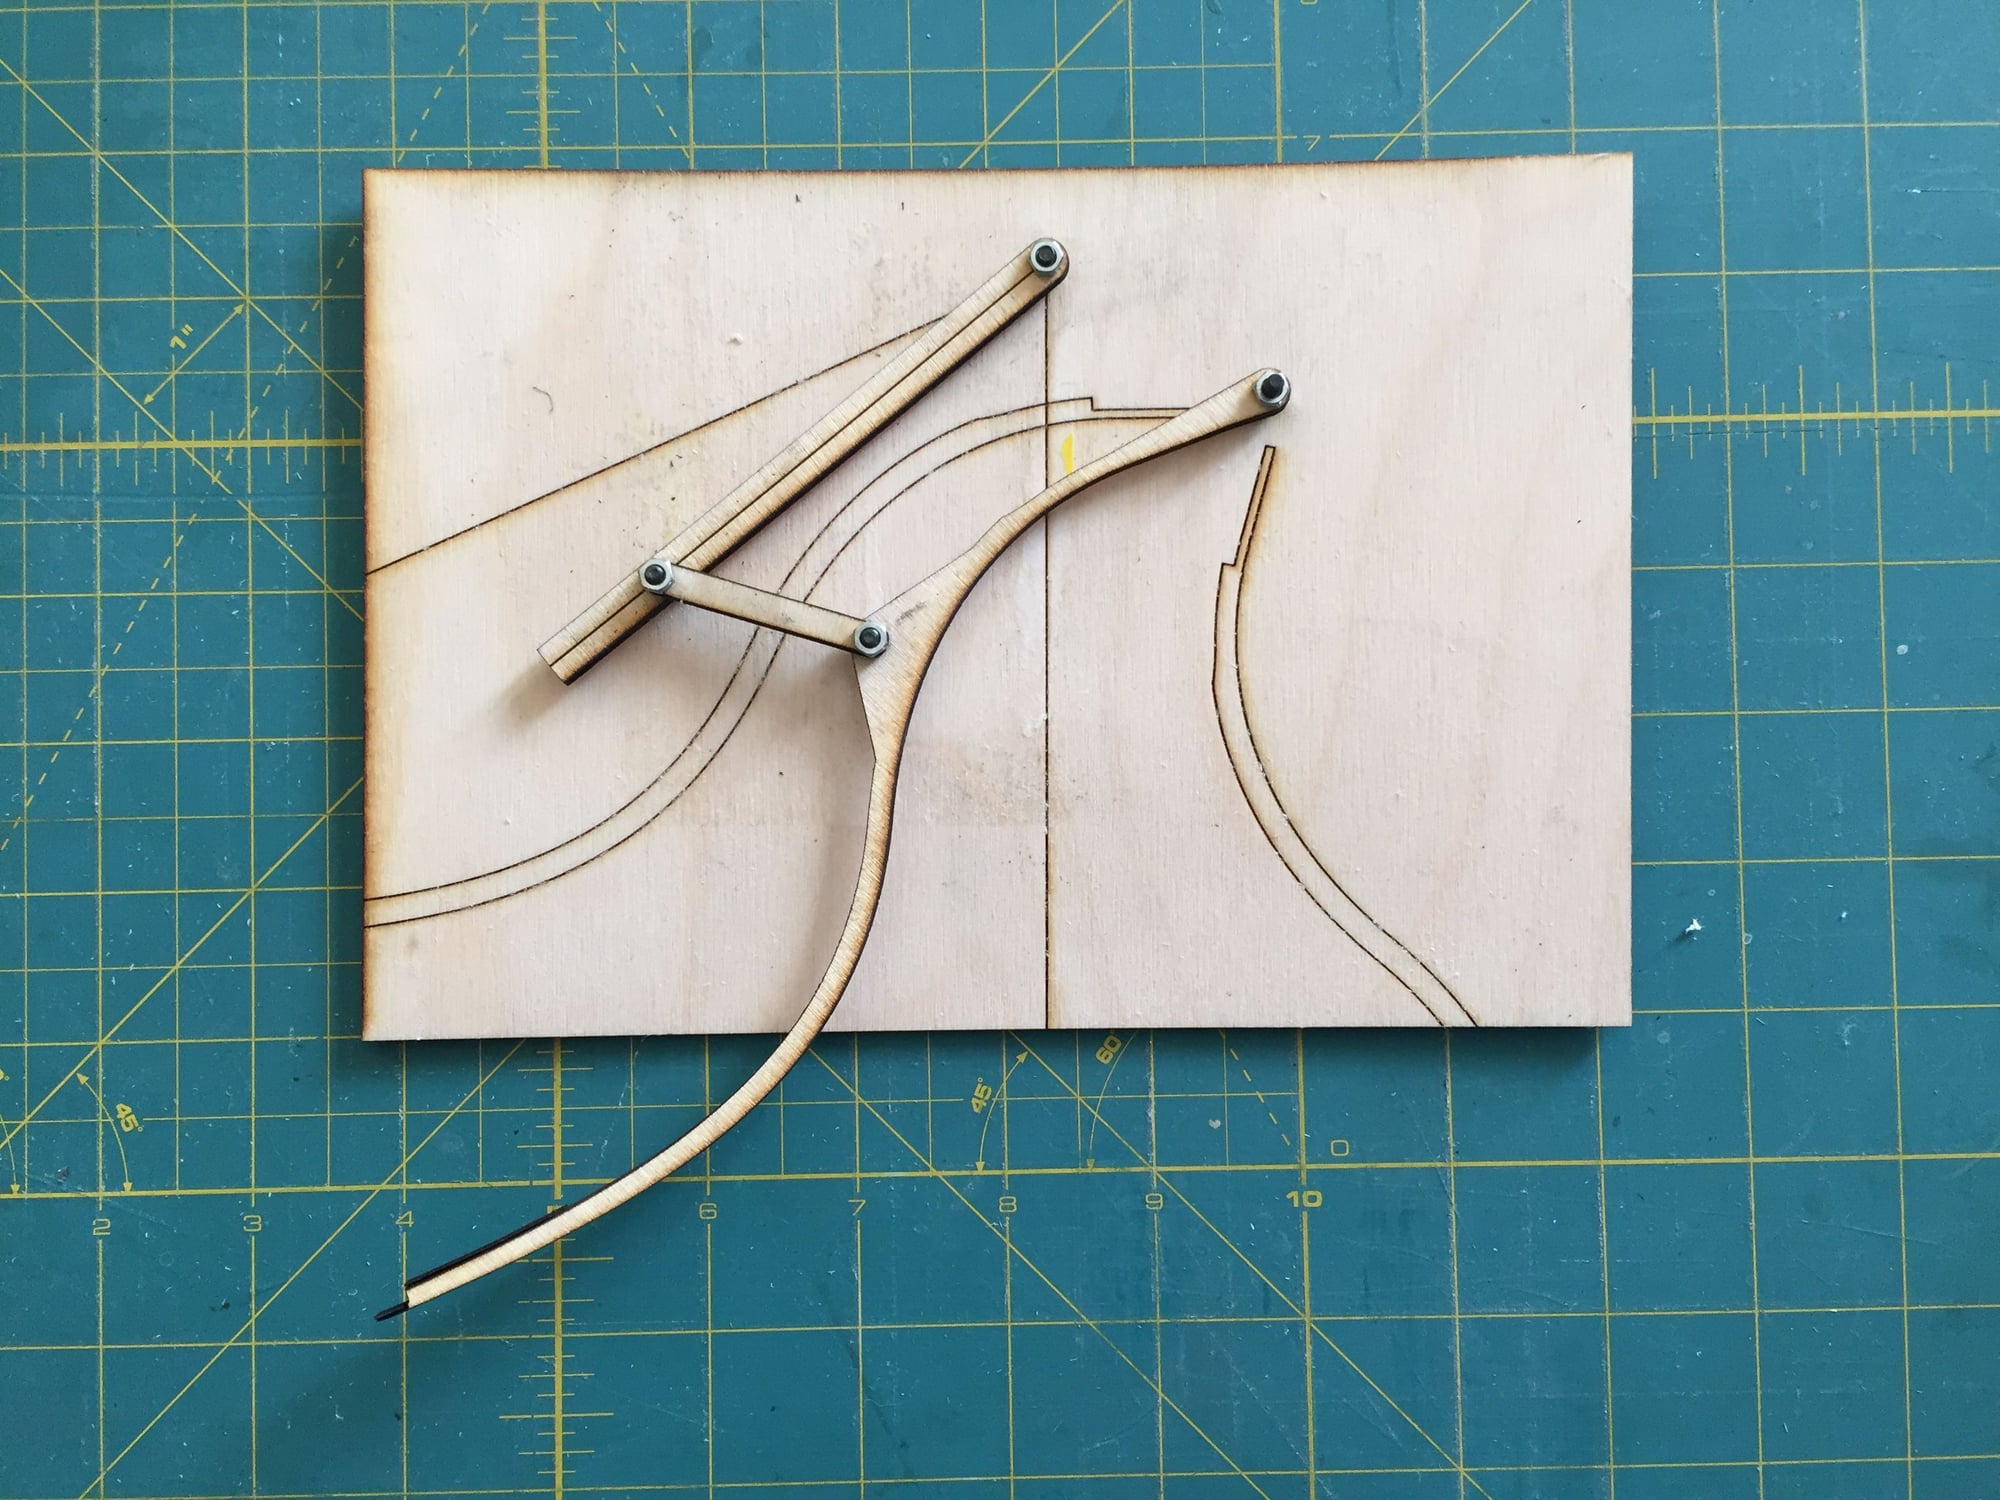
I do keep looking at the gear up actuator geometry and worrying that I'm going to end up in an over-center situation when the gear attempts to open the door. Not sure of a good way to work that out apart from trying it. I can try with one of my 3D printed gear legs before committing to drilling the expensive machined ones.
 12-17-2019, 01:58 PM
#353
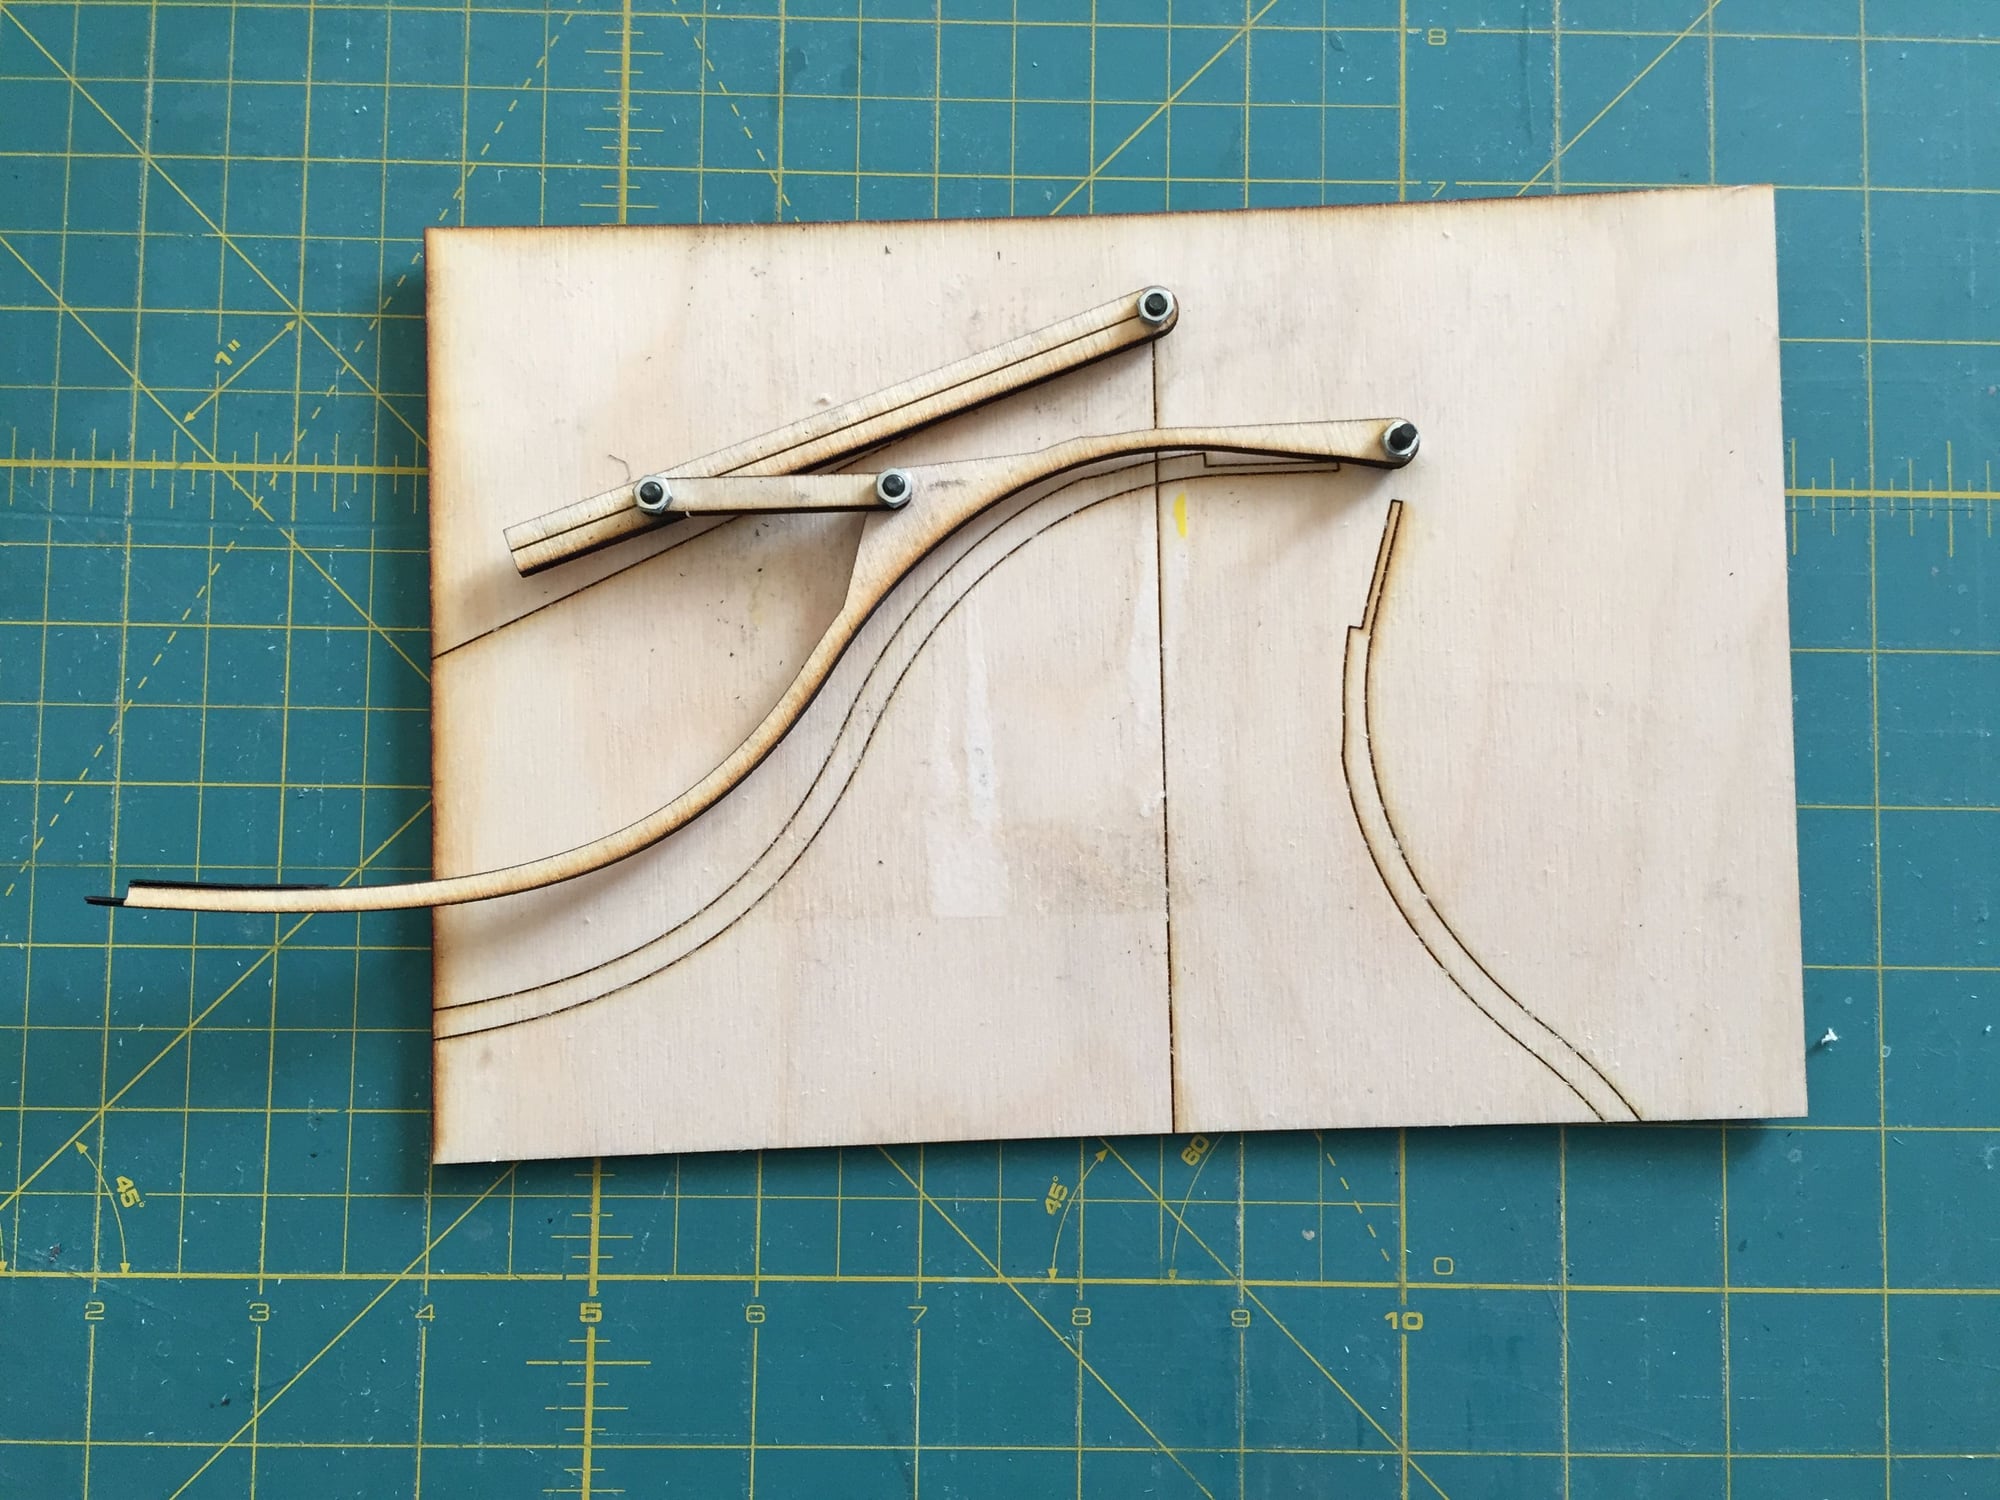
To convince myself that the door linkage geometry would work, I made a simple stick model out of lite ply.
It all works perfectly, and it has the range to 'over-close' so showing that it should pull the door in firmly. No evidence of going over-center when closed either, which was my other concern.
Paul
It all works perfectly, and it has the range to 'over-close' so showing that it should pull the door in firmly. No evidence of going over-center when closed either, which was my other concern.
Paul
12-17-2019, 10:42 PM
#354

You might need to keep an eye on ball link wear as you rig is probably pretty slop free and all the movement is transferred. Also when you operate the rig are you driving from the pivot rather than the end of that lever you have made, it can change things. The weight of the door should aid movement. Having proved the geometry you can just concentrate on getting a good linkage
Dave
Dave
01-02-2020, 06:13 PM
#355
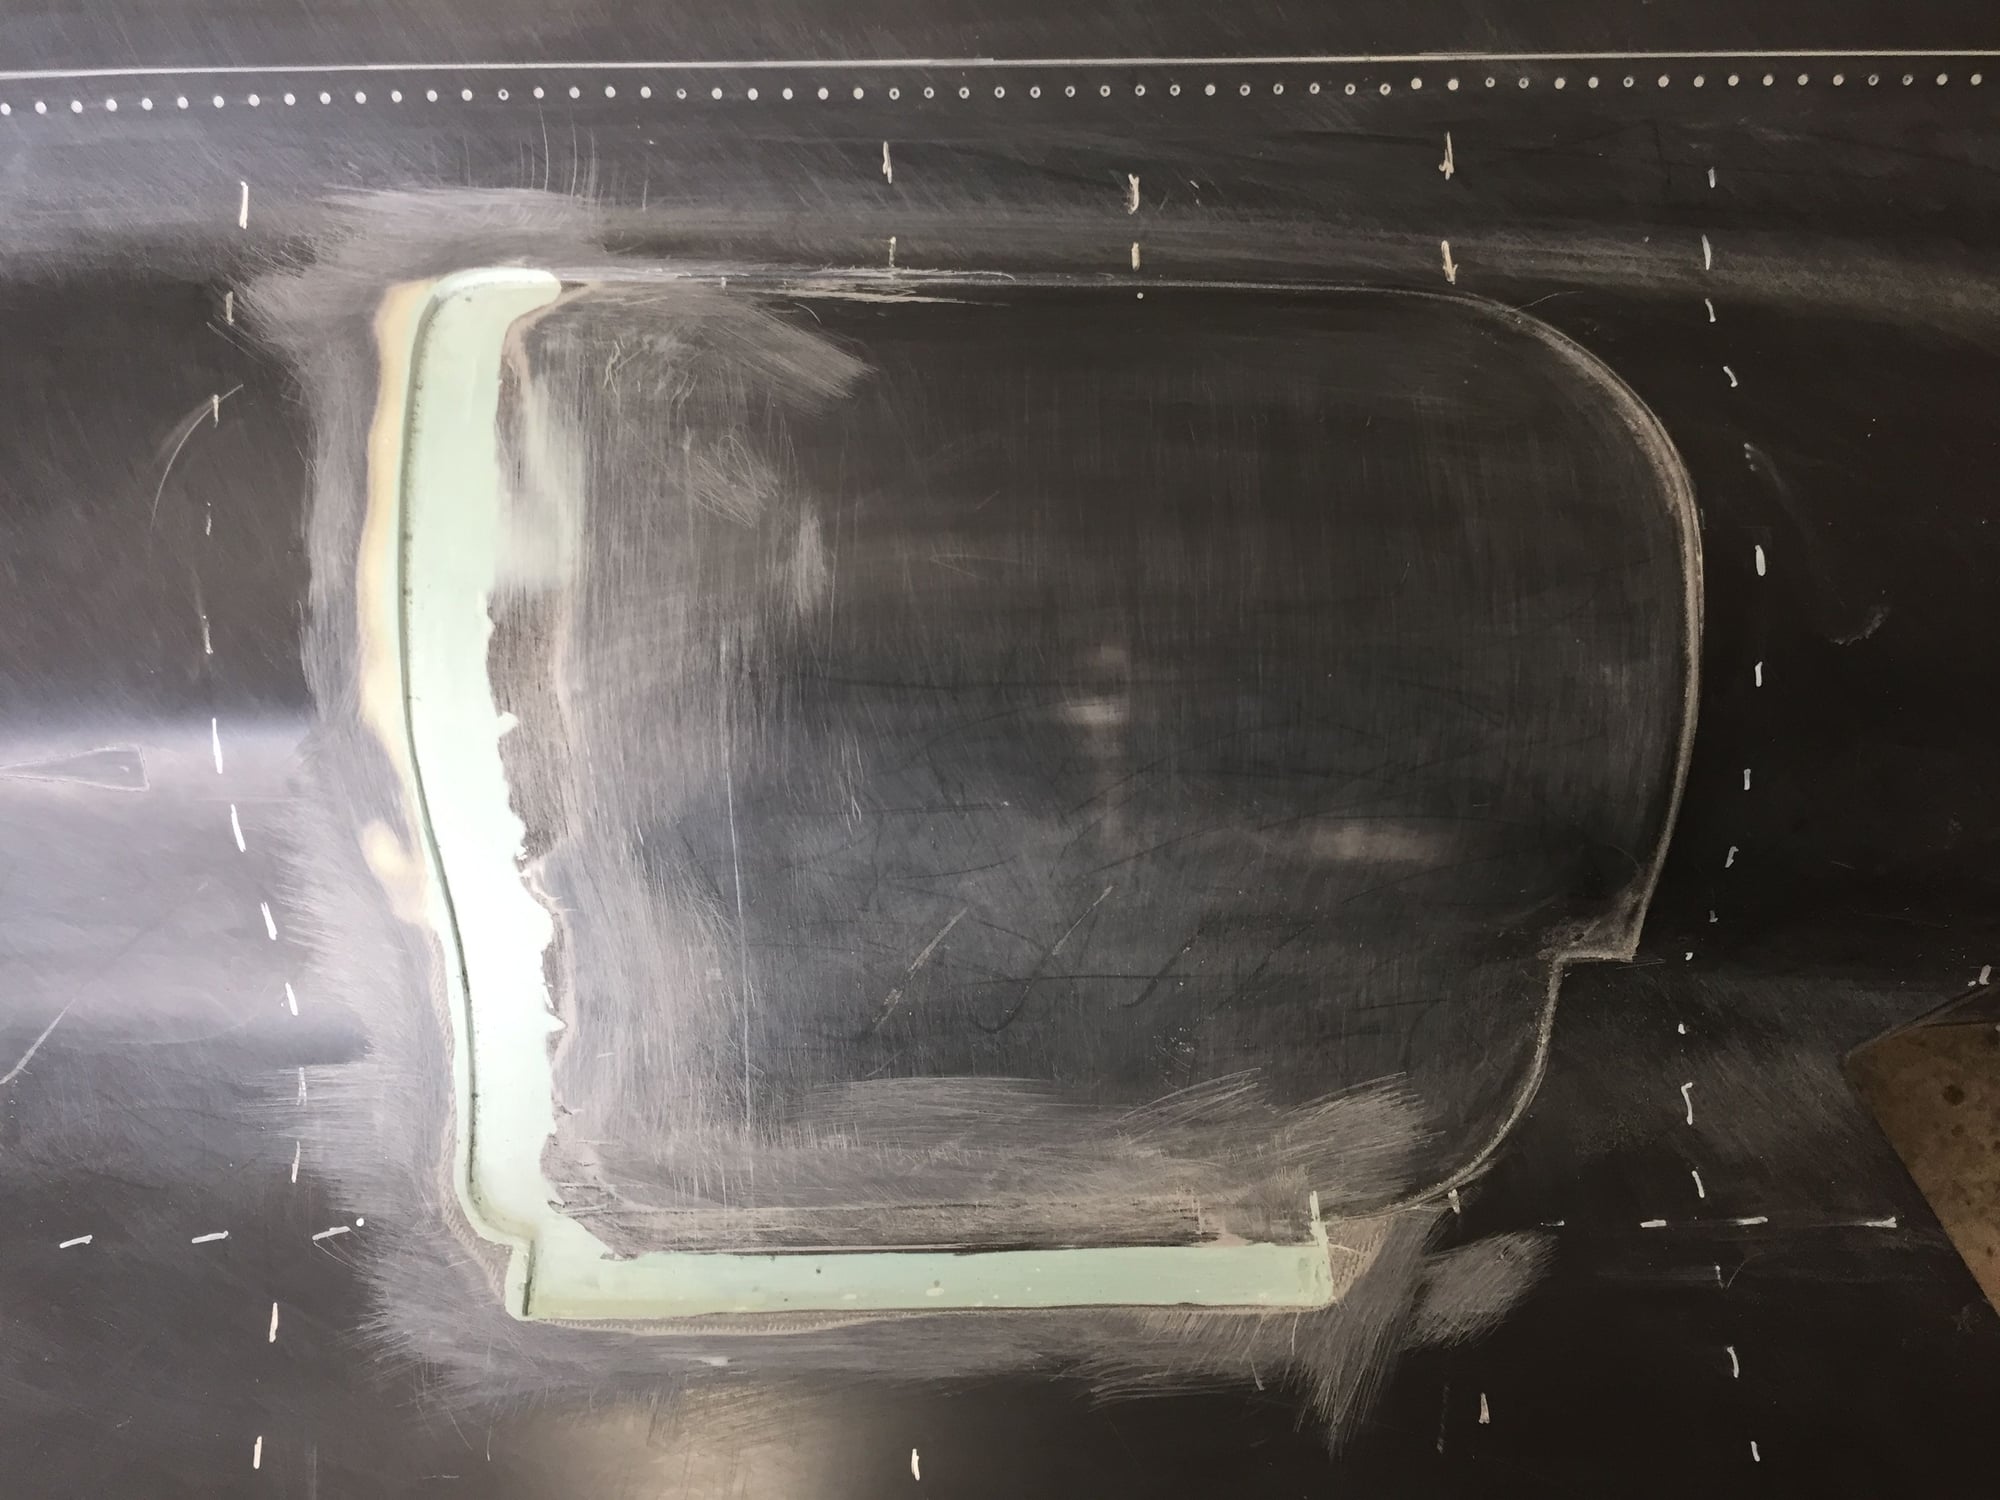
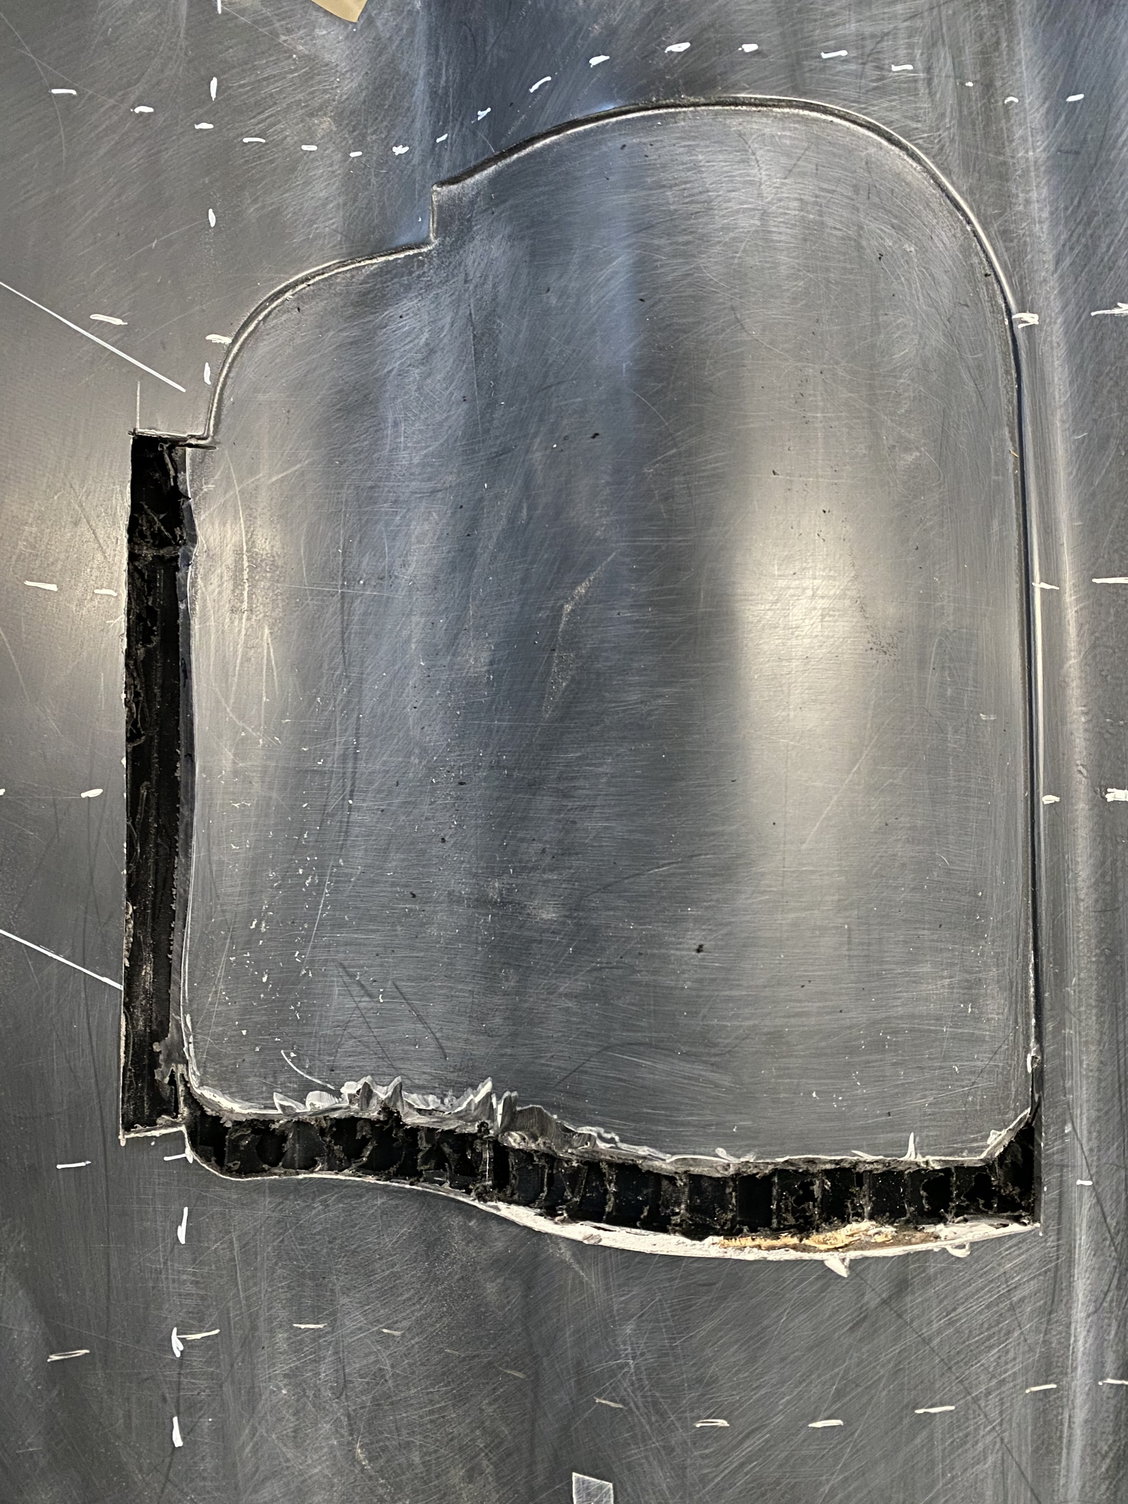
I have been focusing on the main gear doors over the last few weeks. I started off by enlarging the fuselage main gear door recess so that the gear would retract without hitting the fuselage. To help with re-forming the recess edge, I 3D printed a section of the door that I could use to mold in place the body filler. A few photos may help illustrate the process. The first step was to cut out an area slightly larger than needed. No photos of that first stage unfortunately, but it was a bit unnerving cutting into the plug with a Dremel.
I'm waiting on more body filler to start on the other side. When both are done, I'll shoot a coat of Duratec and sand it down. Hopefully you won't be able to see the rework once its done.


Paul
I'm waiting on more body filler to start on the other side. When both are done, I'll shoot a coat of Duratec and sand it down. Hopefully you won't be able to see the rework once its done.
Paul
01-02-2020, 06:19 PM
#356
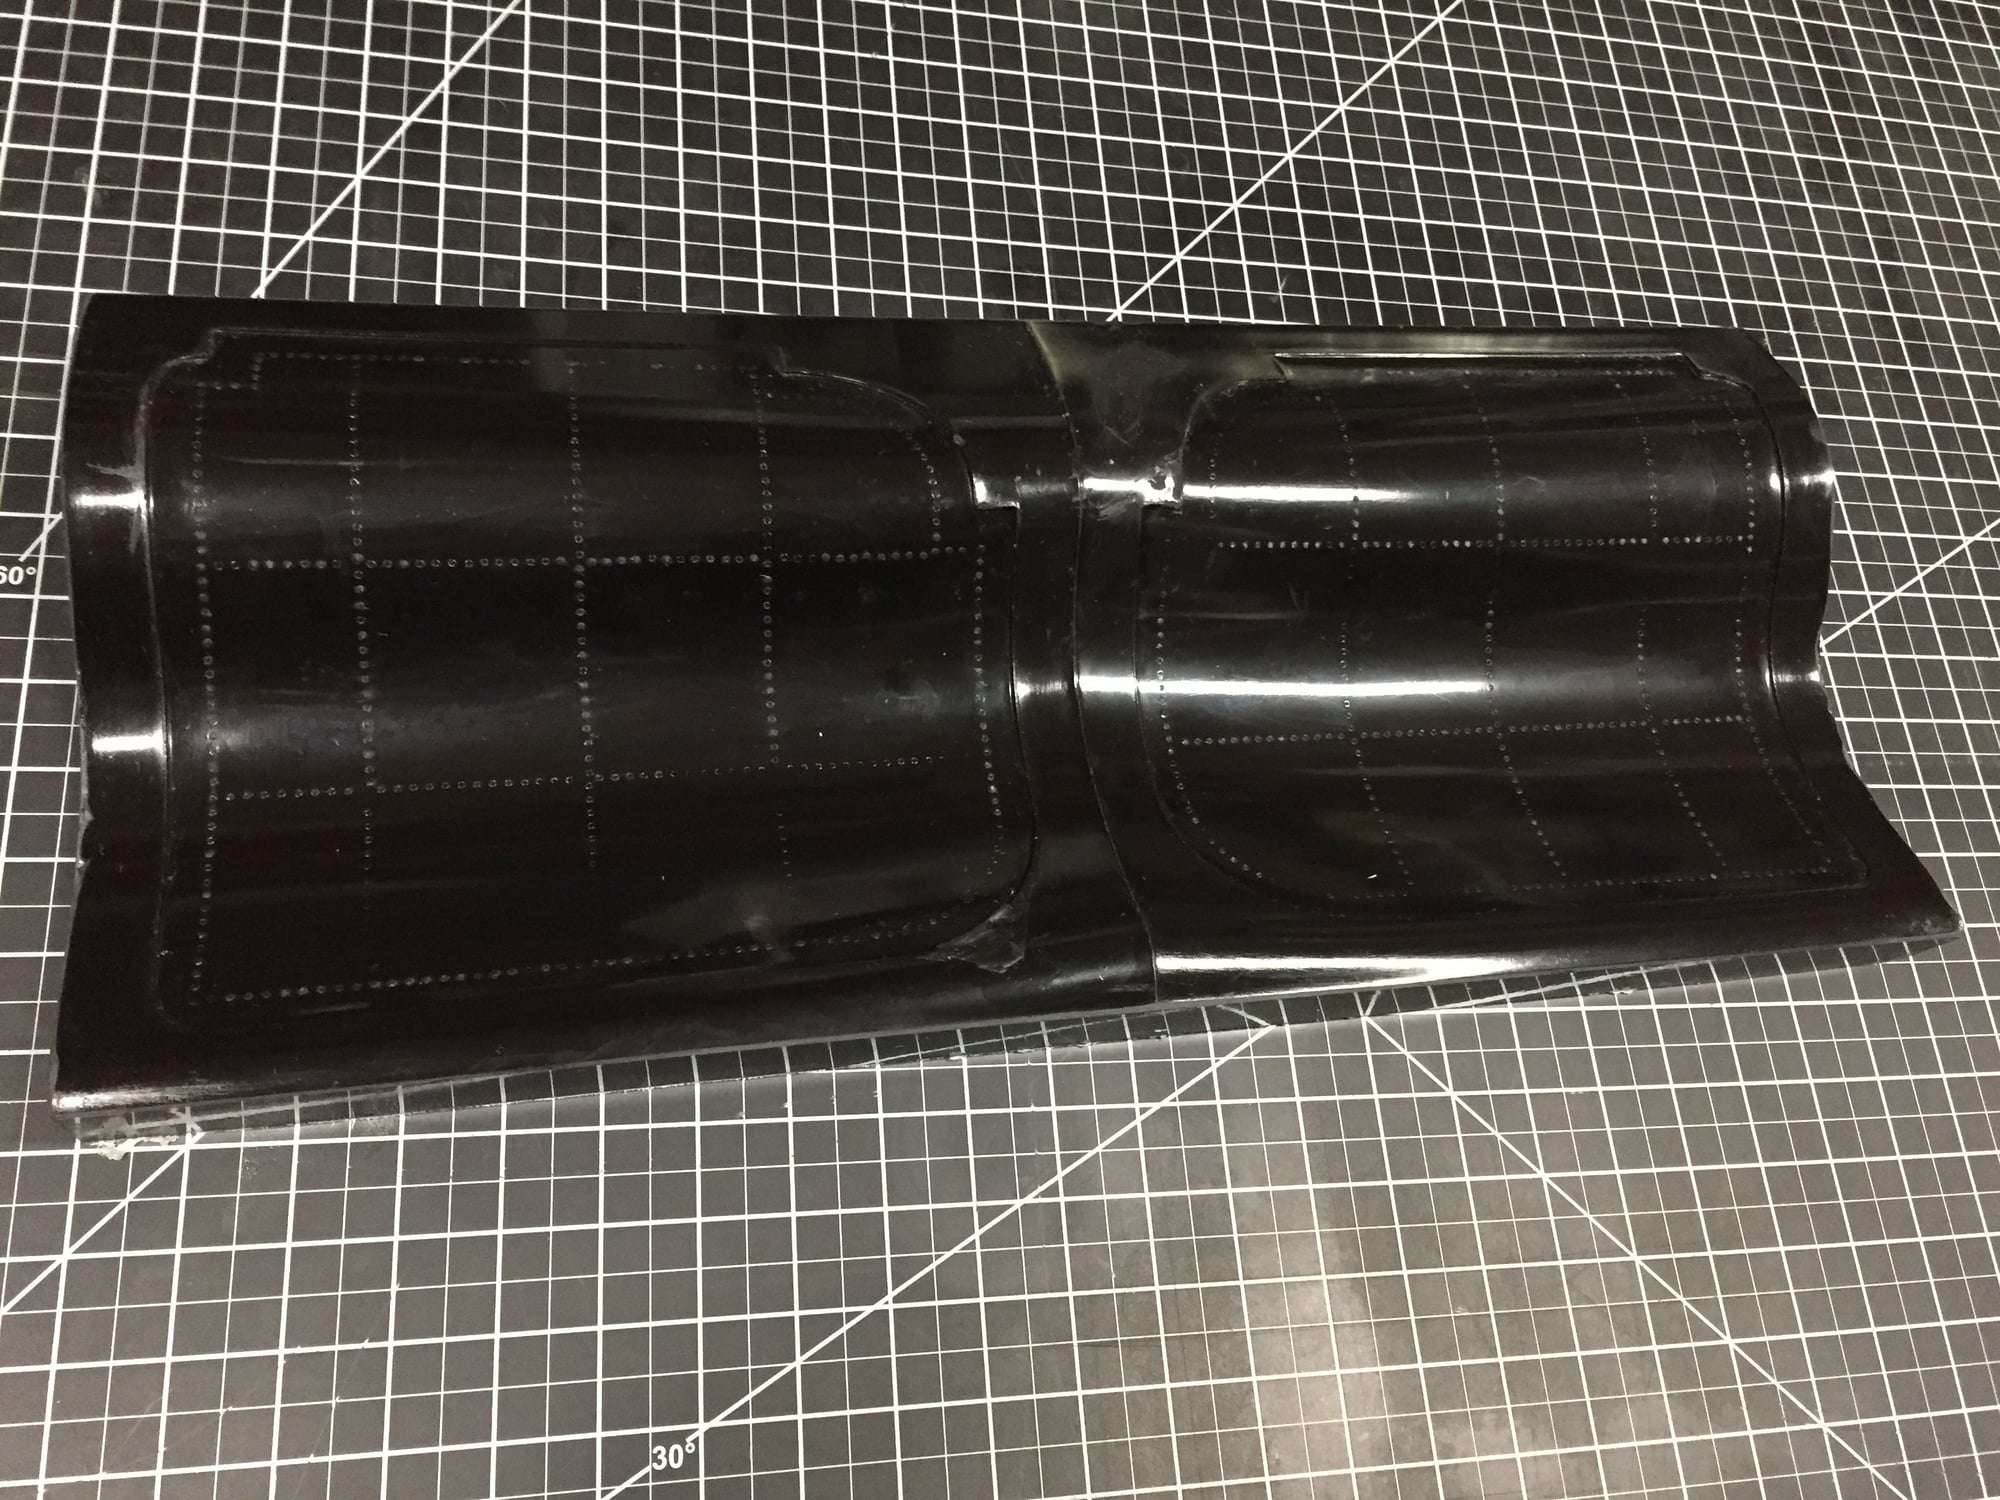
I also 3D printed the plugs for the gear doors. The printer was running for a good week churning out these massive bricks of plastic.
Once complete and joined, the primary surface was glassed and then finished with Duratec. They looked a bit naked without any surface detail, so I added some generic rivet detail to both the outer and inner surfaces. Recessed rivet detail on the outer side and raised rivets on the inner.


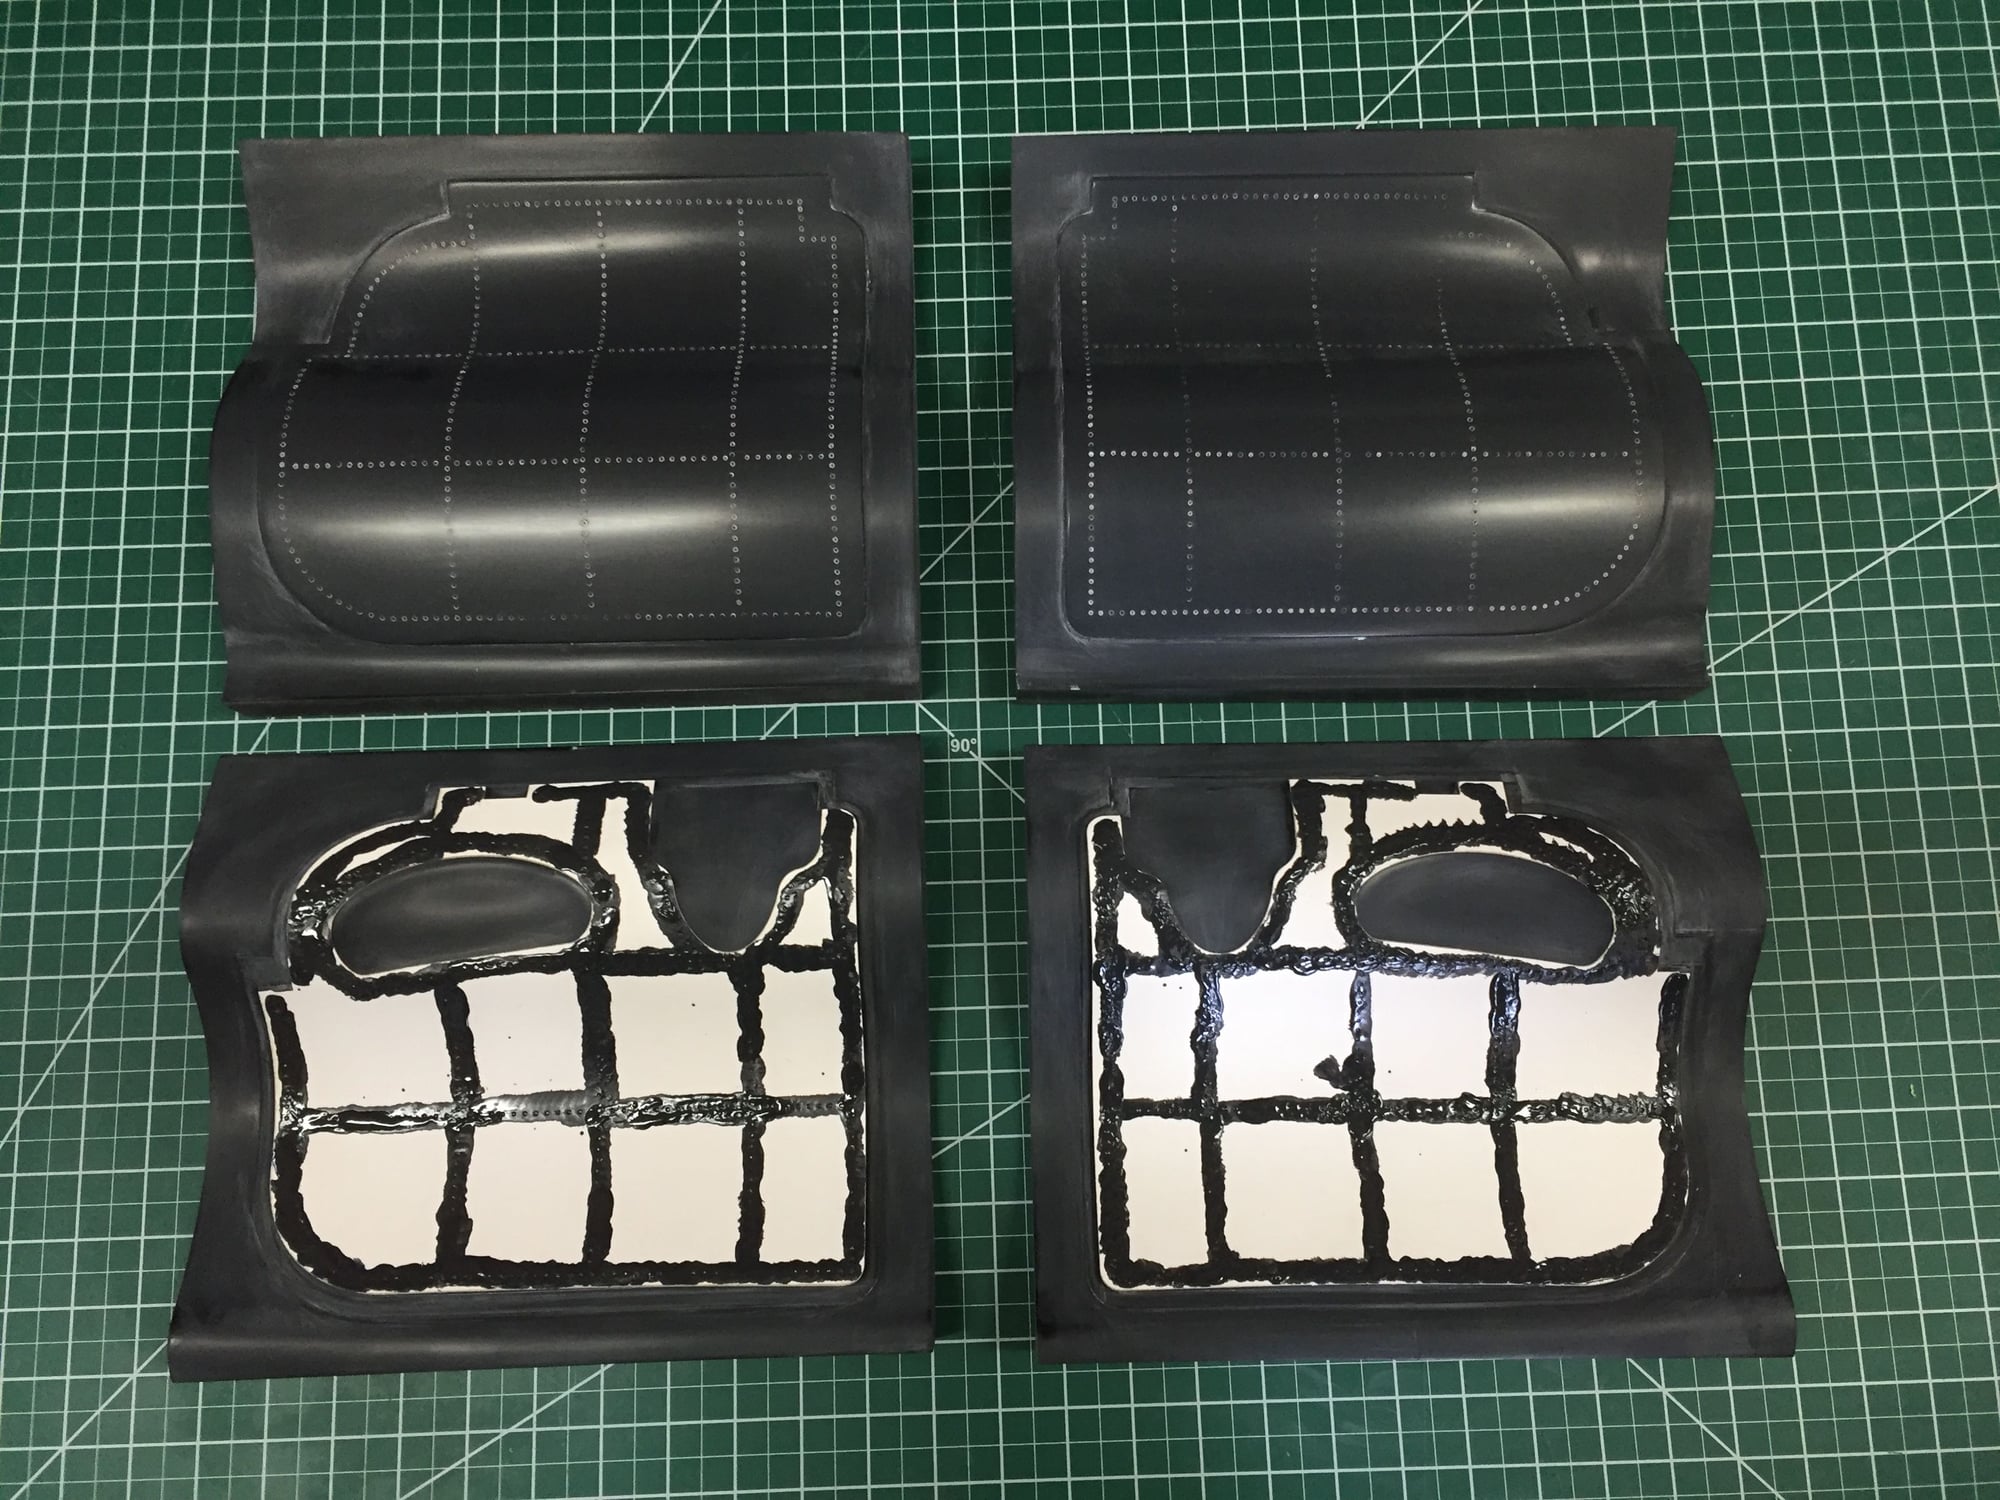
Whilst the raised rivet Duratec was curing I made up the mold frame for the outer surfaces, waxed them and shot PVA. Once cured I'll lay down the surface coat and make the outer surface gear door mold.
Paul
Once complete and joined, the primary surface was glassed and then finished with Duratec. They looked a bit naked without any surface detail, so I added some generic rivet detail to both the outer and inner surfaces. Recessed rivet detail on the outer side and raised rivets on the inner.
Whilst the raised rivet Duratec was curing I made up the mold frame for the outer surfaces, waxed them and shot PVA. Once cured I'll lay down the surface coat and make the outer surface gear door mold.
Paul
Last edited by JSF-TC; 01-02-2020 at 06:34 PM.
01-05-2020, 07:24 PM
#357
The first mold for the main gear doors is complete - the inner surface.
I had both sets set up for molding, but once the PVA had dried I noticed some issues with one of the outer plugs that needs rework. Where I had sanded through the Duratec, what I thought was just cosmetic turned out to have some of the glass texture showing through, which became apparent once the PVA had dried to a high gloss finish. Should be relatively quick to refinish though.
Paul
01-12-2020, 05:52 PM
#358
I re-finished the outer surface plugs and made the mold from them. Not one of my better molds - the door surface area was fine, but I had a couple of areas break away on the flange, so I patched them with more surface coat. Should be a fully usable mold.

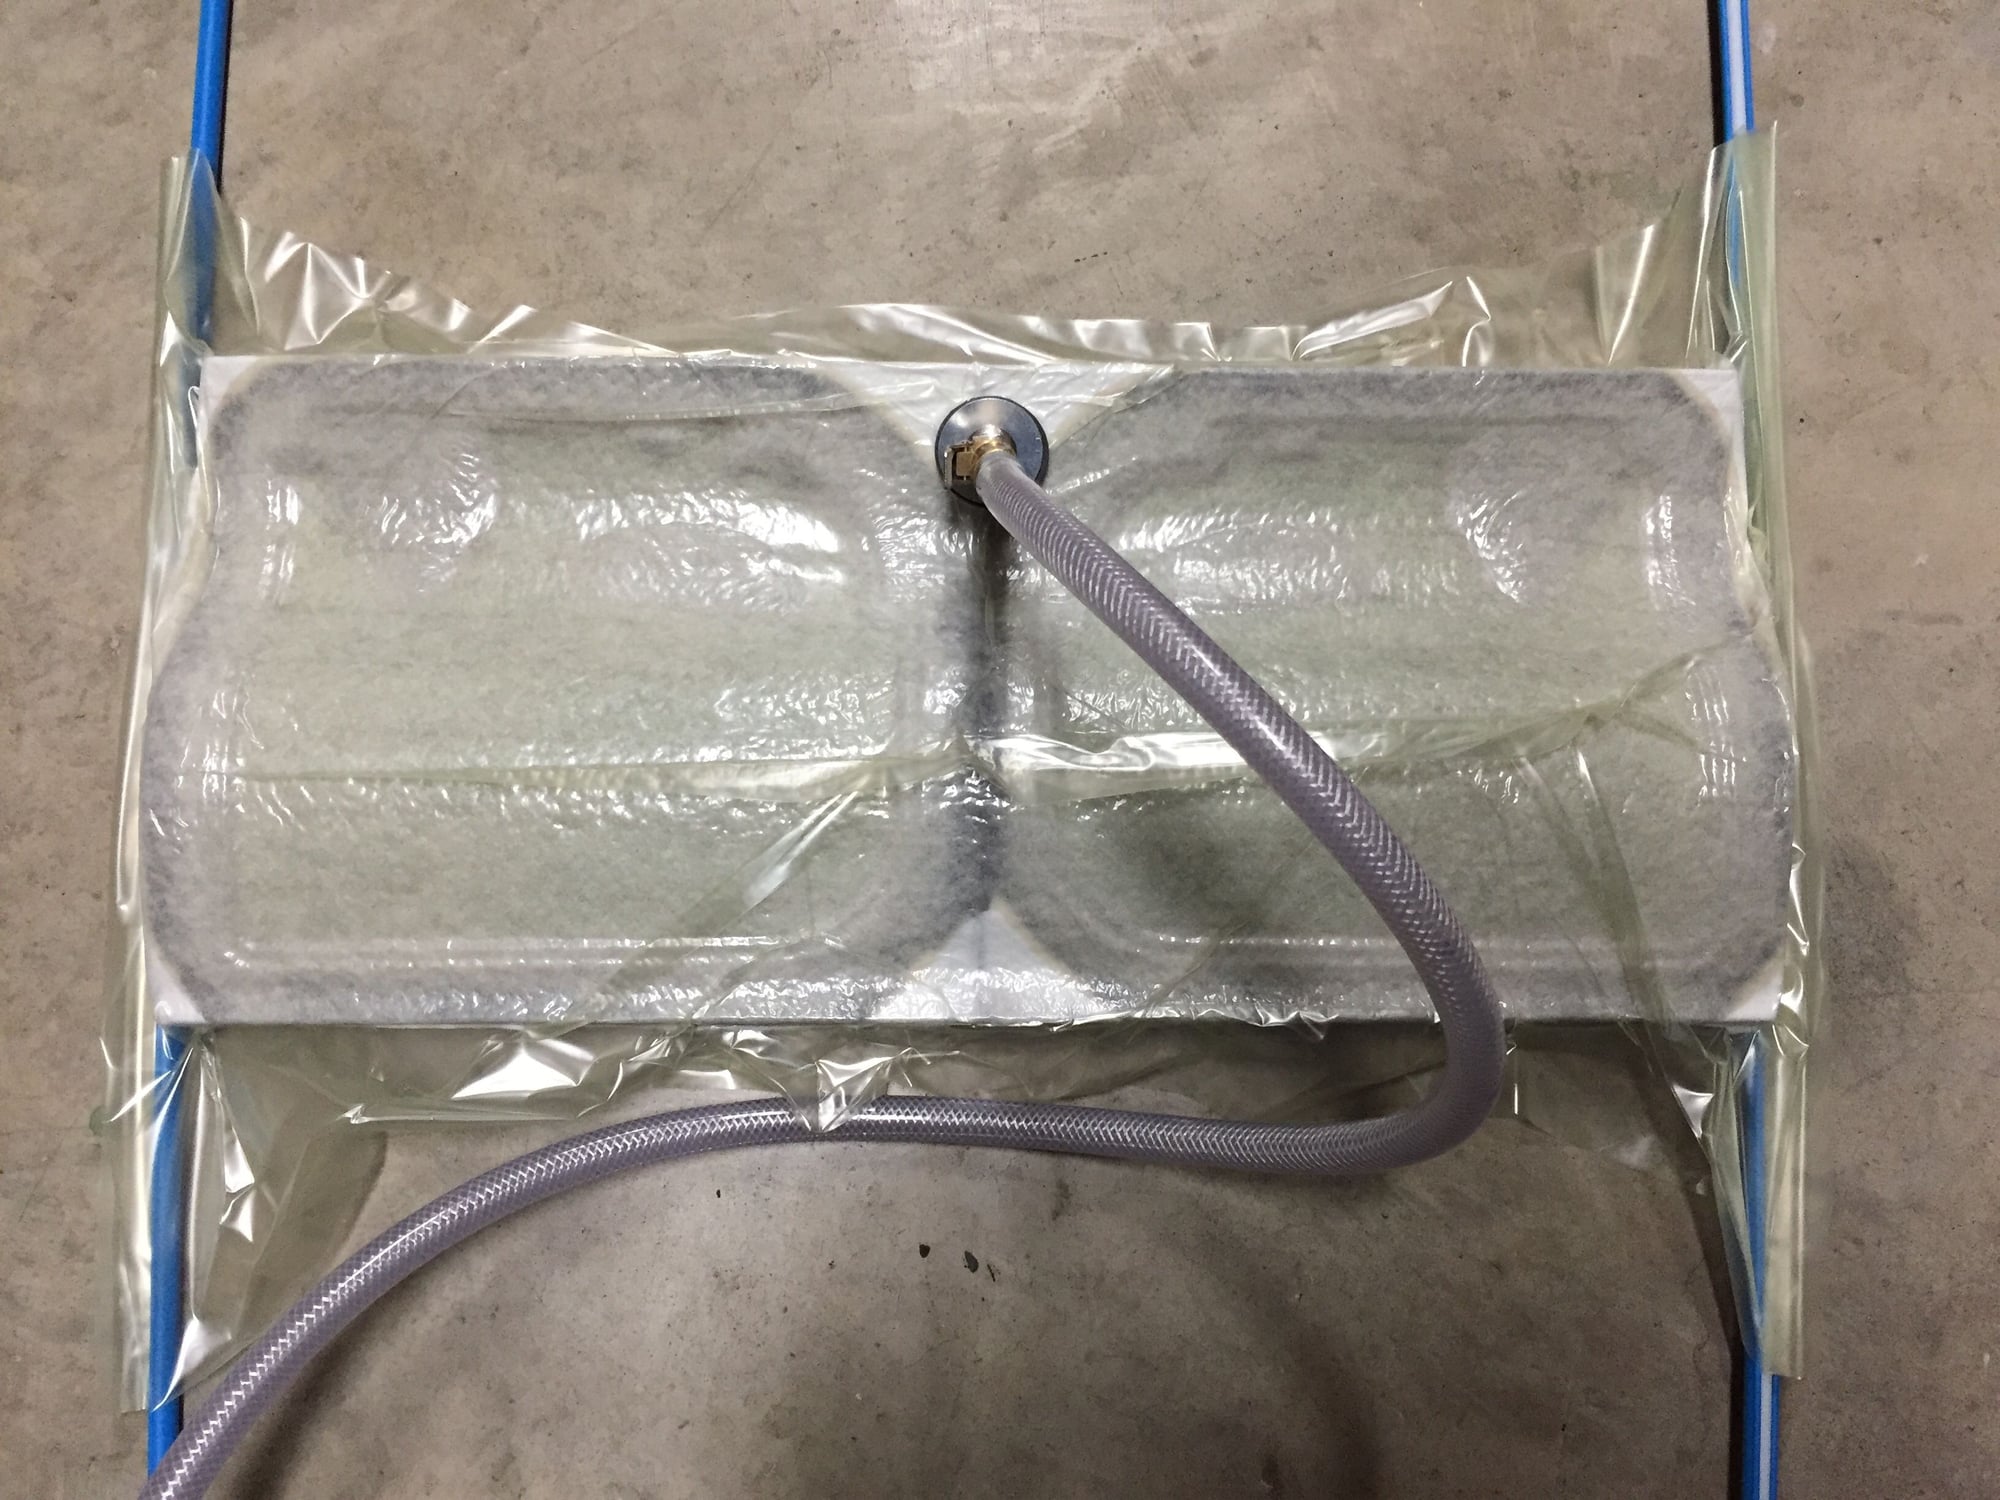
The inner door surface was laid up and is curing under vacuum. I'm away all week on a work trip, so I'll finish up the doors next weekend.
Paul
The inner door surface was laid up and is curing under vacuum. I'm away all week on a work trip, so I'll finish up the doors next weekend.
Paul
The following users liked this post:
Auburn02 (01-14-2020)
01-20-2020, 05:15 PM
#359
I didn't like how the inner surfaces turned out. There were a lot of voids along the edge because I forgot to add my usual thickened epoxy bead down first to fill in the sharp edges, so I decided to remake them.
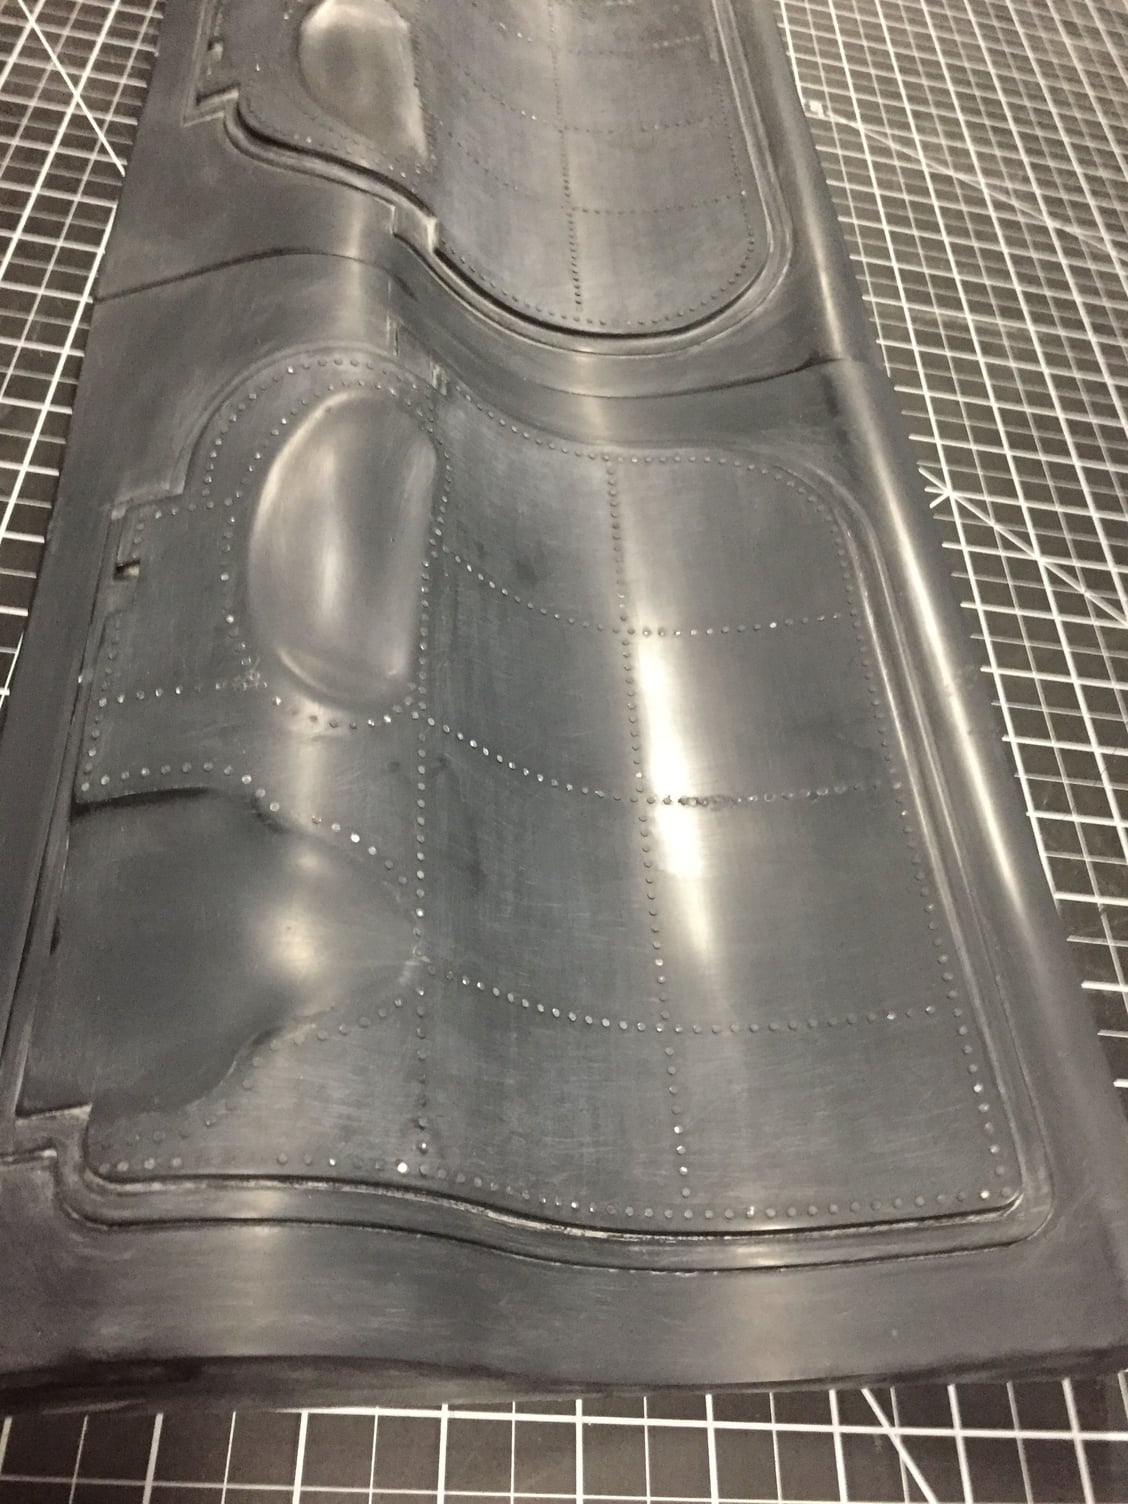
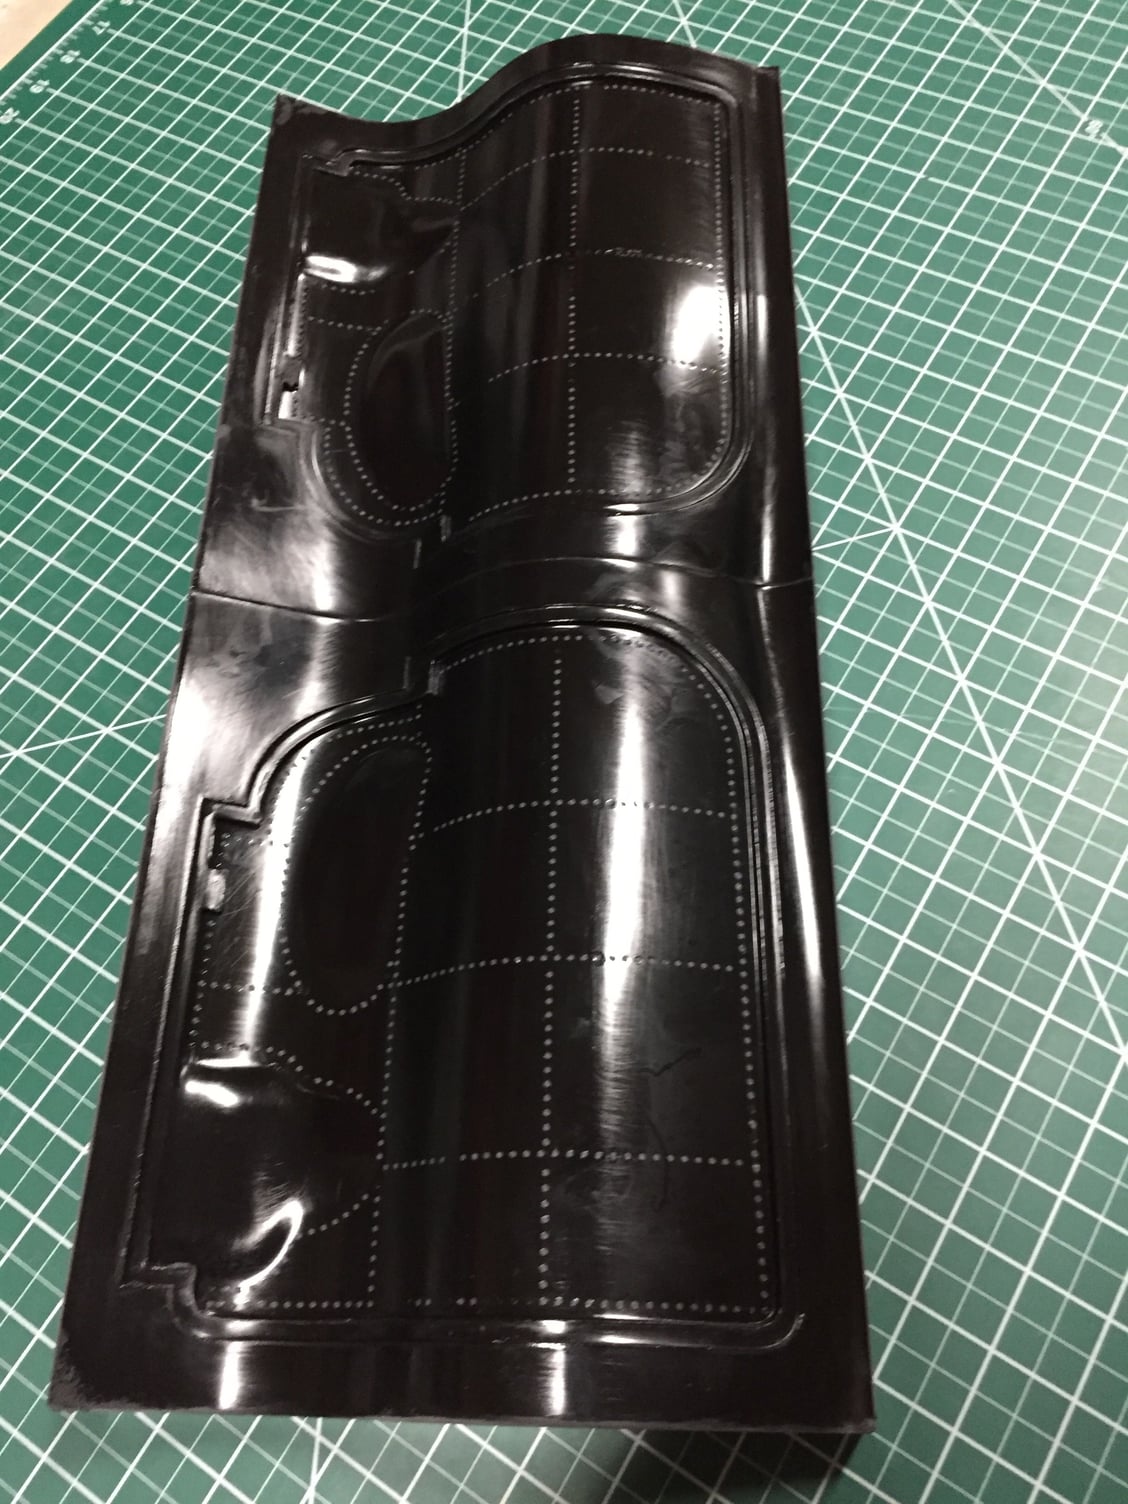
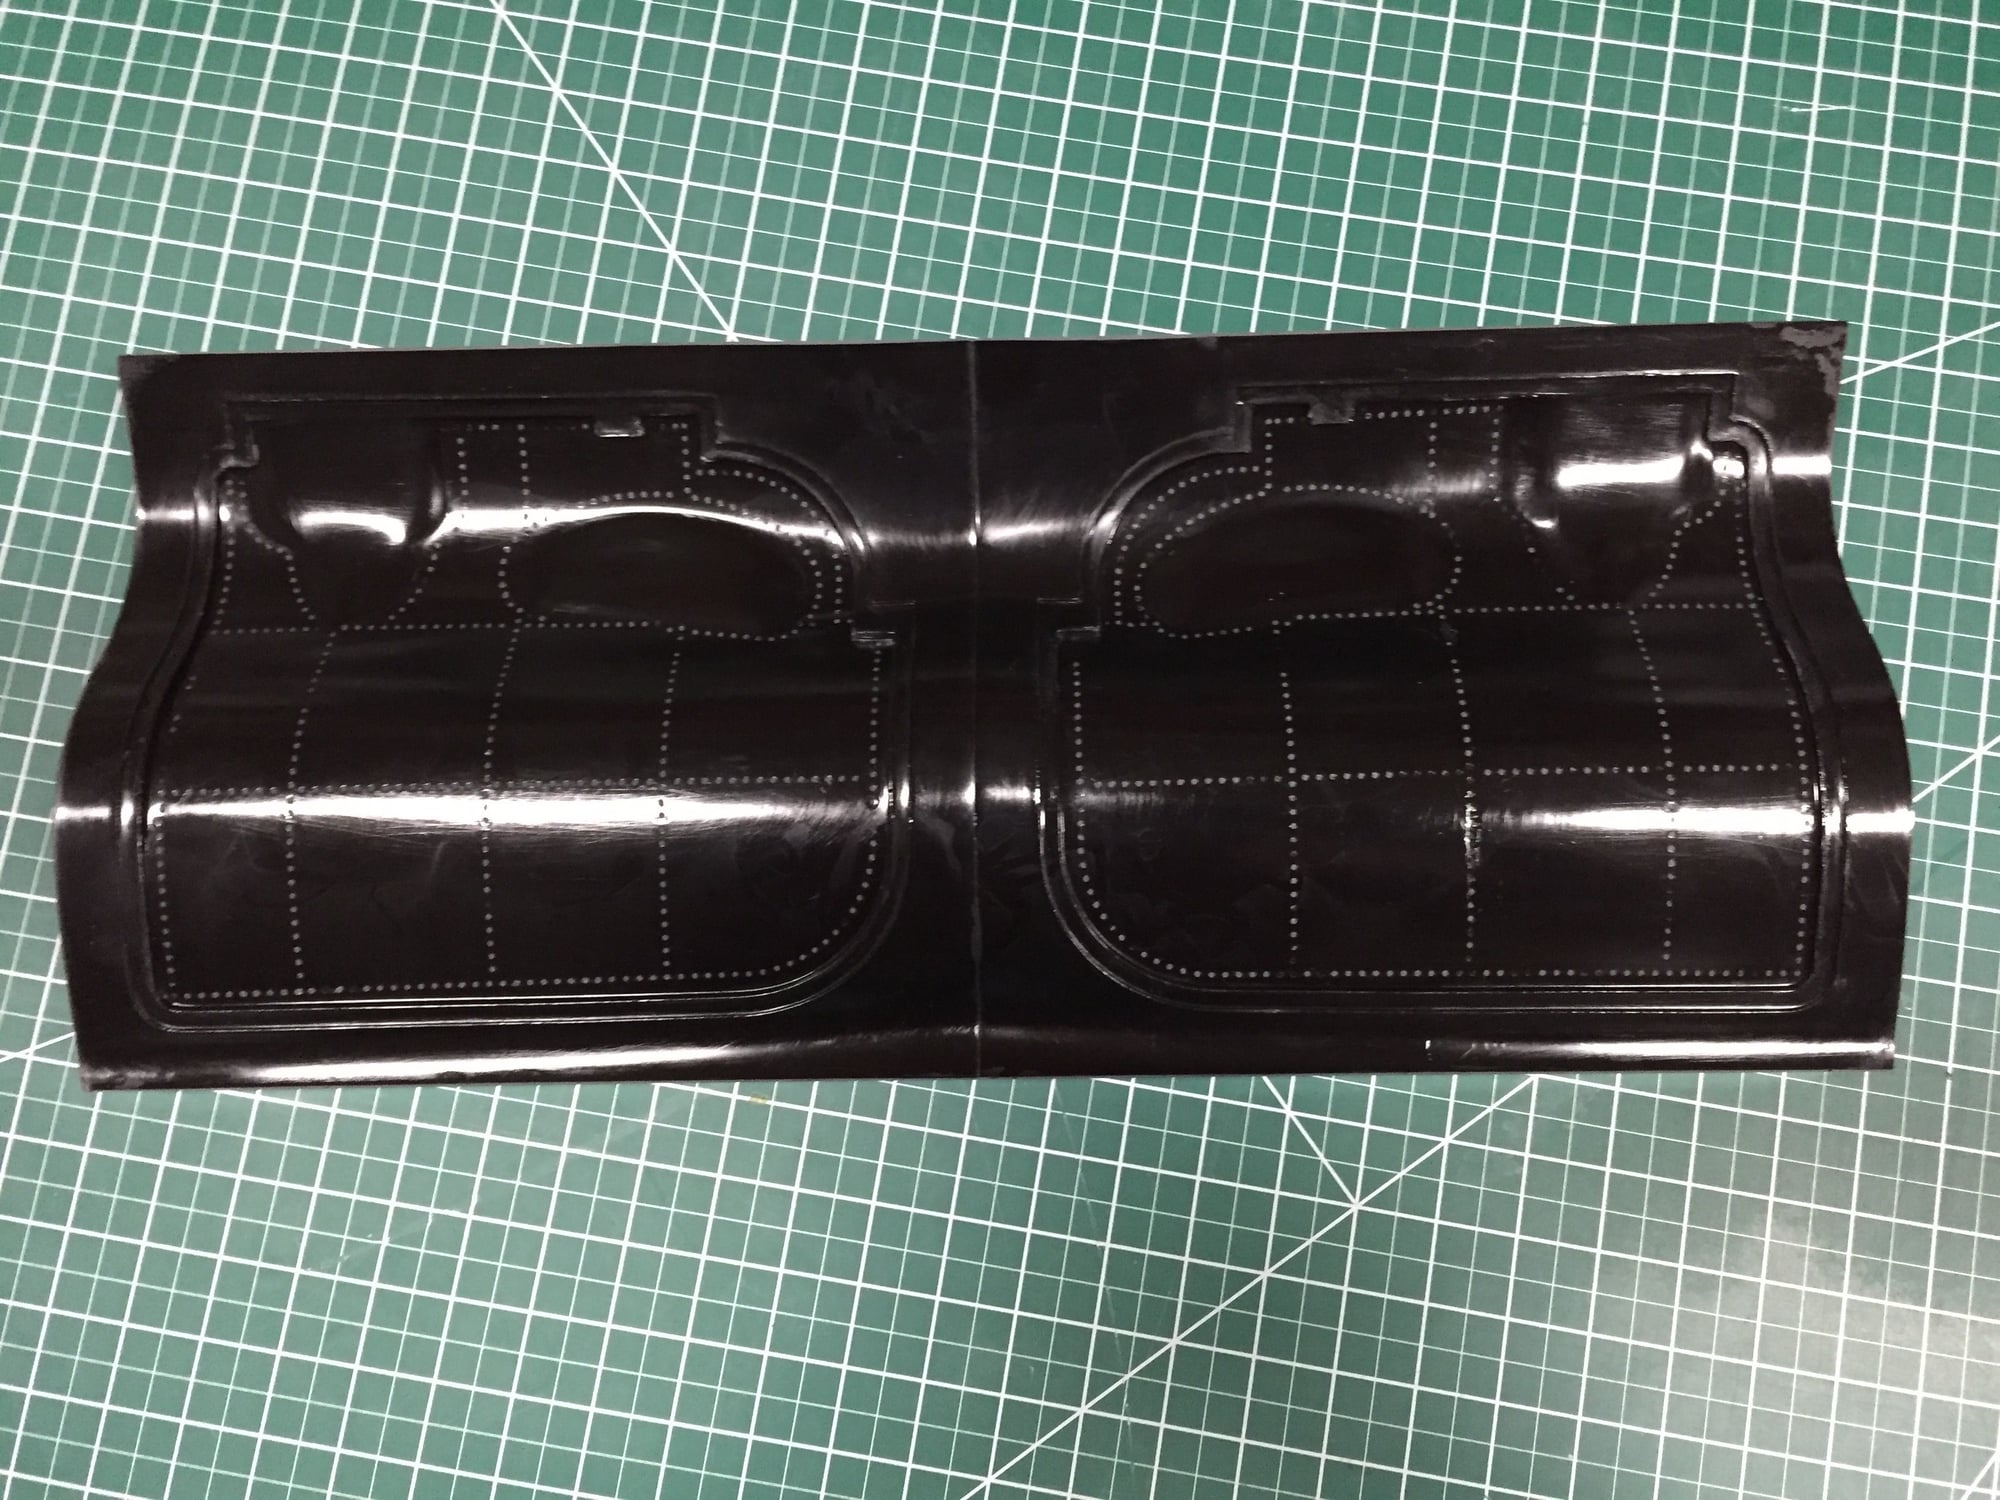
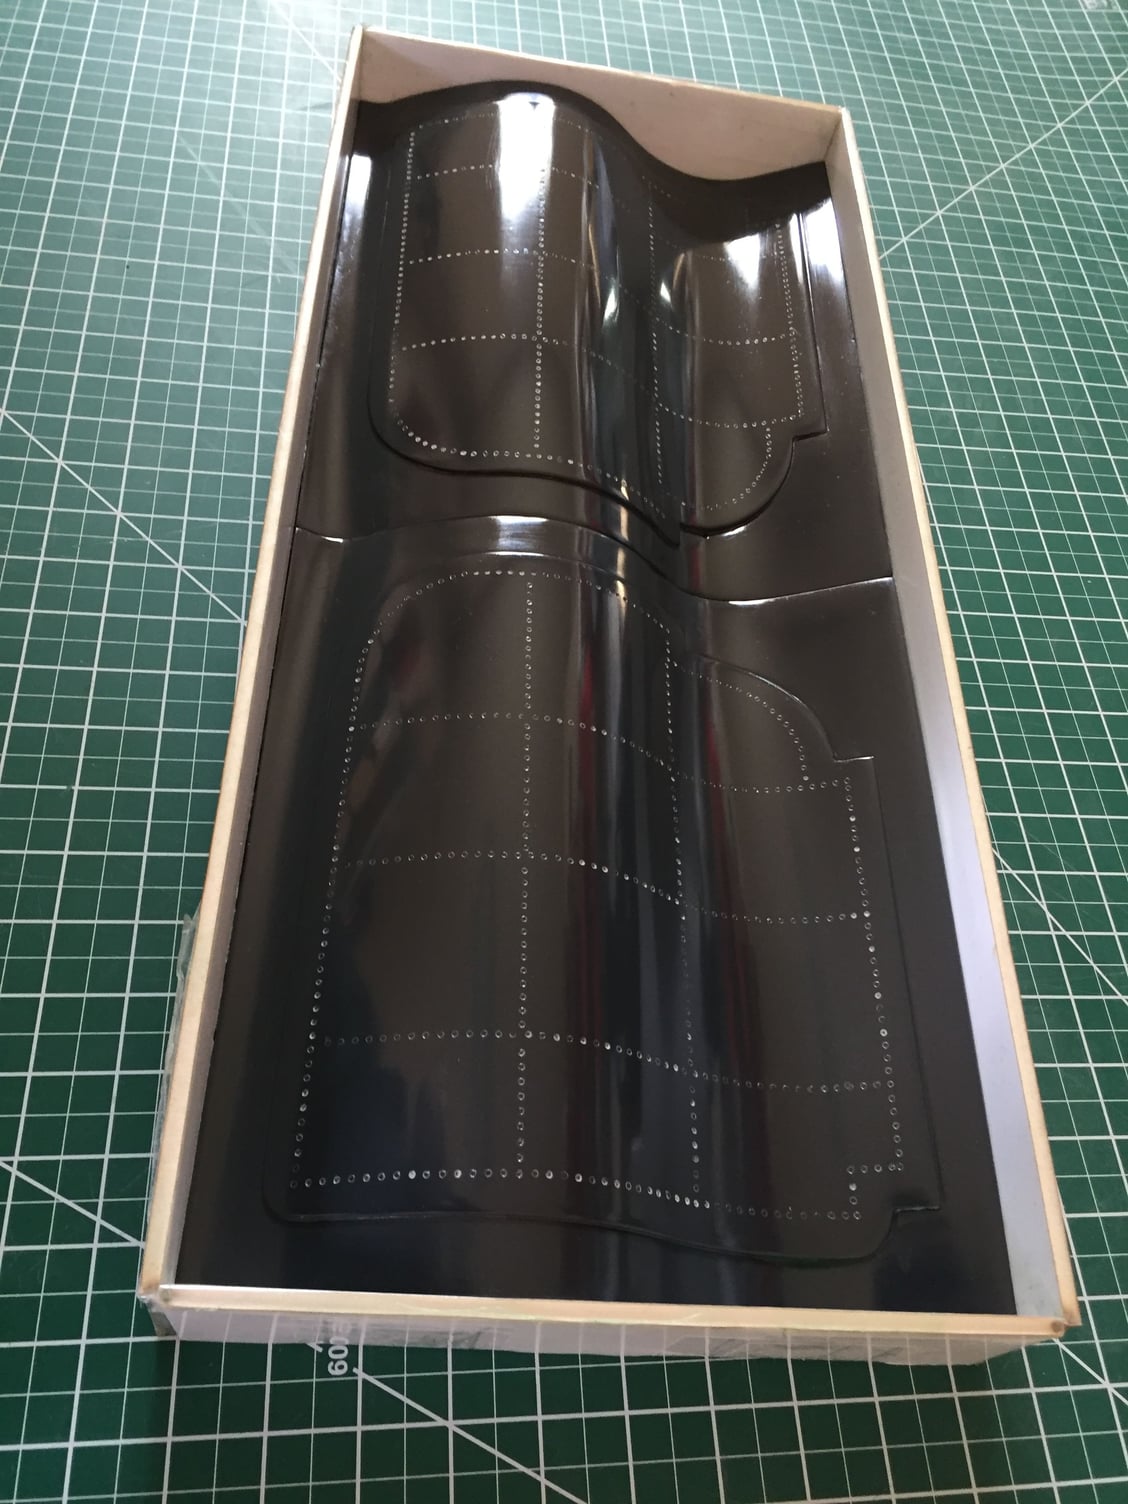
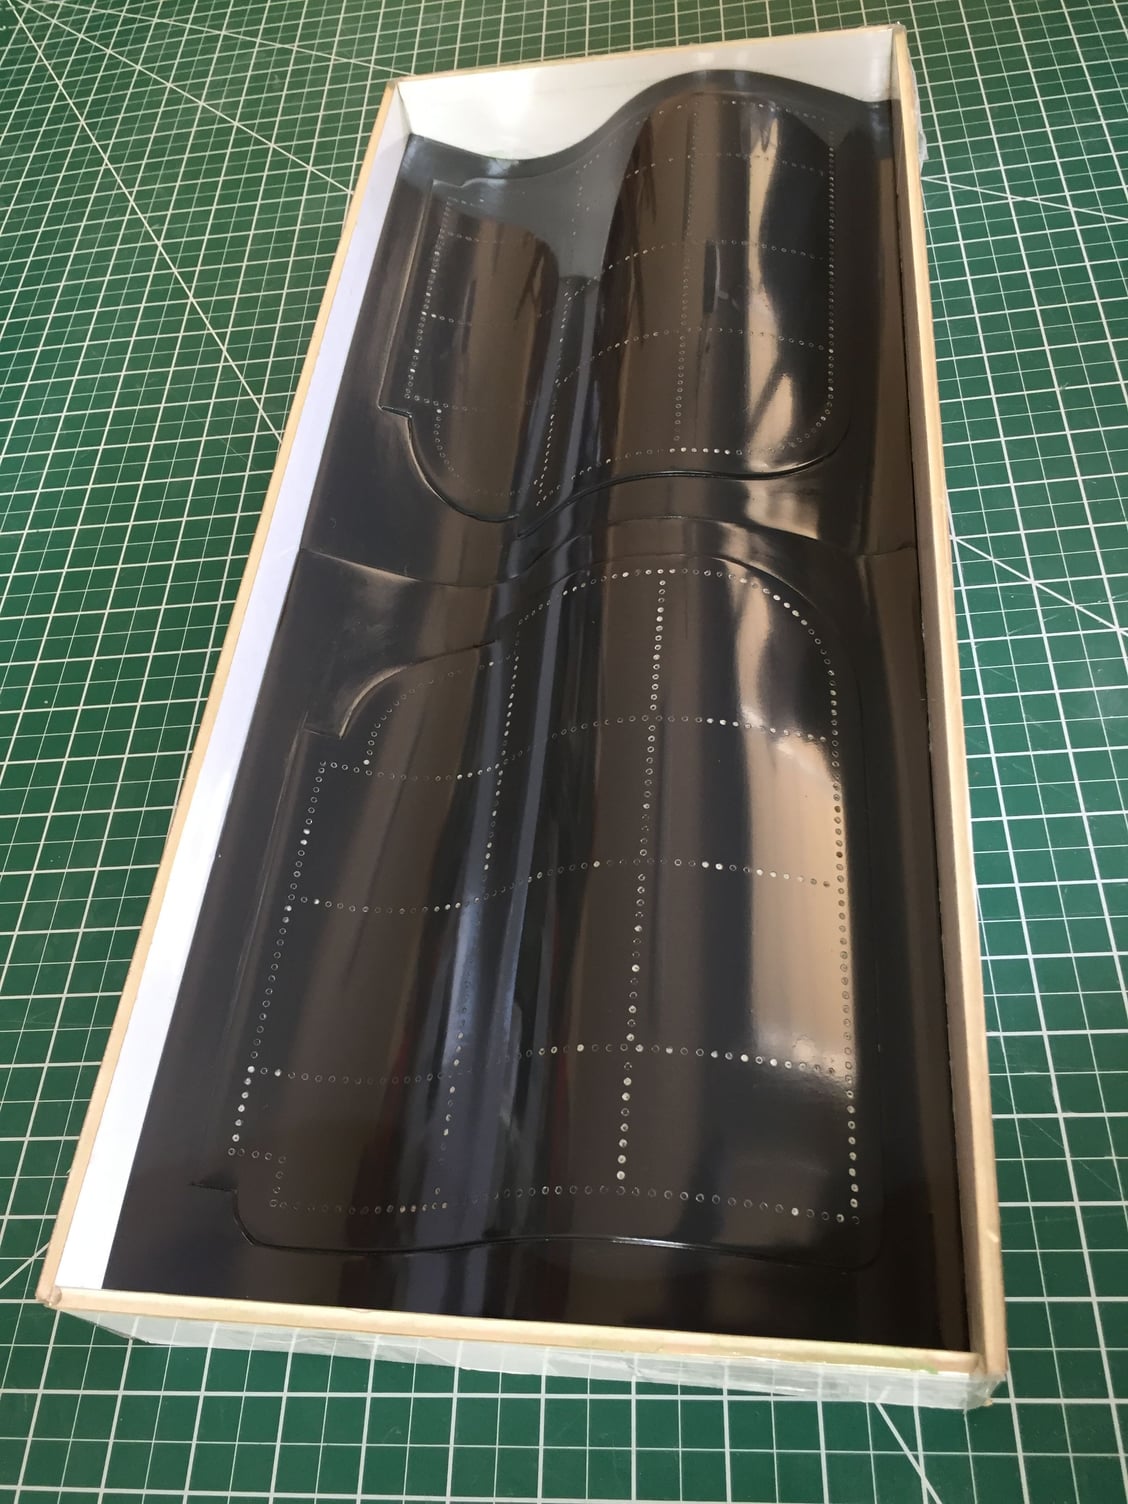
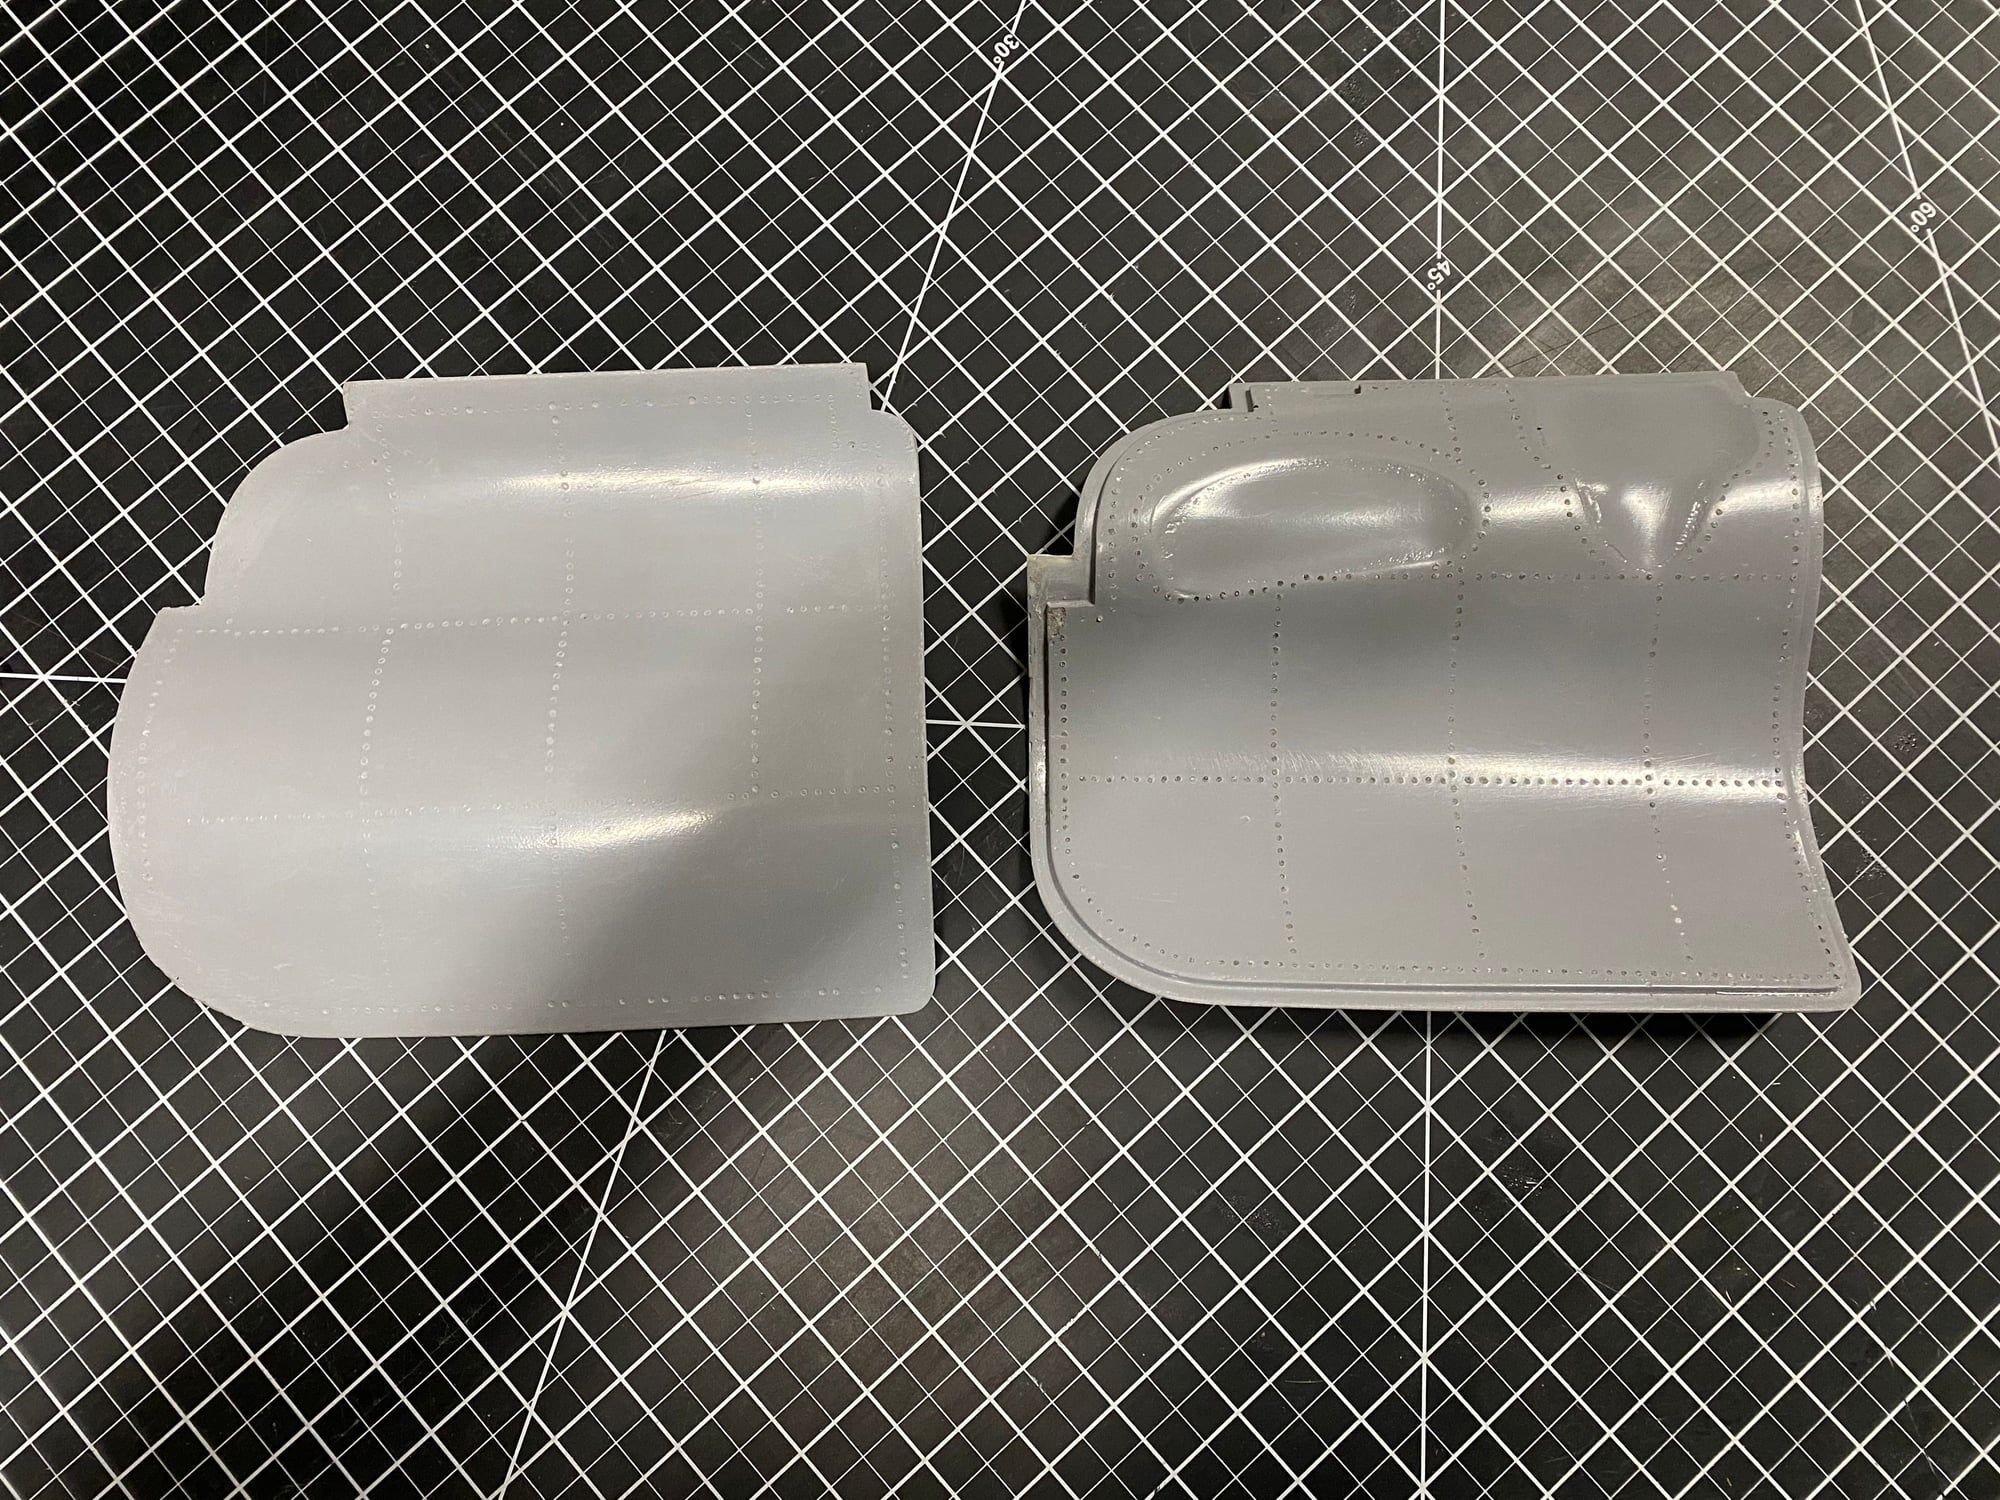
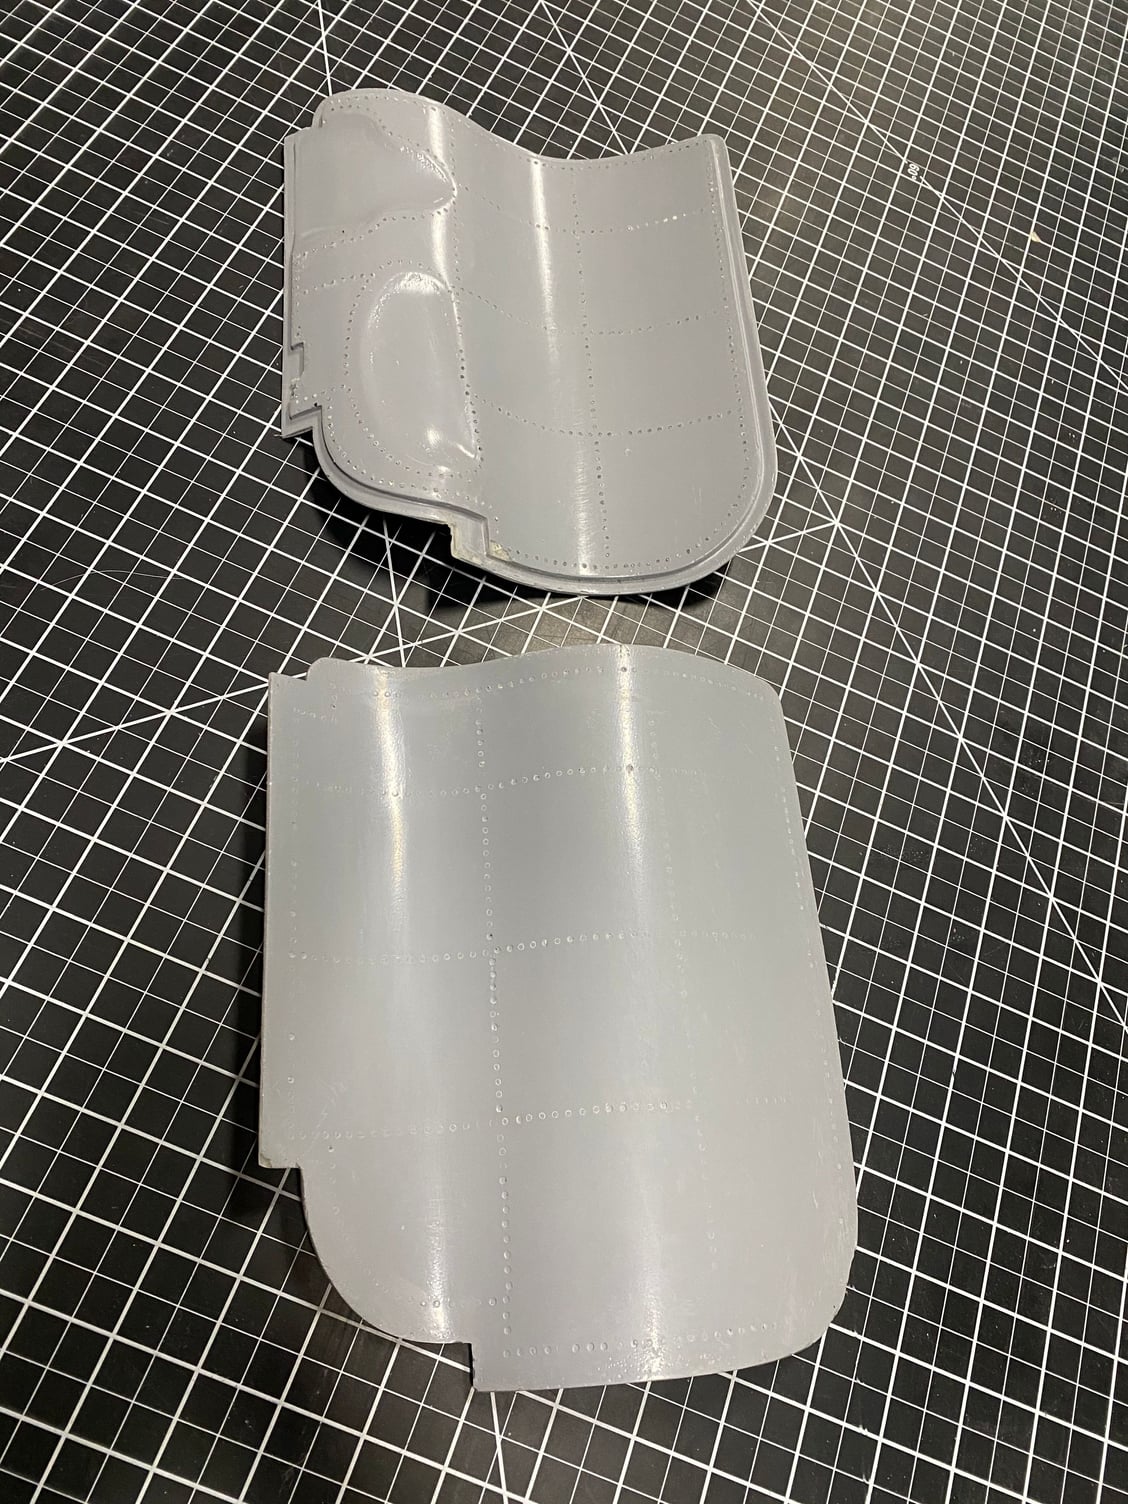
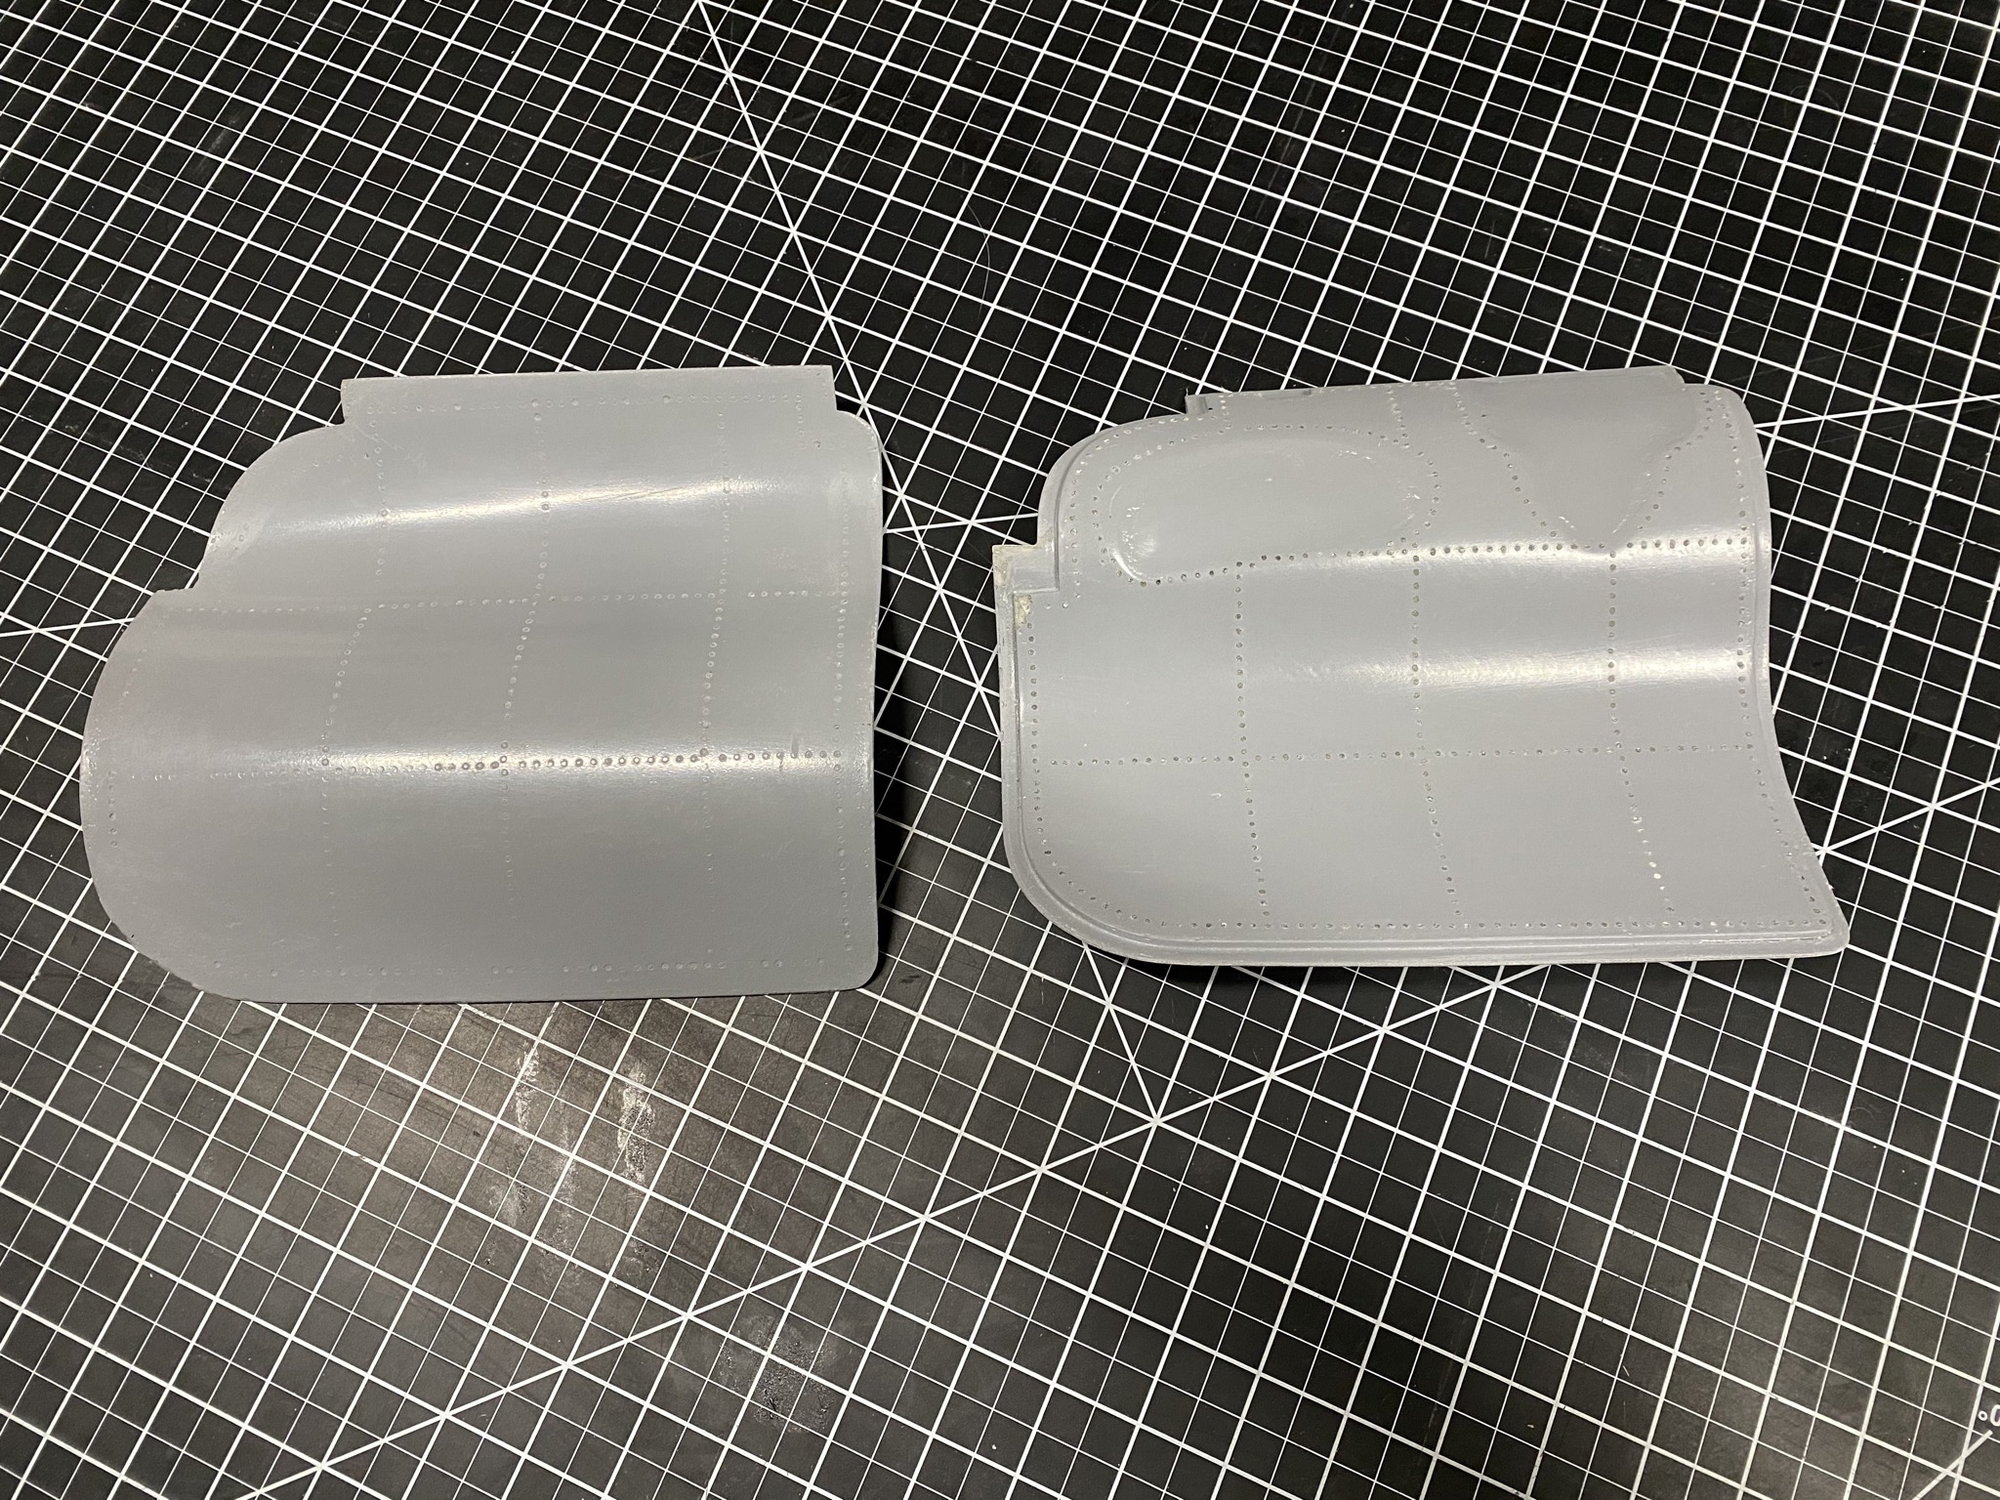
I laid up both inner and outer surfaces at the same time. This time they turned out great, except for some reason I didn't get good raised rivet detail retention. Most of the raised rivets pulled off the plug so I had to clean up the mold and dig out each rivet, and then they didn't reproduce cleanly on the final parts either. As the inner surfaces are mostly hidden from view and there is some detail on the parts I'll leave it at that for now.
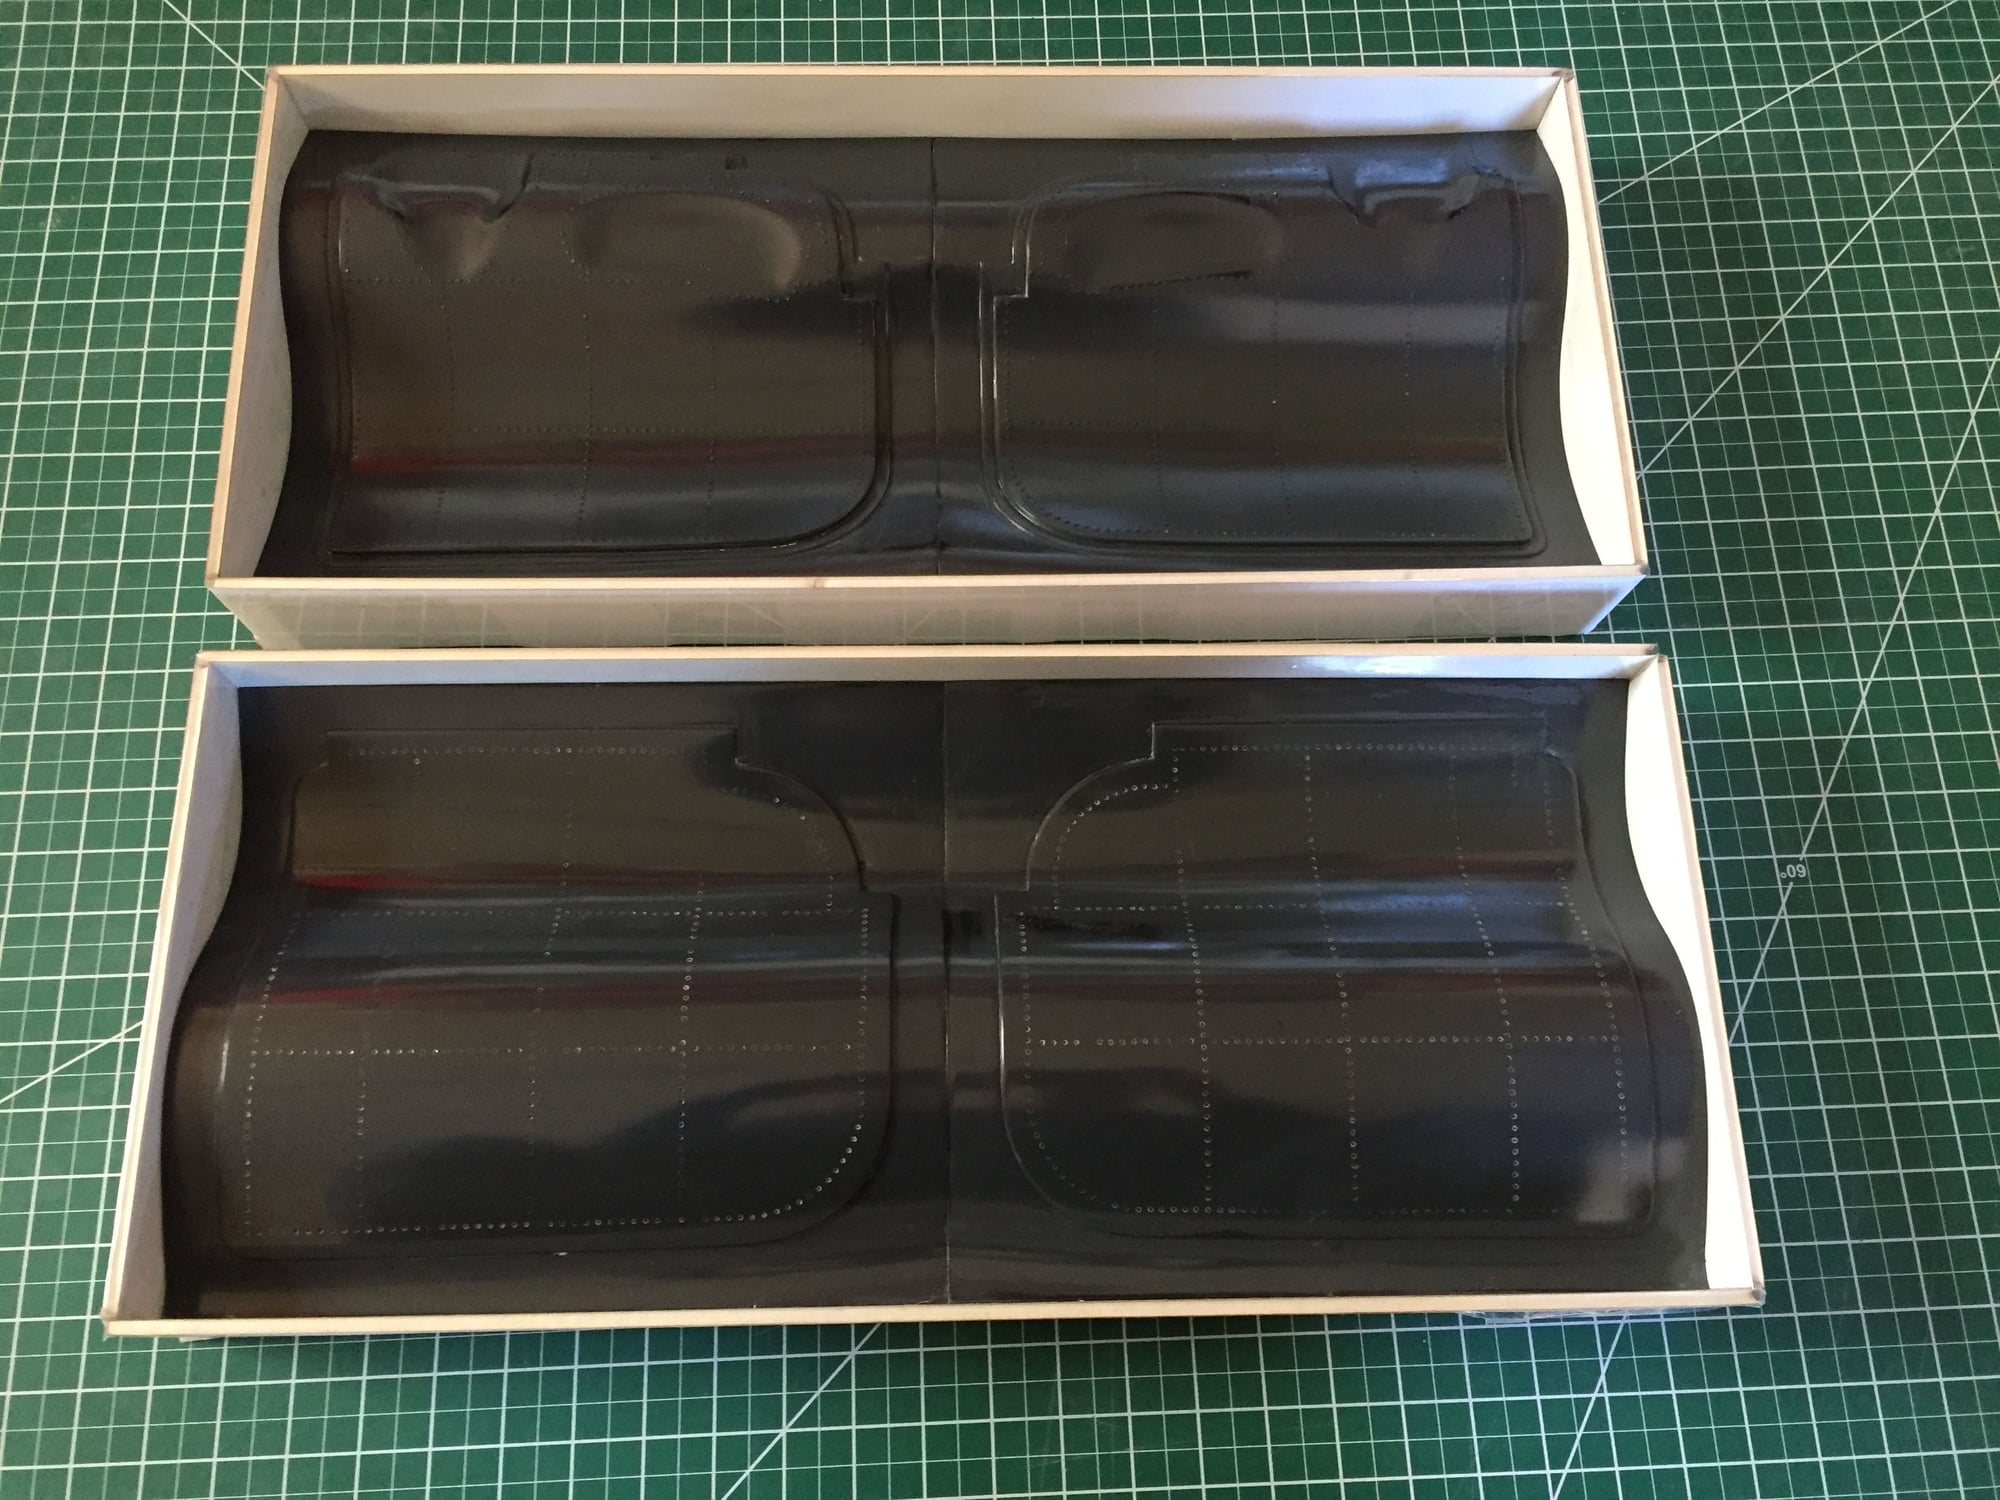
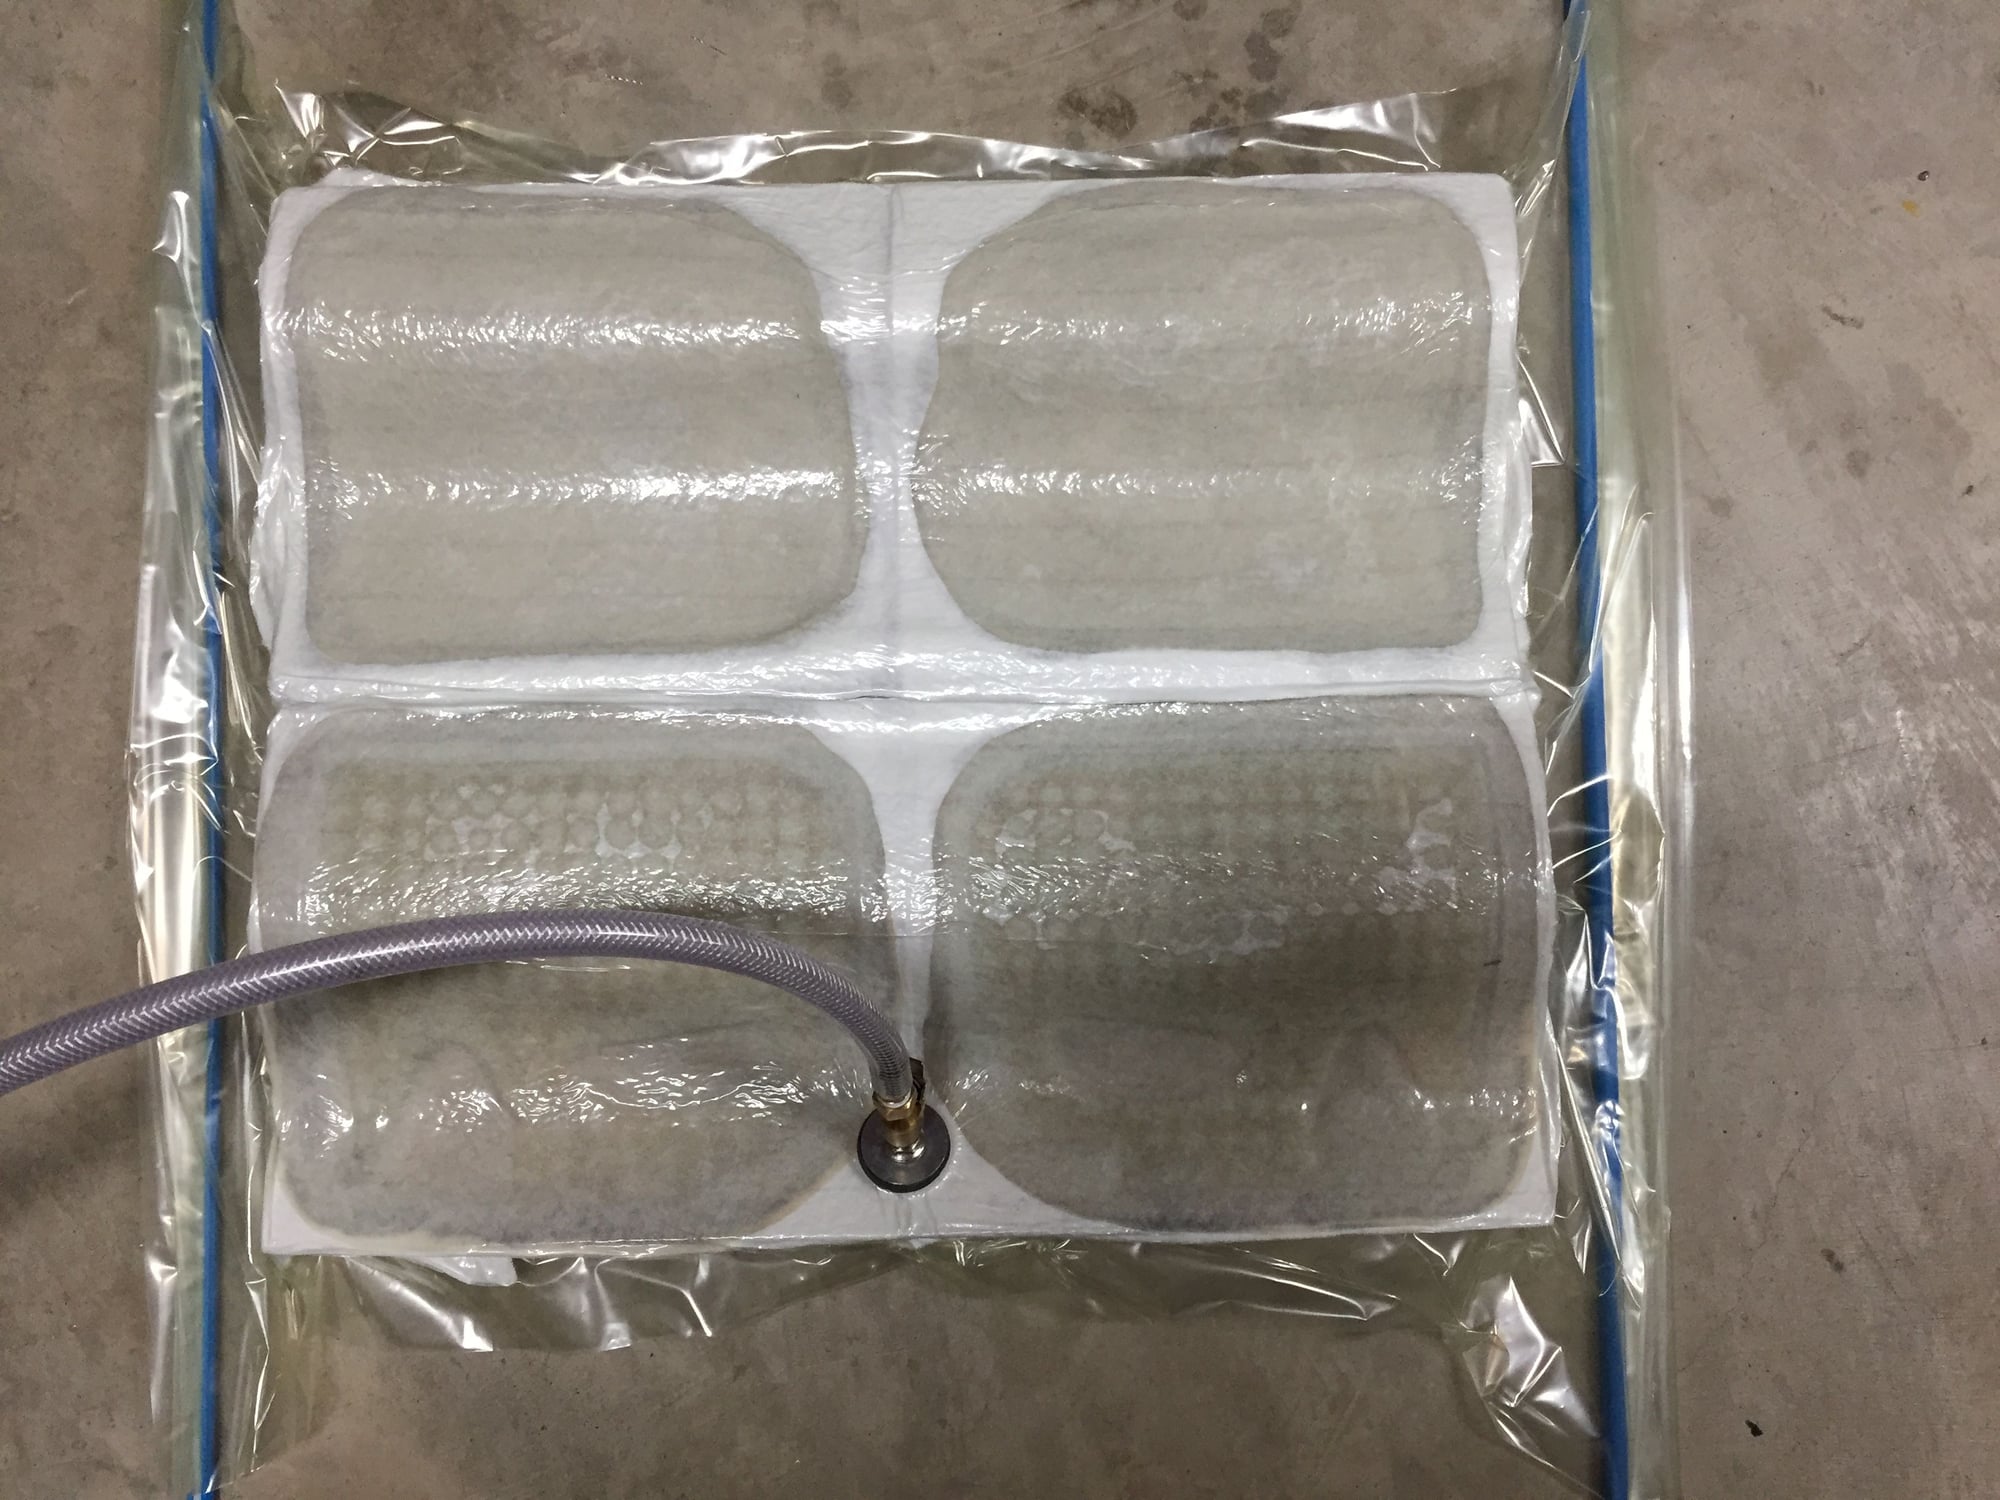
After cleaning up each skin, I bonded them together with more thickened epoxy and clamped them together under a gentle vacuum until cured.
Finished they are definitely over-build and solid. Absolutely zero flex, so I have no worries about these large doors failing in flight. Unfortunately a bit heavy, so if I have to make any more I have some ideas to lighten them up.
For size perspective, each door is approx. 9.5" x 8".
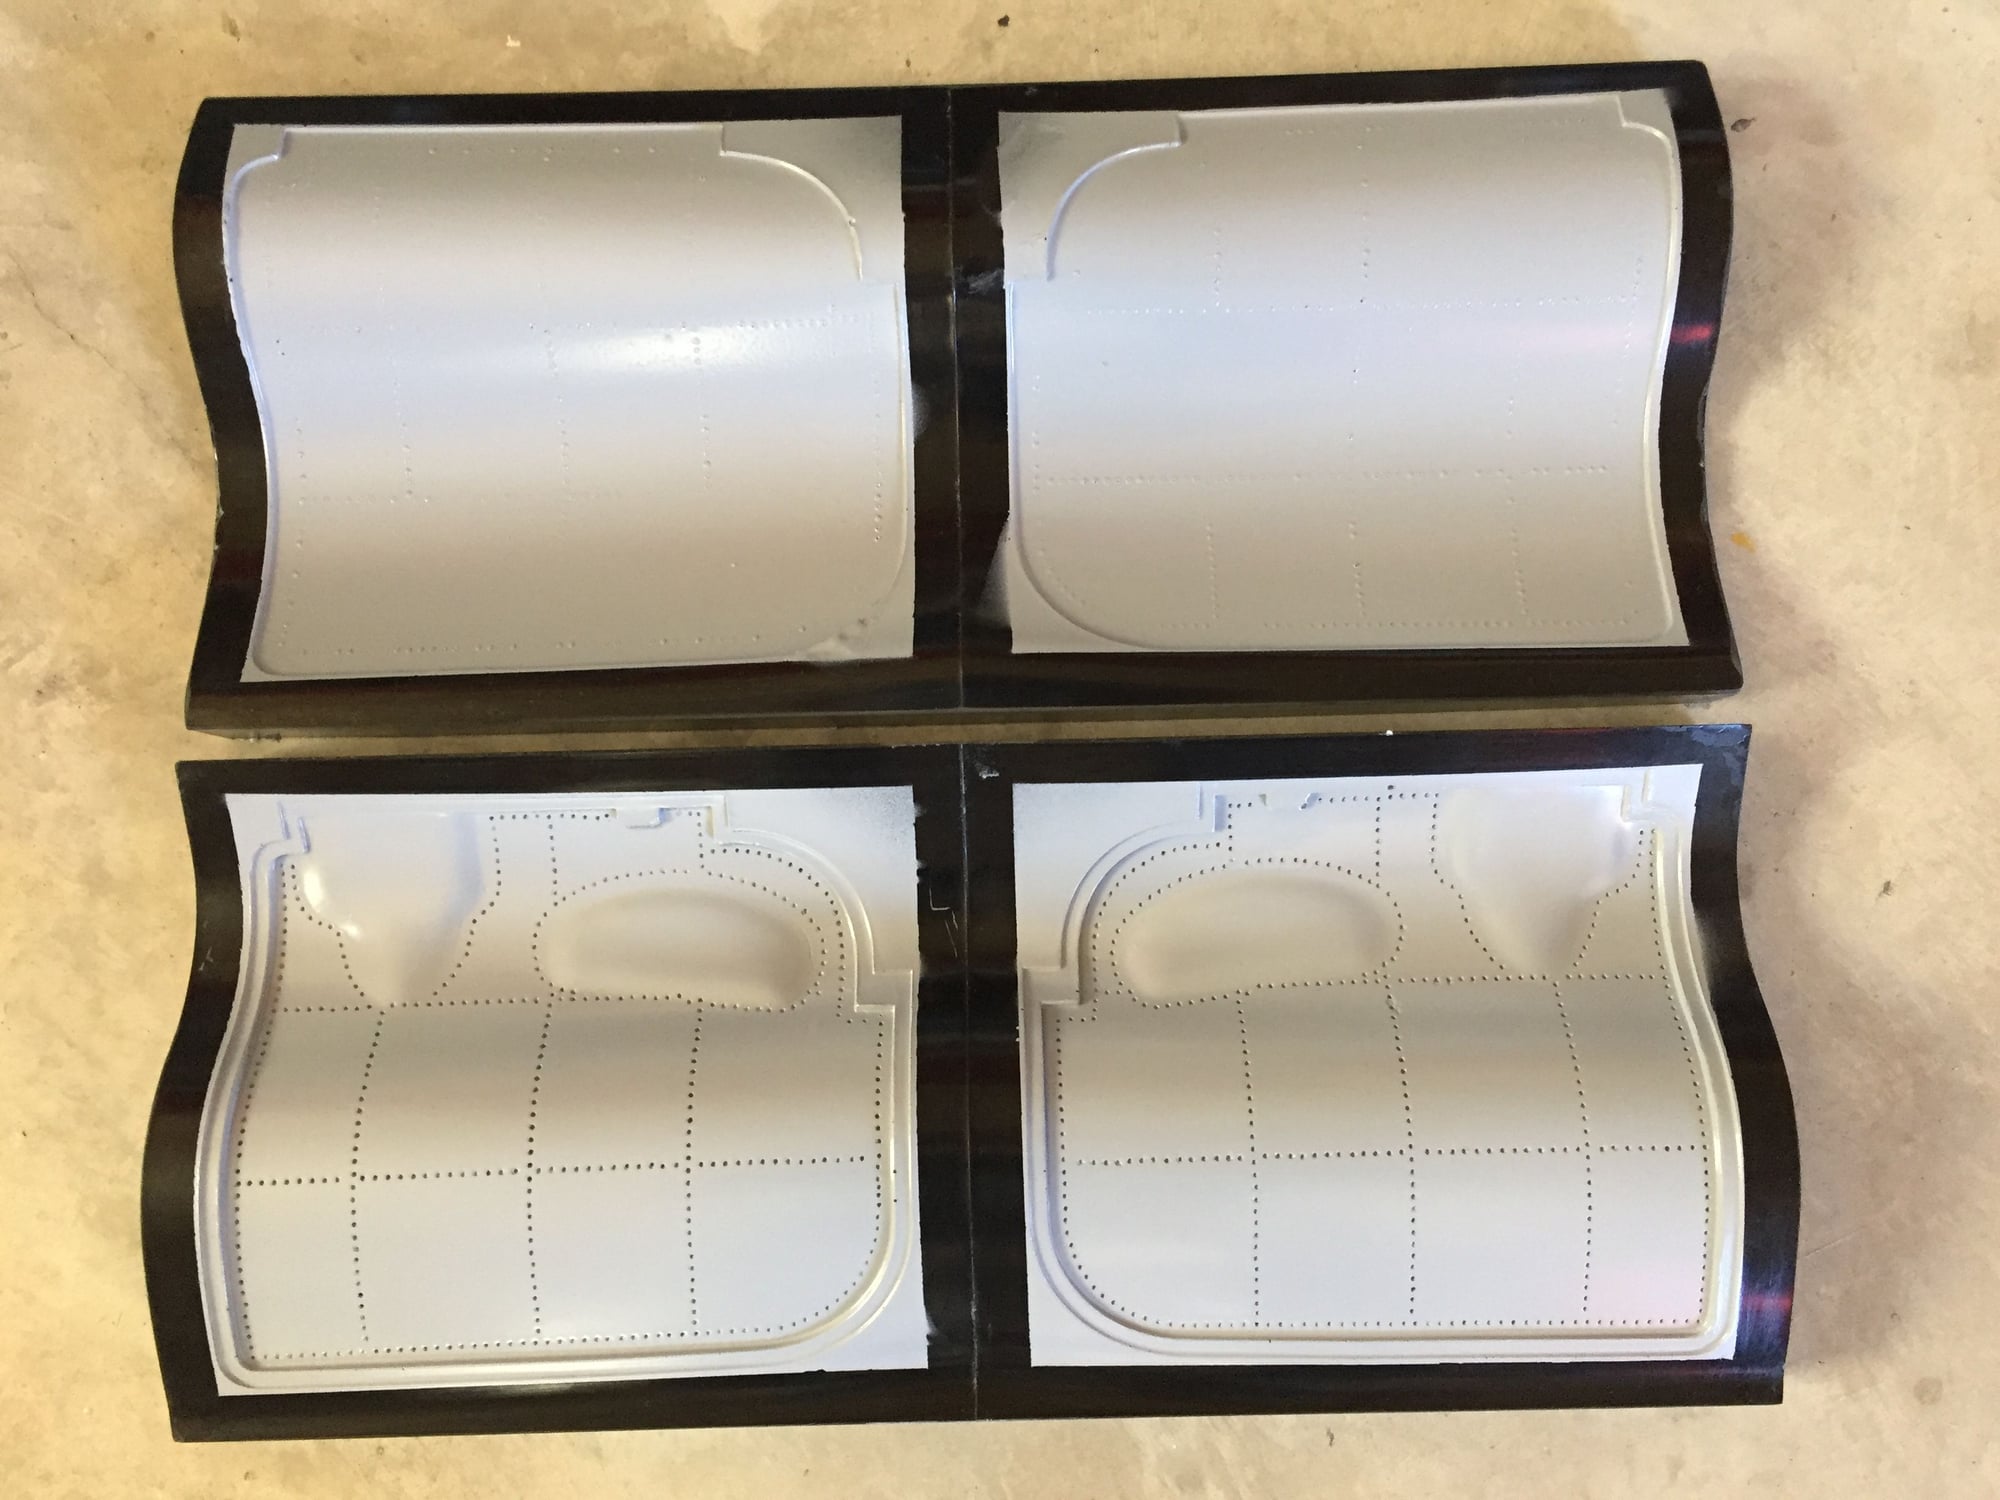
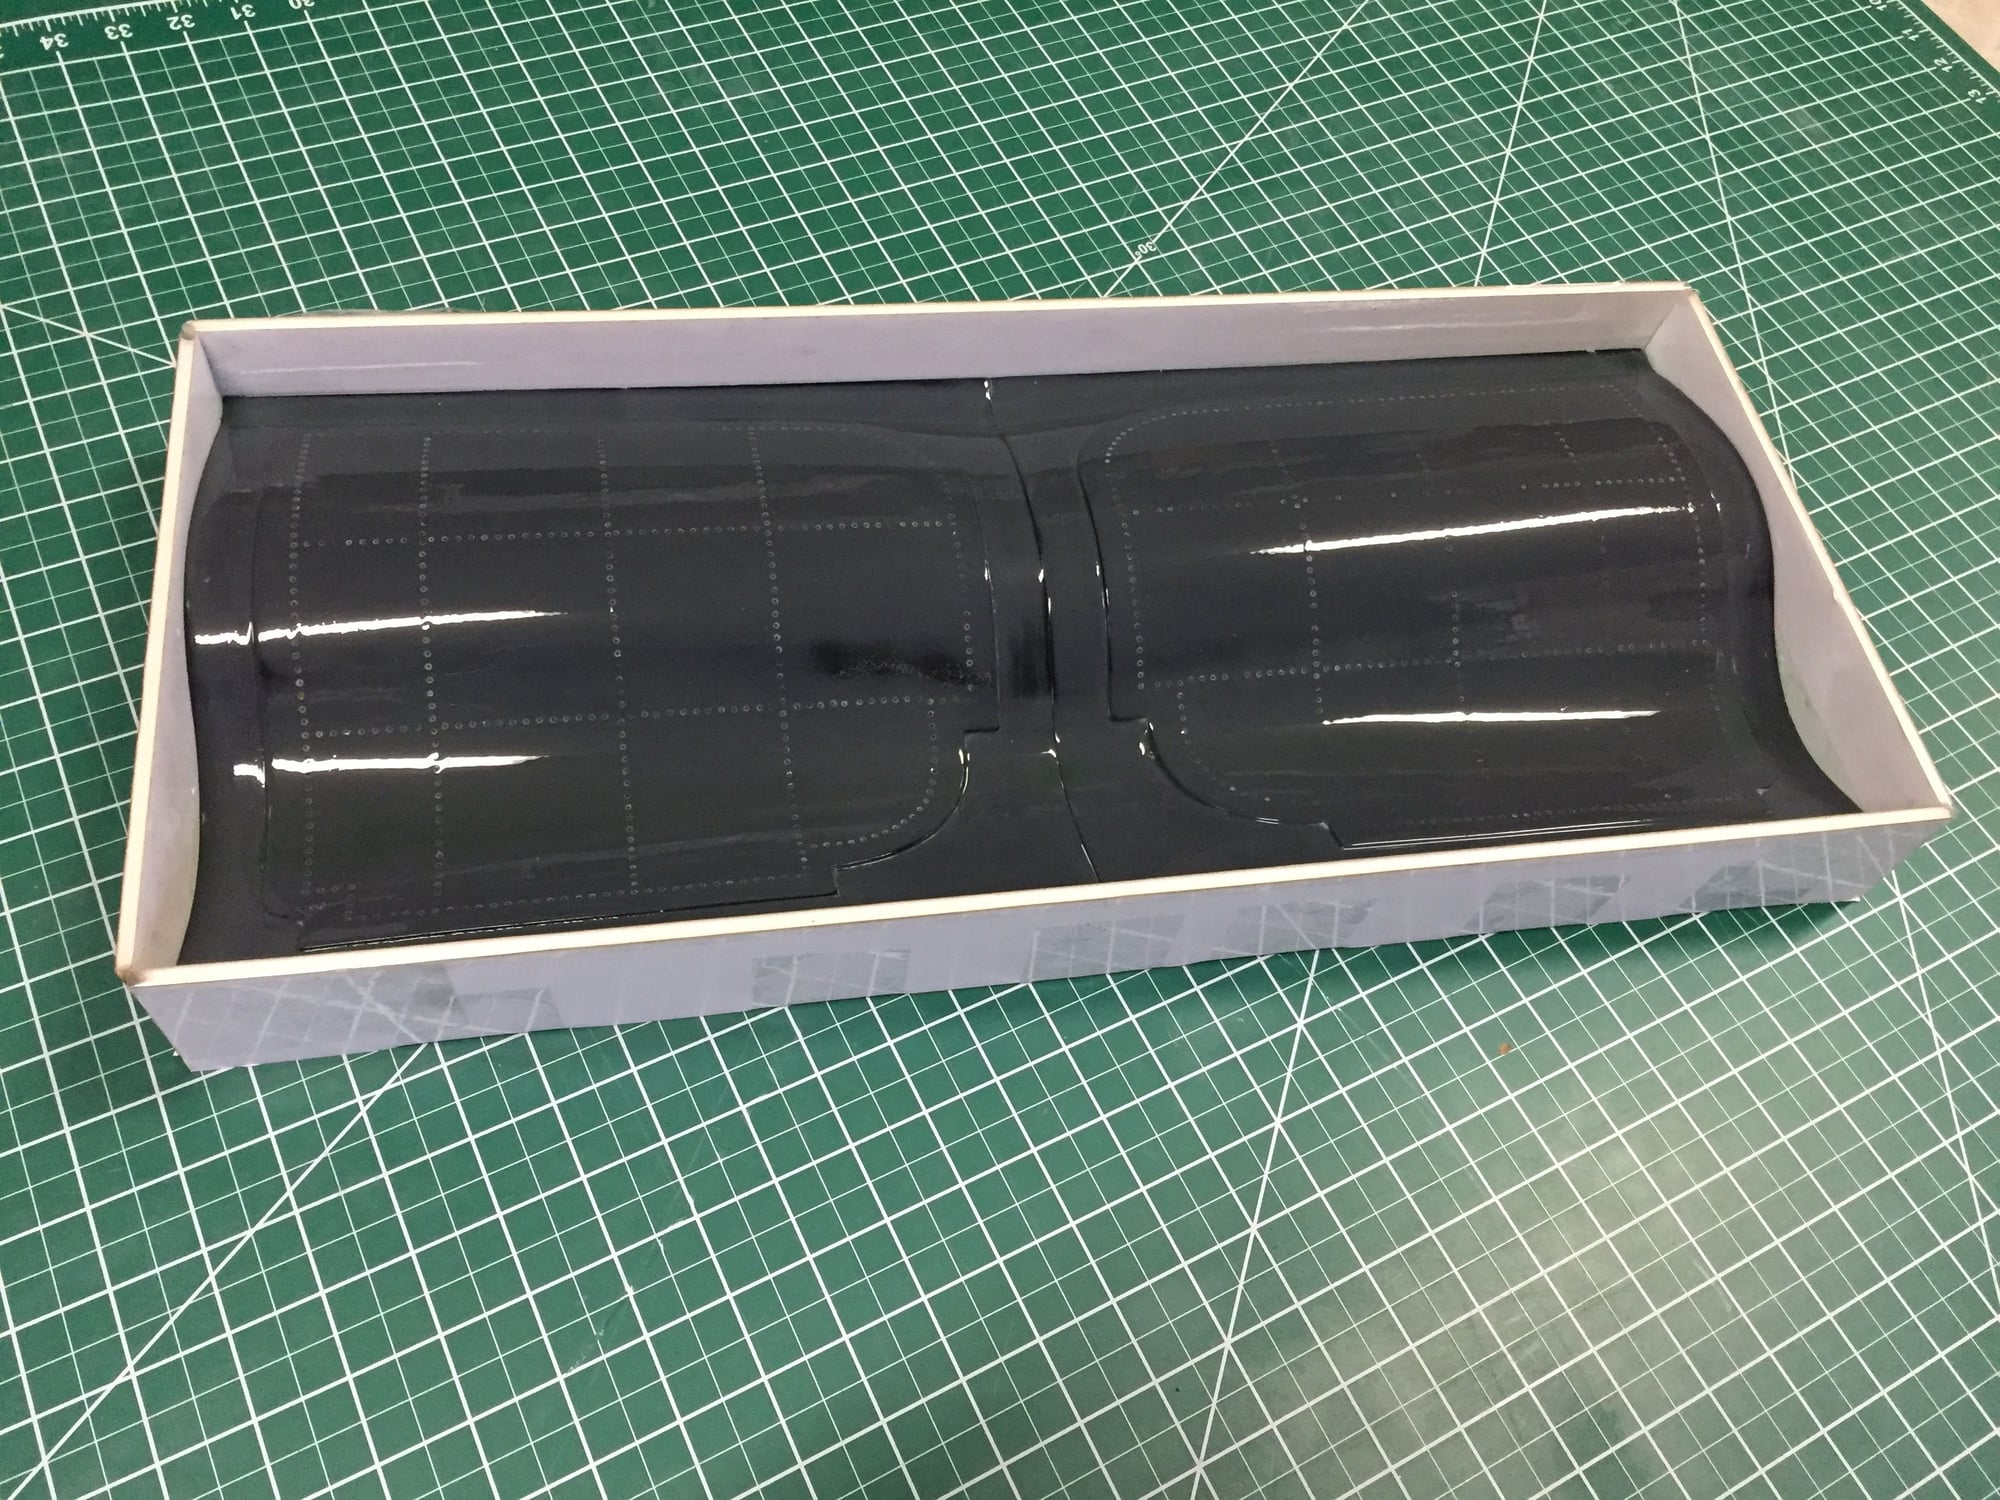
Initial primer layer
Inner and outer skins curing

Bonding the two skins together
Paul
I laid up both inner and outer surfaces at the same time. This time they turned out great, except for some reason I didn't get good raised rivet detail retention. Most of the raised rivets pulled off the plug so I had to clean up the mold and dig out each rivet, and then they didn't reproduce cleanly on the final parts either. As the inner surfaces are mostly hidden from view and there is some detail on the parts I'll leave it at that for now.
After cleaning up each skin, I bonded them together with more thickened epoxy and clamped them together under a gentle vacuum until cured.
Finished they are definitely over-build and solid. Absolutely zero flex, so I have no worries about these large doors failing in flight. Unfortunately a bit heavy, so if I have to make any more I have some ideas to lighten them up.
For size perspective, each door is approx. 9.5" x 8".
Initial primer layer
Inner and outer skins curing
Bonding the two skins together
Paul
Last edited by JSF-TC; 01-20-2020 at 05:19 PM.
 01-21-2020, 03:59 AM
#362
Dave,
Embarrassed to admit that they are 162.2g (5.7oz) and 172.3g (6.1oz).
I wanted the flange area to be robust, so I laid up the outer skin with 4 layers of 9oz to give the correct thickness to sit flush with the fuselage.
With hindsight, I should have just used one full layer of 3oz like I normally do, and then just edged the rest of the flange with 3 layers of 9oz for the required thickness.
Just based on the weight of glass and epoxy I could have saved, I could probably shave 2-3oz of the weight of each just by that approach.
Paul
01-21-2020, 05:08 AM
#363
I know it’s a huge amount of work, but I would make lighter ones. I bet you can save 3oz a door and with these scale models you want every oz you can save to end up with a stable, fly able airframe.
Dave
Dave
03-08-2020, 09:21 AM
#364
After what seems like forever, I have an update, but it reality it's only been about 6 weeks. Feeling a little bit of burnout overall, but I have been working on another project at the same time plus a lot of work travel.
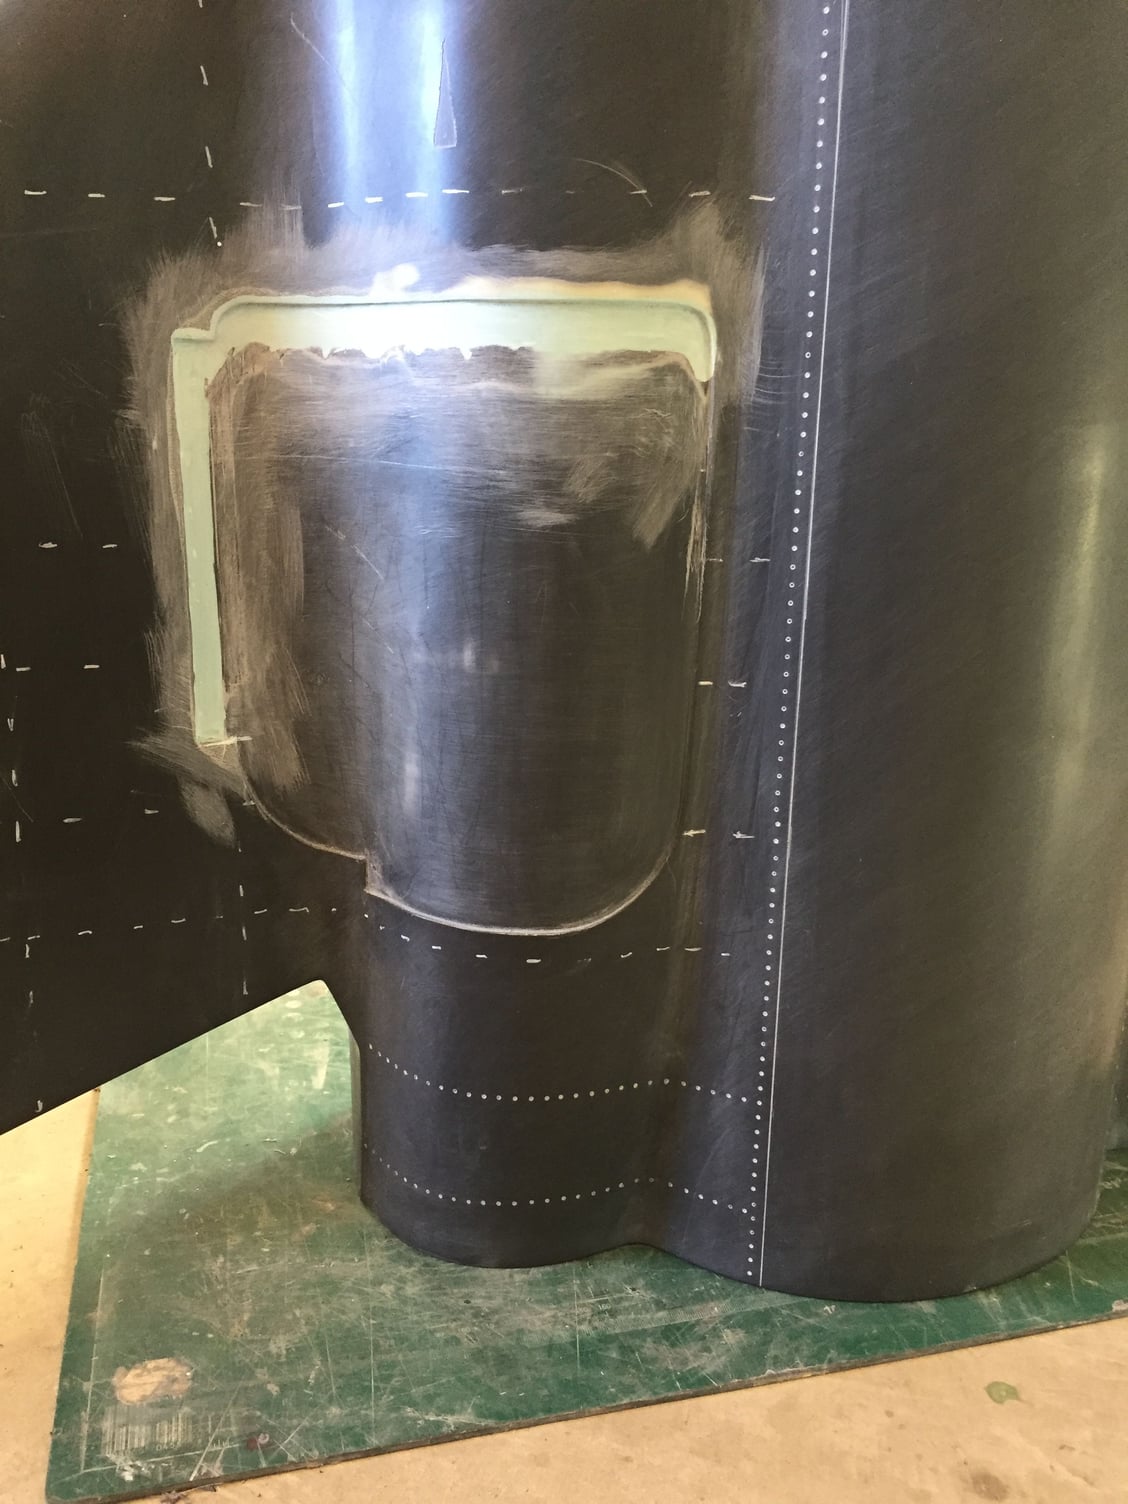
I was in the middle of enlarging the main gear door recesses. I completed one before I slowed down, but the second one went smoothly enough. The only picture of that side I took was after cutting into the plug. Filling and finishing was the same as the first side.
After completing the main gear door cutout re-work, I then completed the lower surface detailing, adding panel lines and rivets. A little bit of artistic license used on the rivets as I didn't have a clear reference, but the lower surface will hardly be seen up close.
The center fuselage plug is now ready for molding. I've cut out the parting planes ready to attach to the plug for molding.
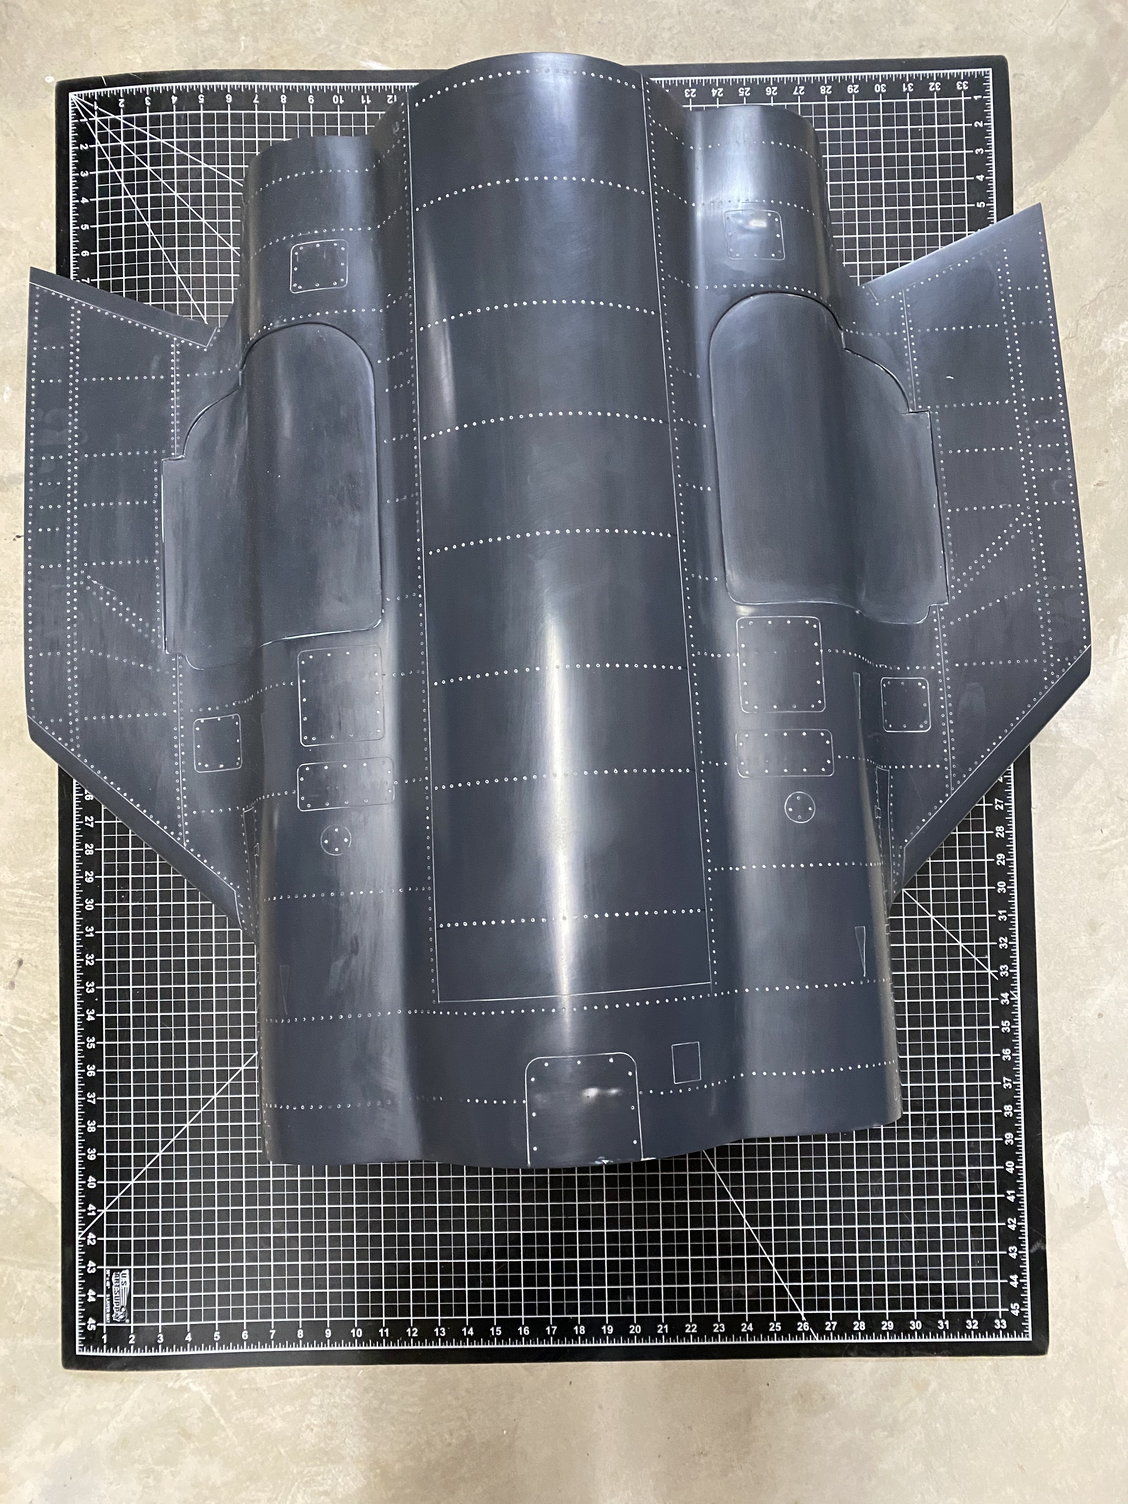
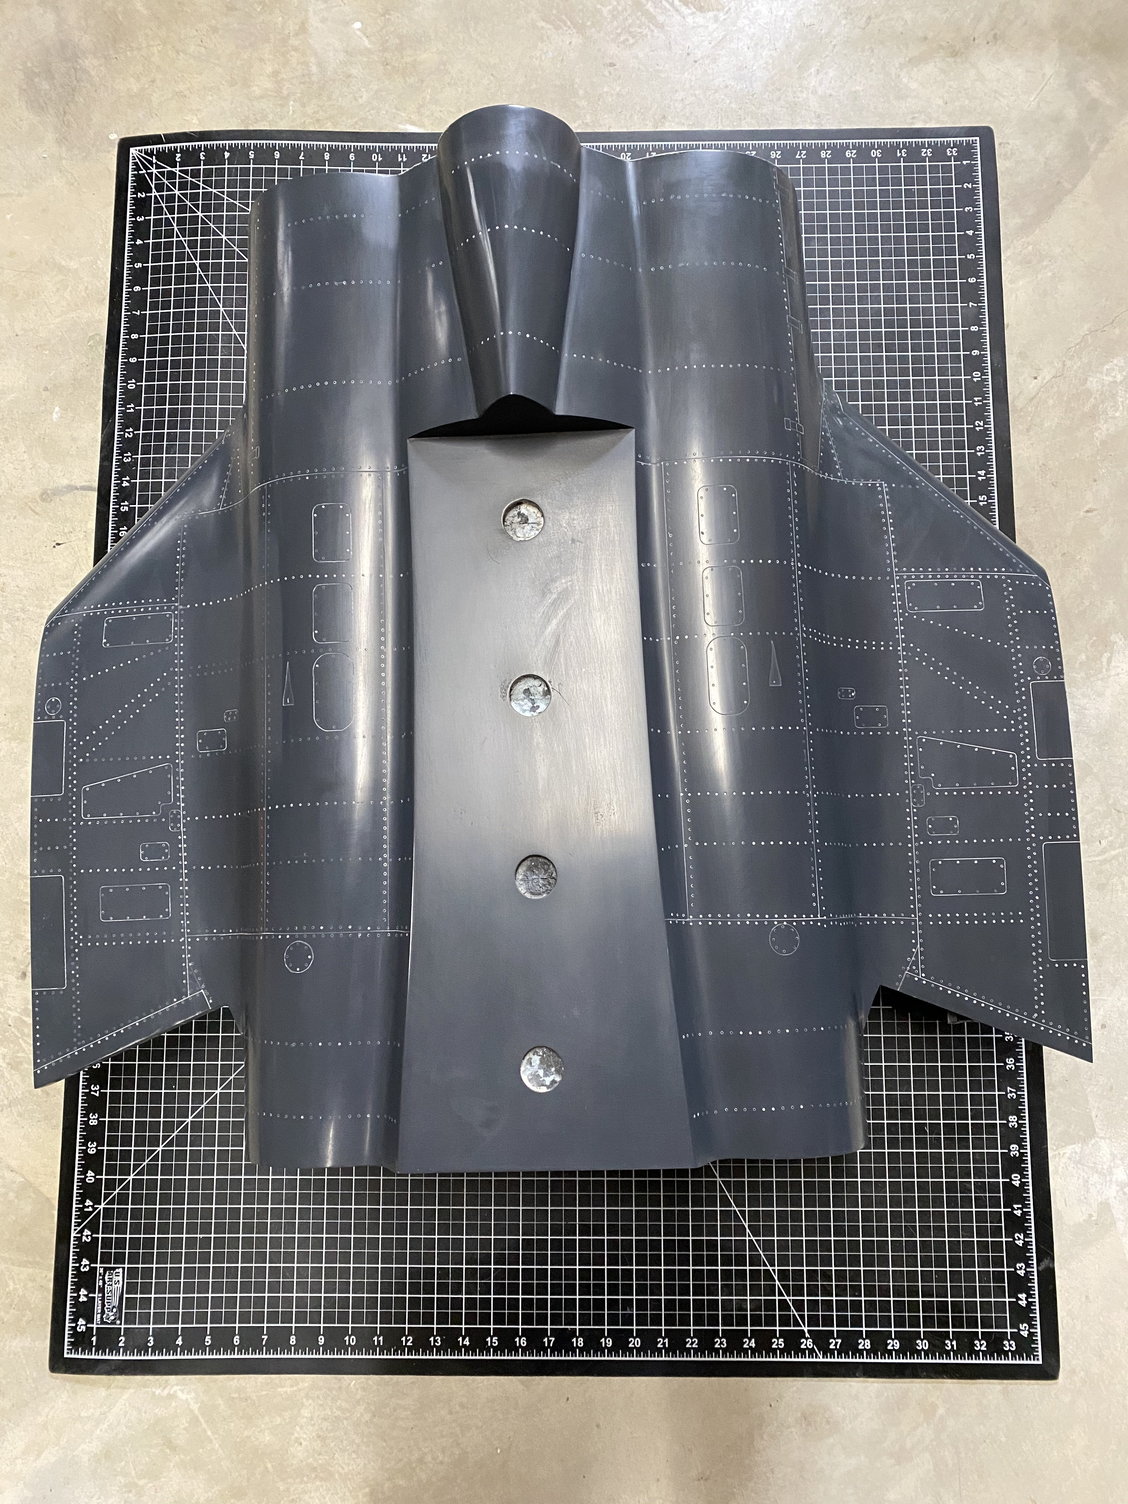
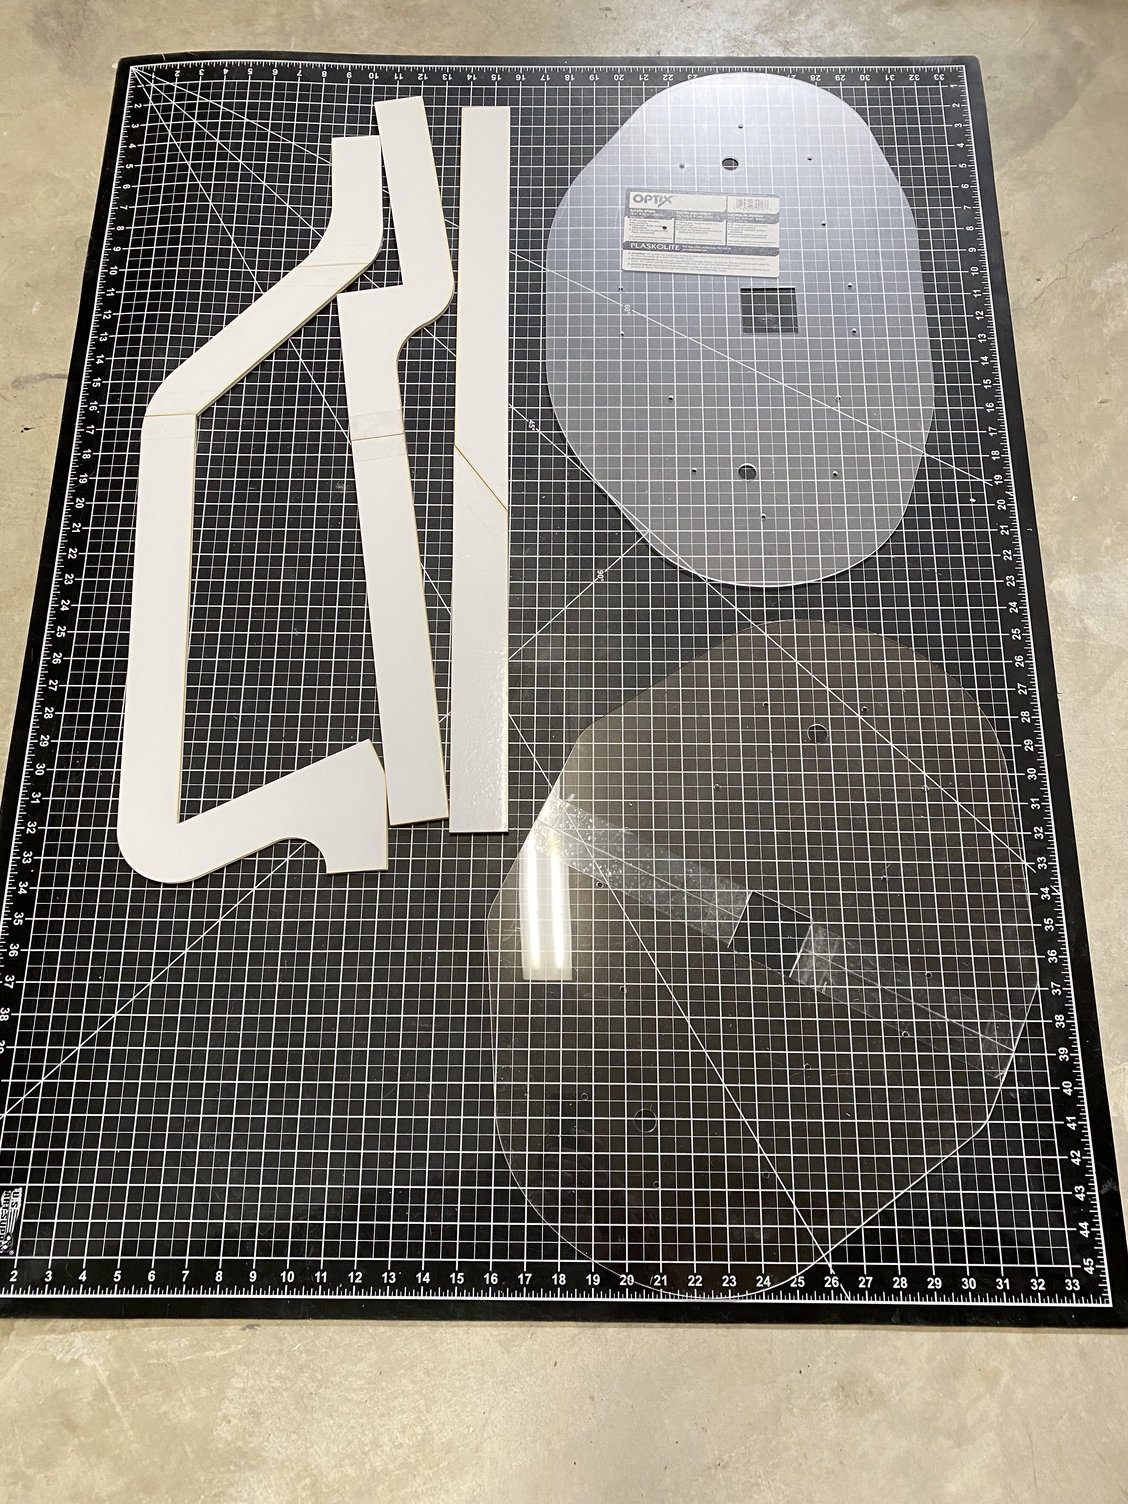
Paul
I was in the middle of enlarging the main gear door recesses. I completed one before I slowed down, but the second one went smoothly enough. The only picture of that side I took was after cutting into the plug. Filling and finishing was the same as the first side.
After completing the main gear door cutout re-work, I then completed the lower surface detailing, adding panel lines and rivets. A little bit of artistic license used on the rivets as I didn't have a clear reference, but the lower surface will hardly be seen up close.
The center fuselage plug is now ready for molding. I've cut out the parting planes ready to attach to the plug for molding.
Paul
 03-09-2020, 12:55 AM
#366

Nice work again Paul!!!
Hopefully not work related! It's pretty normal for a non-commercial builder (Although your work looks pretty professional to me!  ) to have some motivation crisis once in a while. Just step back for a few weeks and or do some other stuff in between and it all will come back, thrust me, been there!
  .
.
Just a normal way of life of a very addicted and enthusiasts modeler.
Rgds,
Gerald
) to have some motivation crisis once in a while. Just step back for a few weeks and or do some other stuff in between and it all will come back, thrust me, been there! .Just a normal way of life of a very addicted and enthusiasts modeler.
Rgds,
Gerald
The following users liked this post:
jetflyr (03-10-2020)

 03-21-2020, 10:24 AM
#368
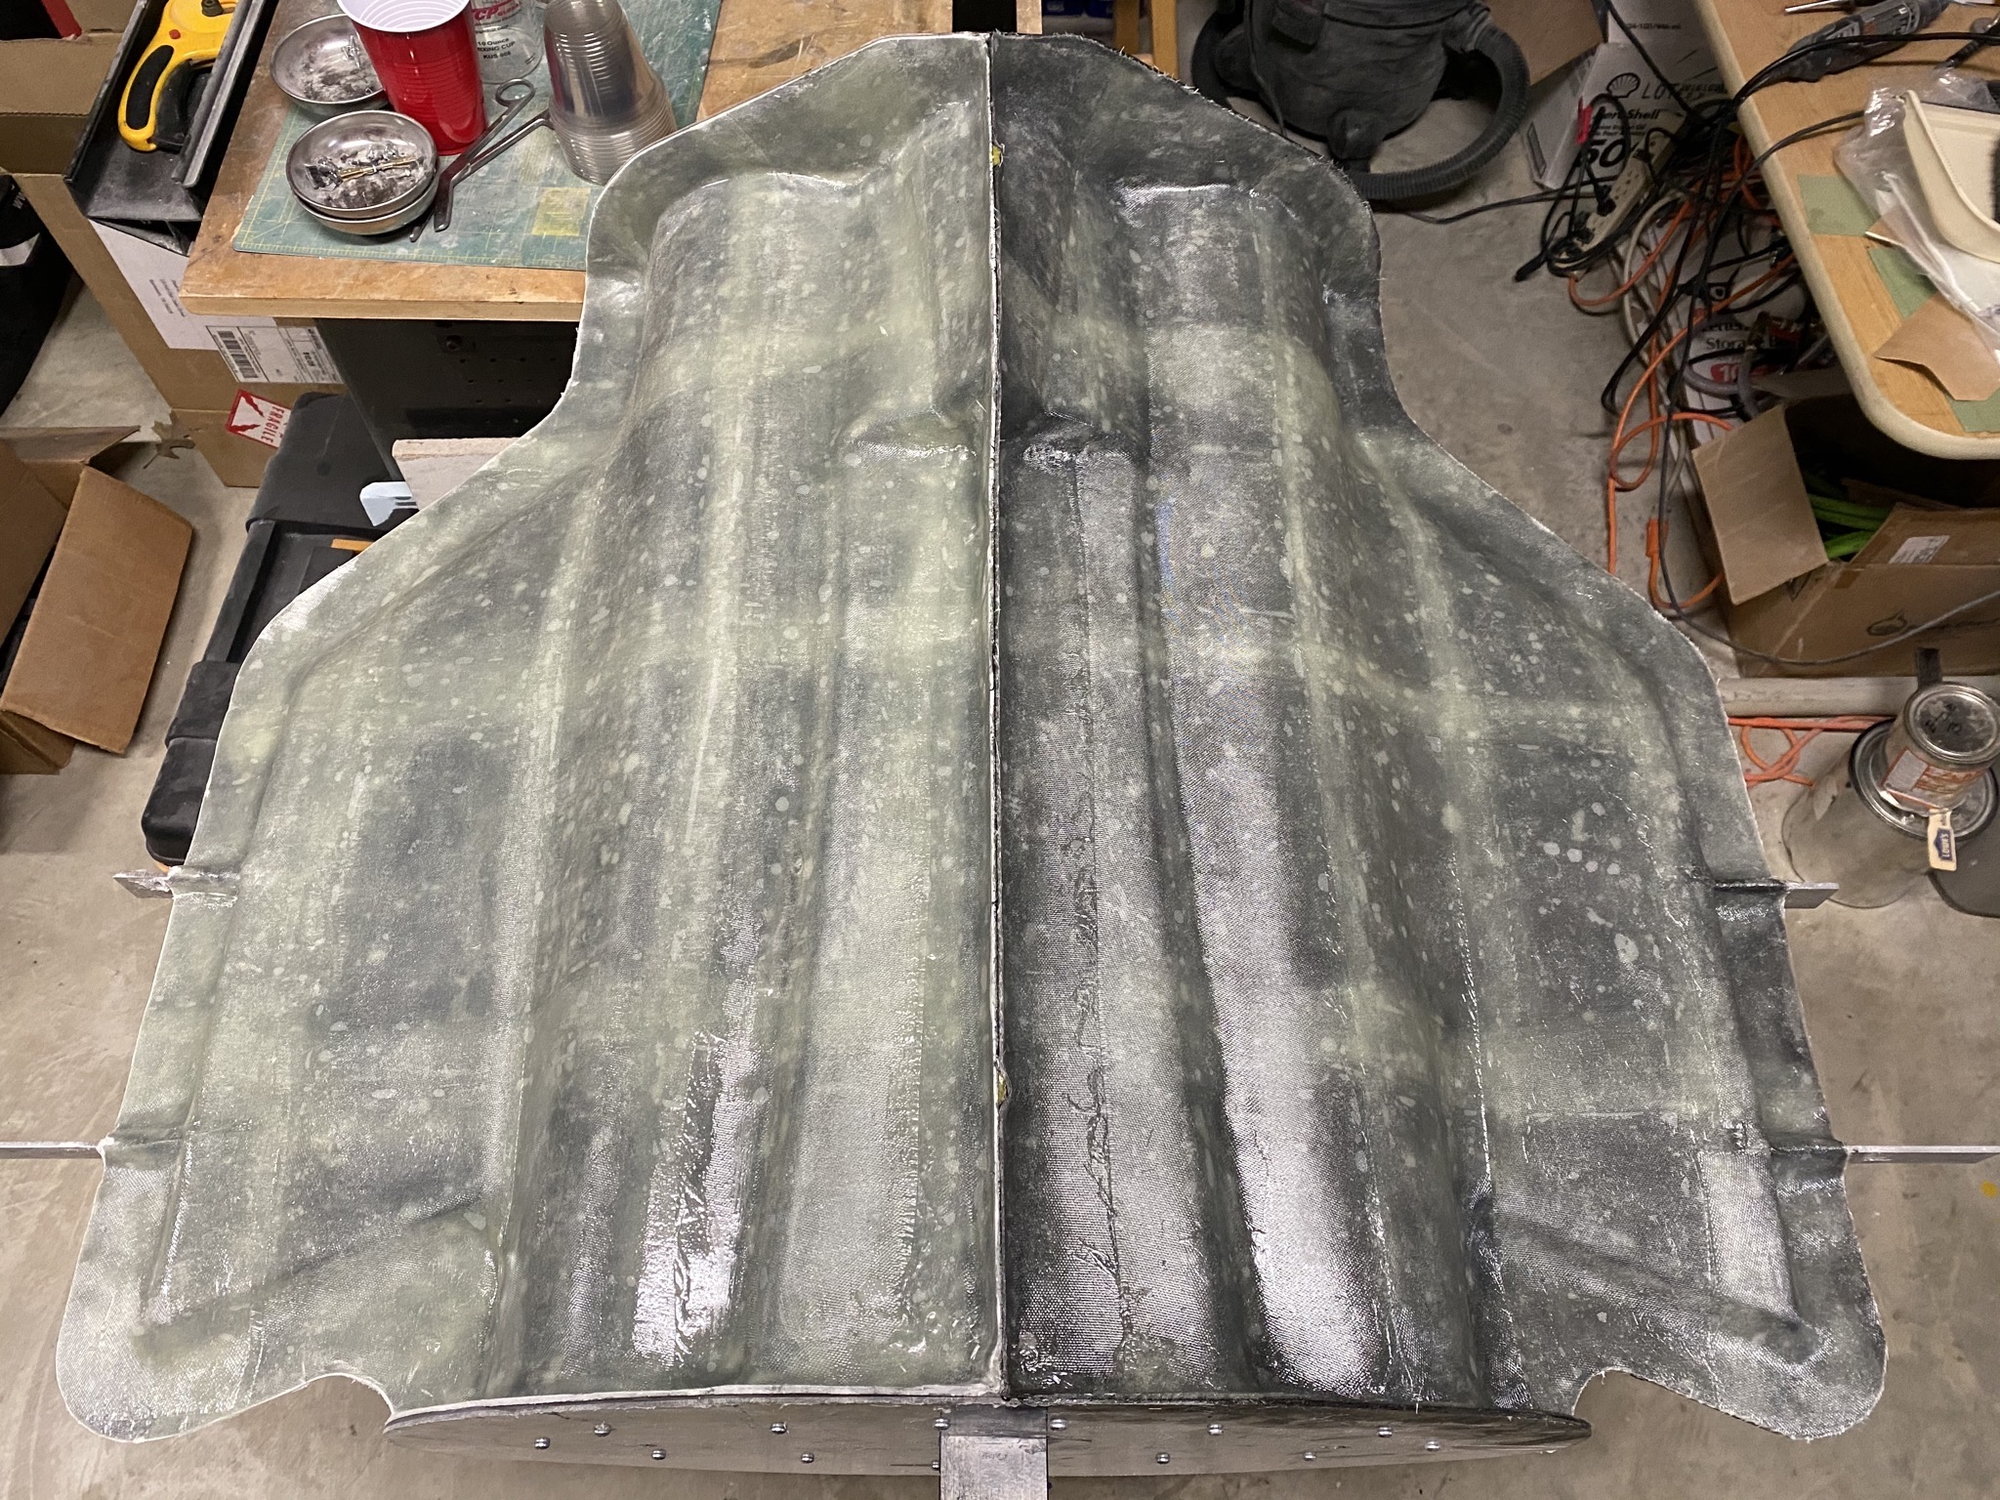
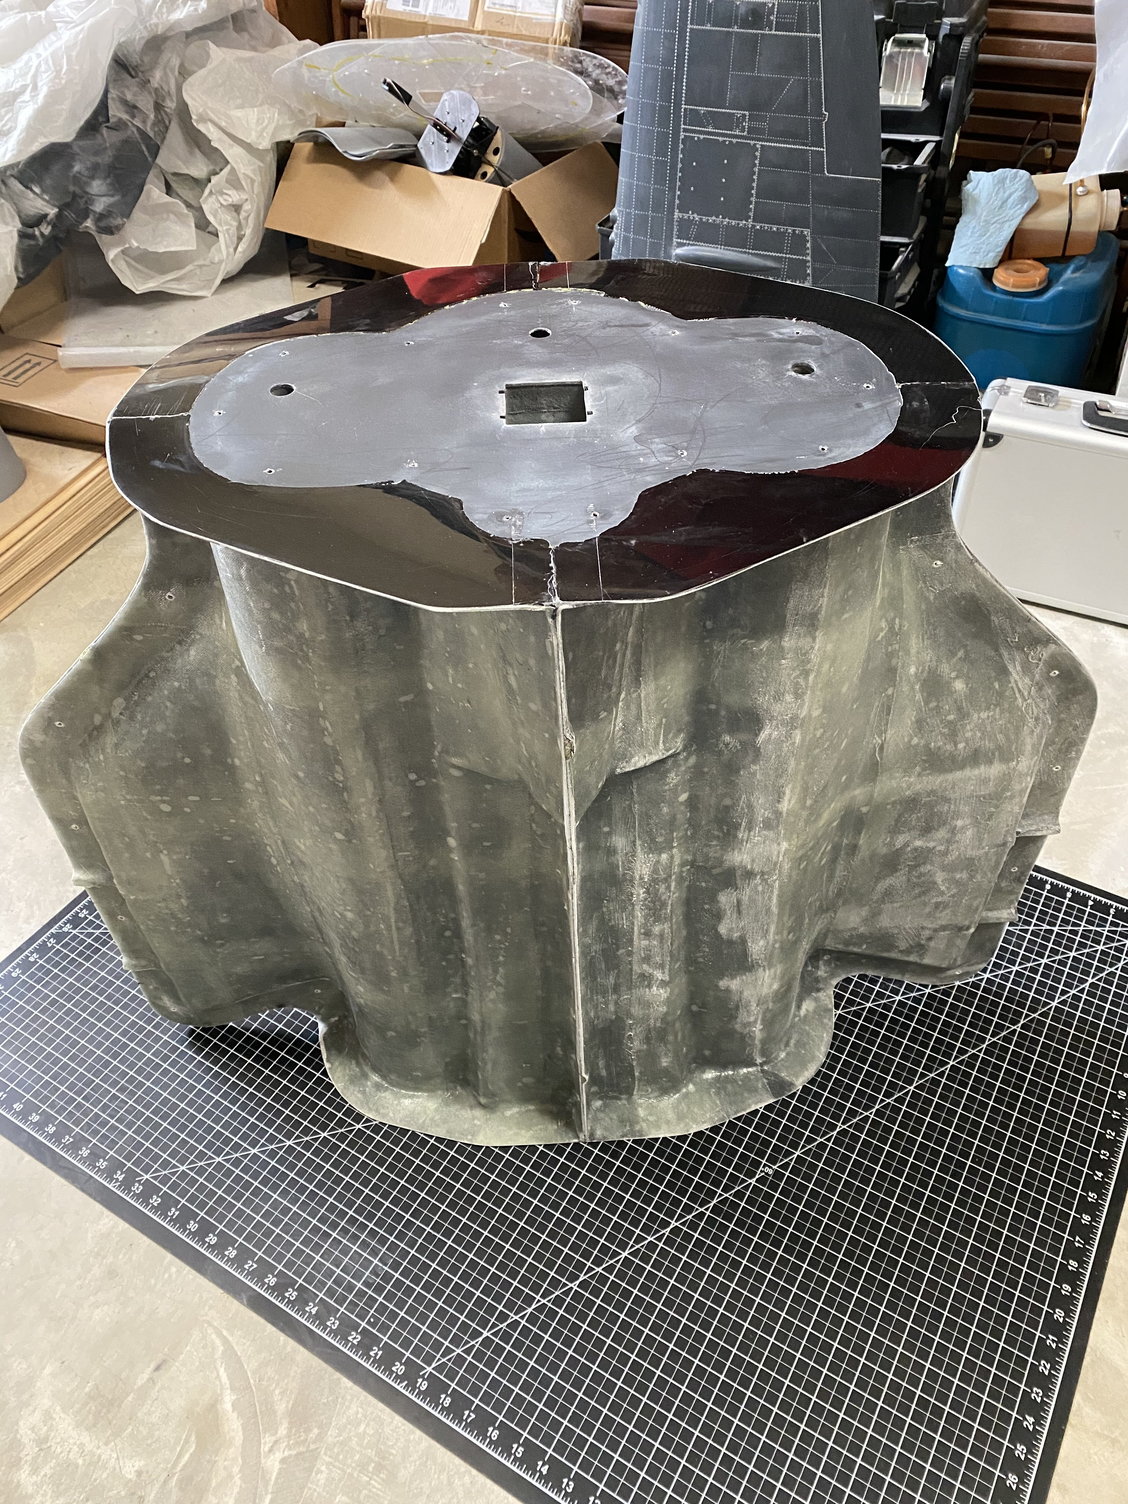
Finished the center fuselage molds.
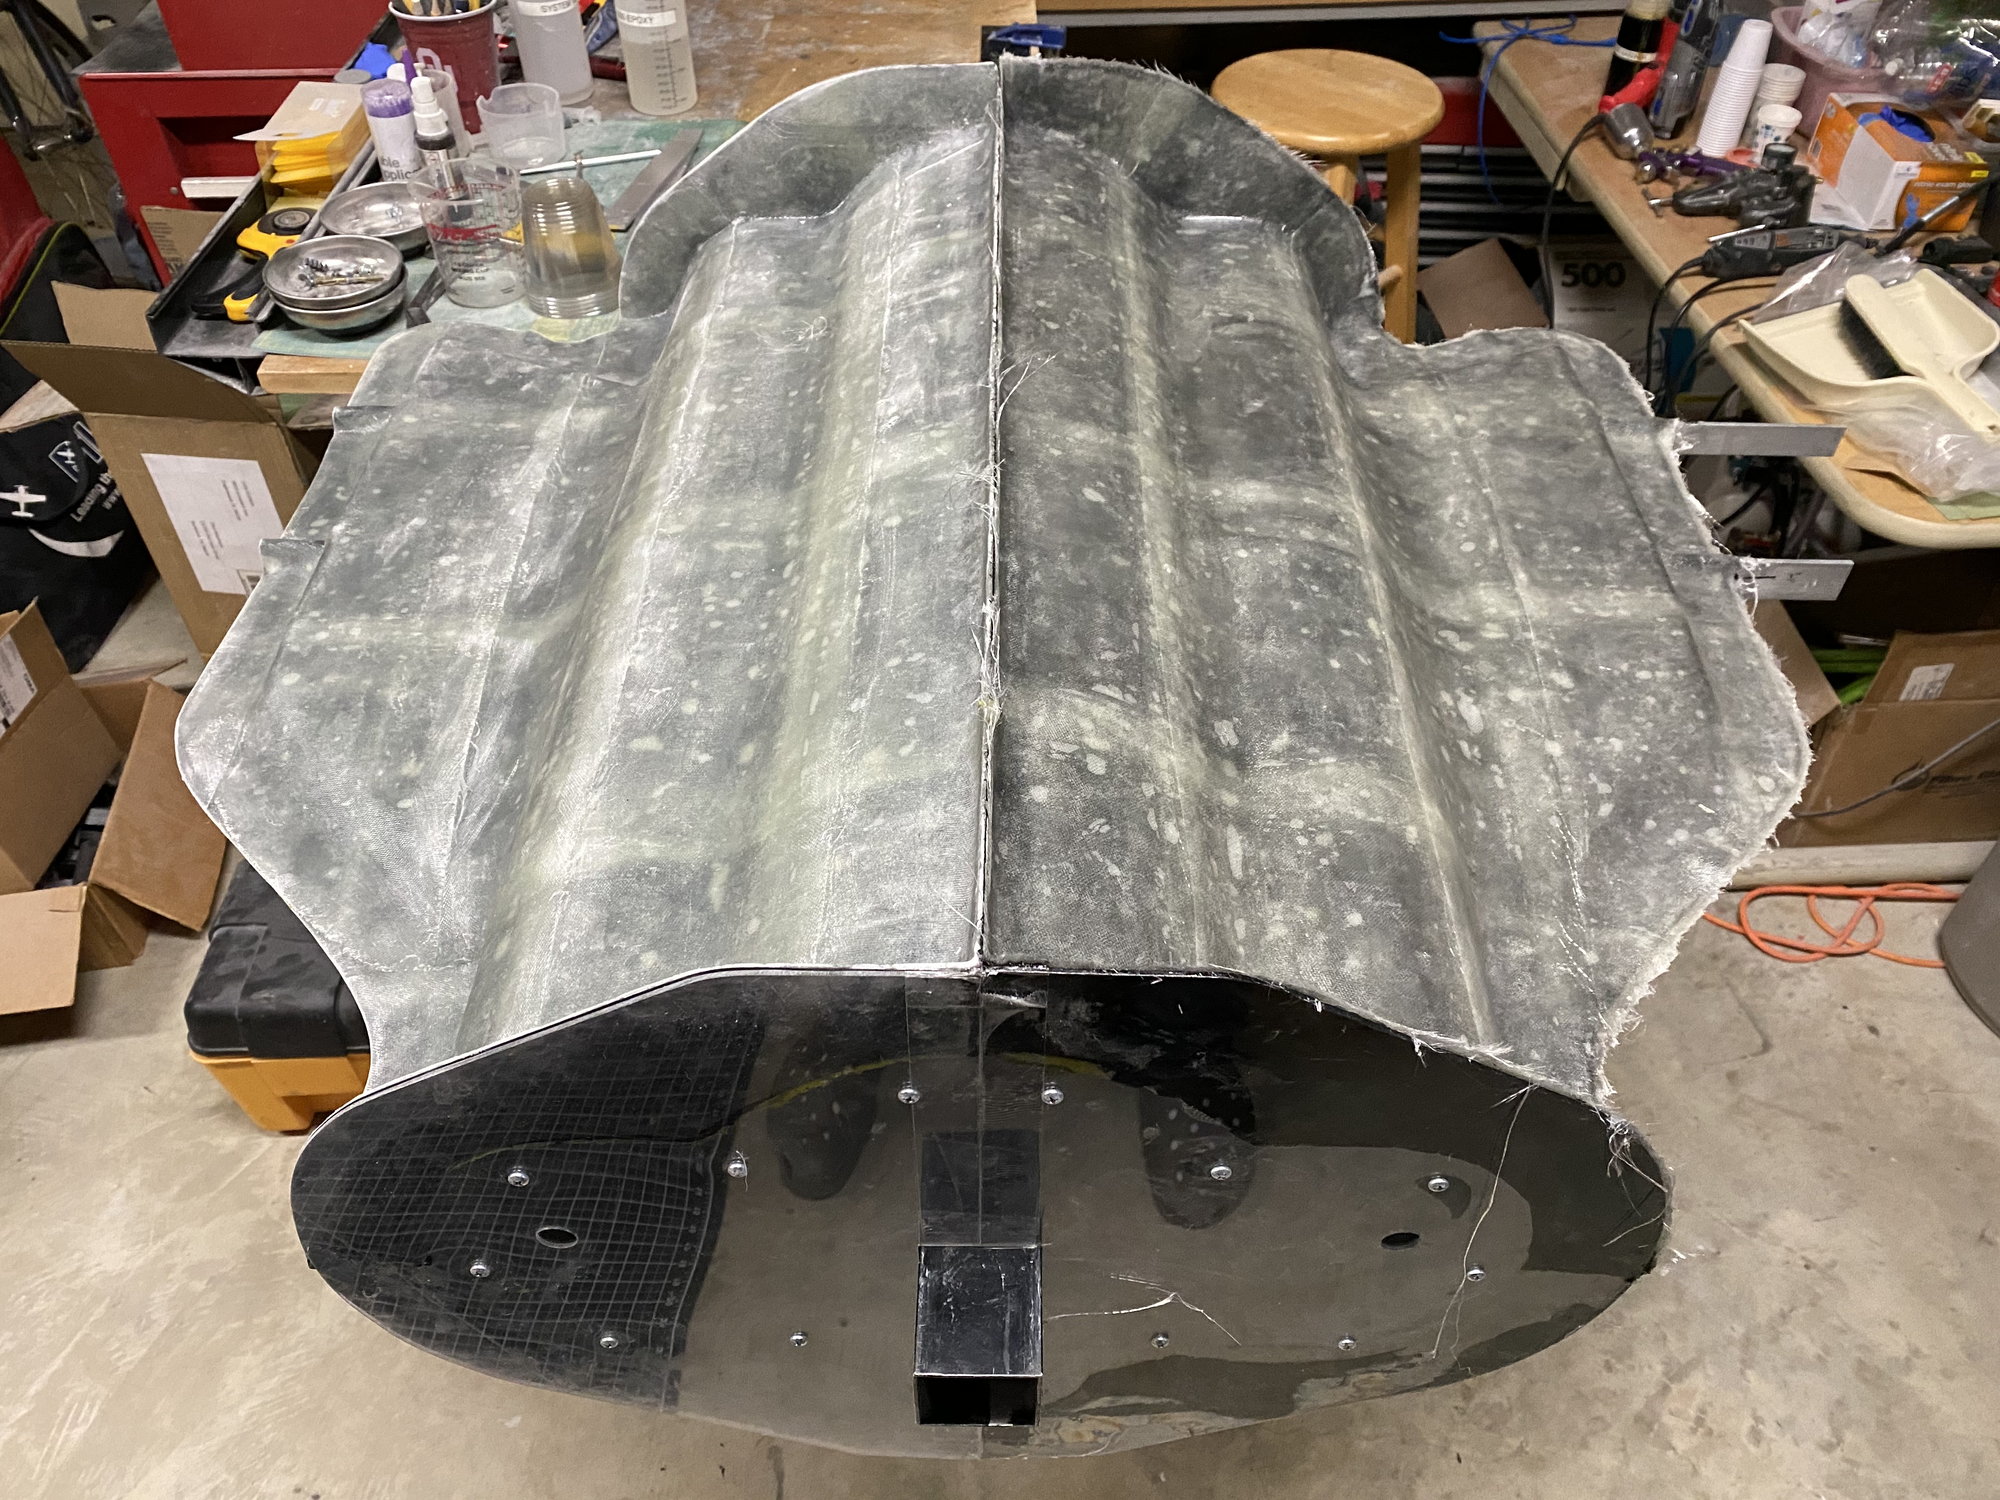
Bottom surface of molds complete
Completed molds trimmed and ready to open
Completed molds trimmed and ready to open
First one off!
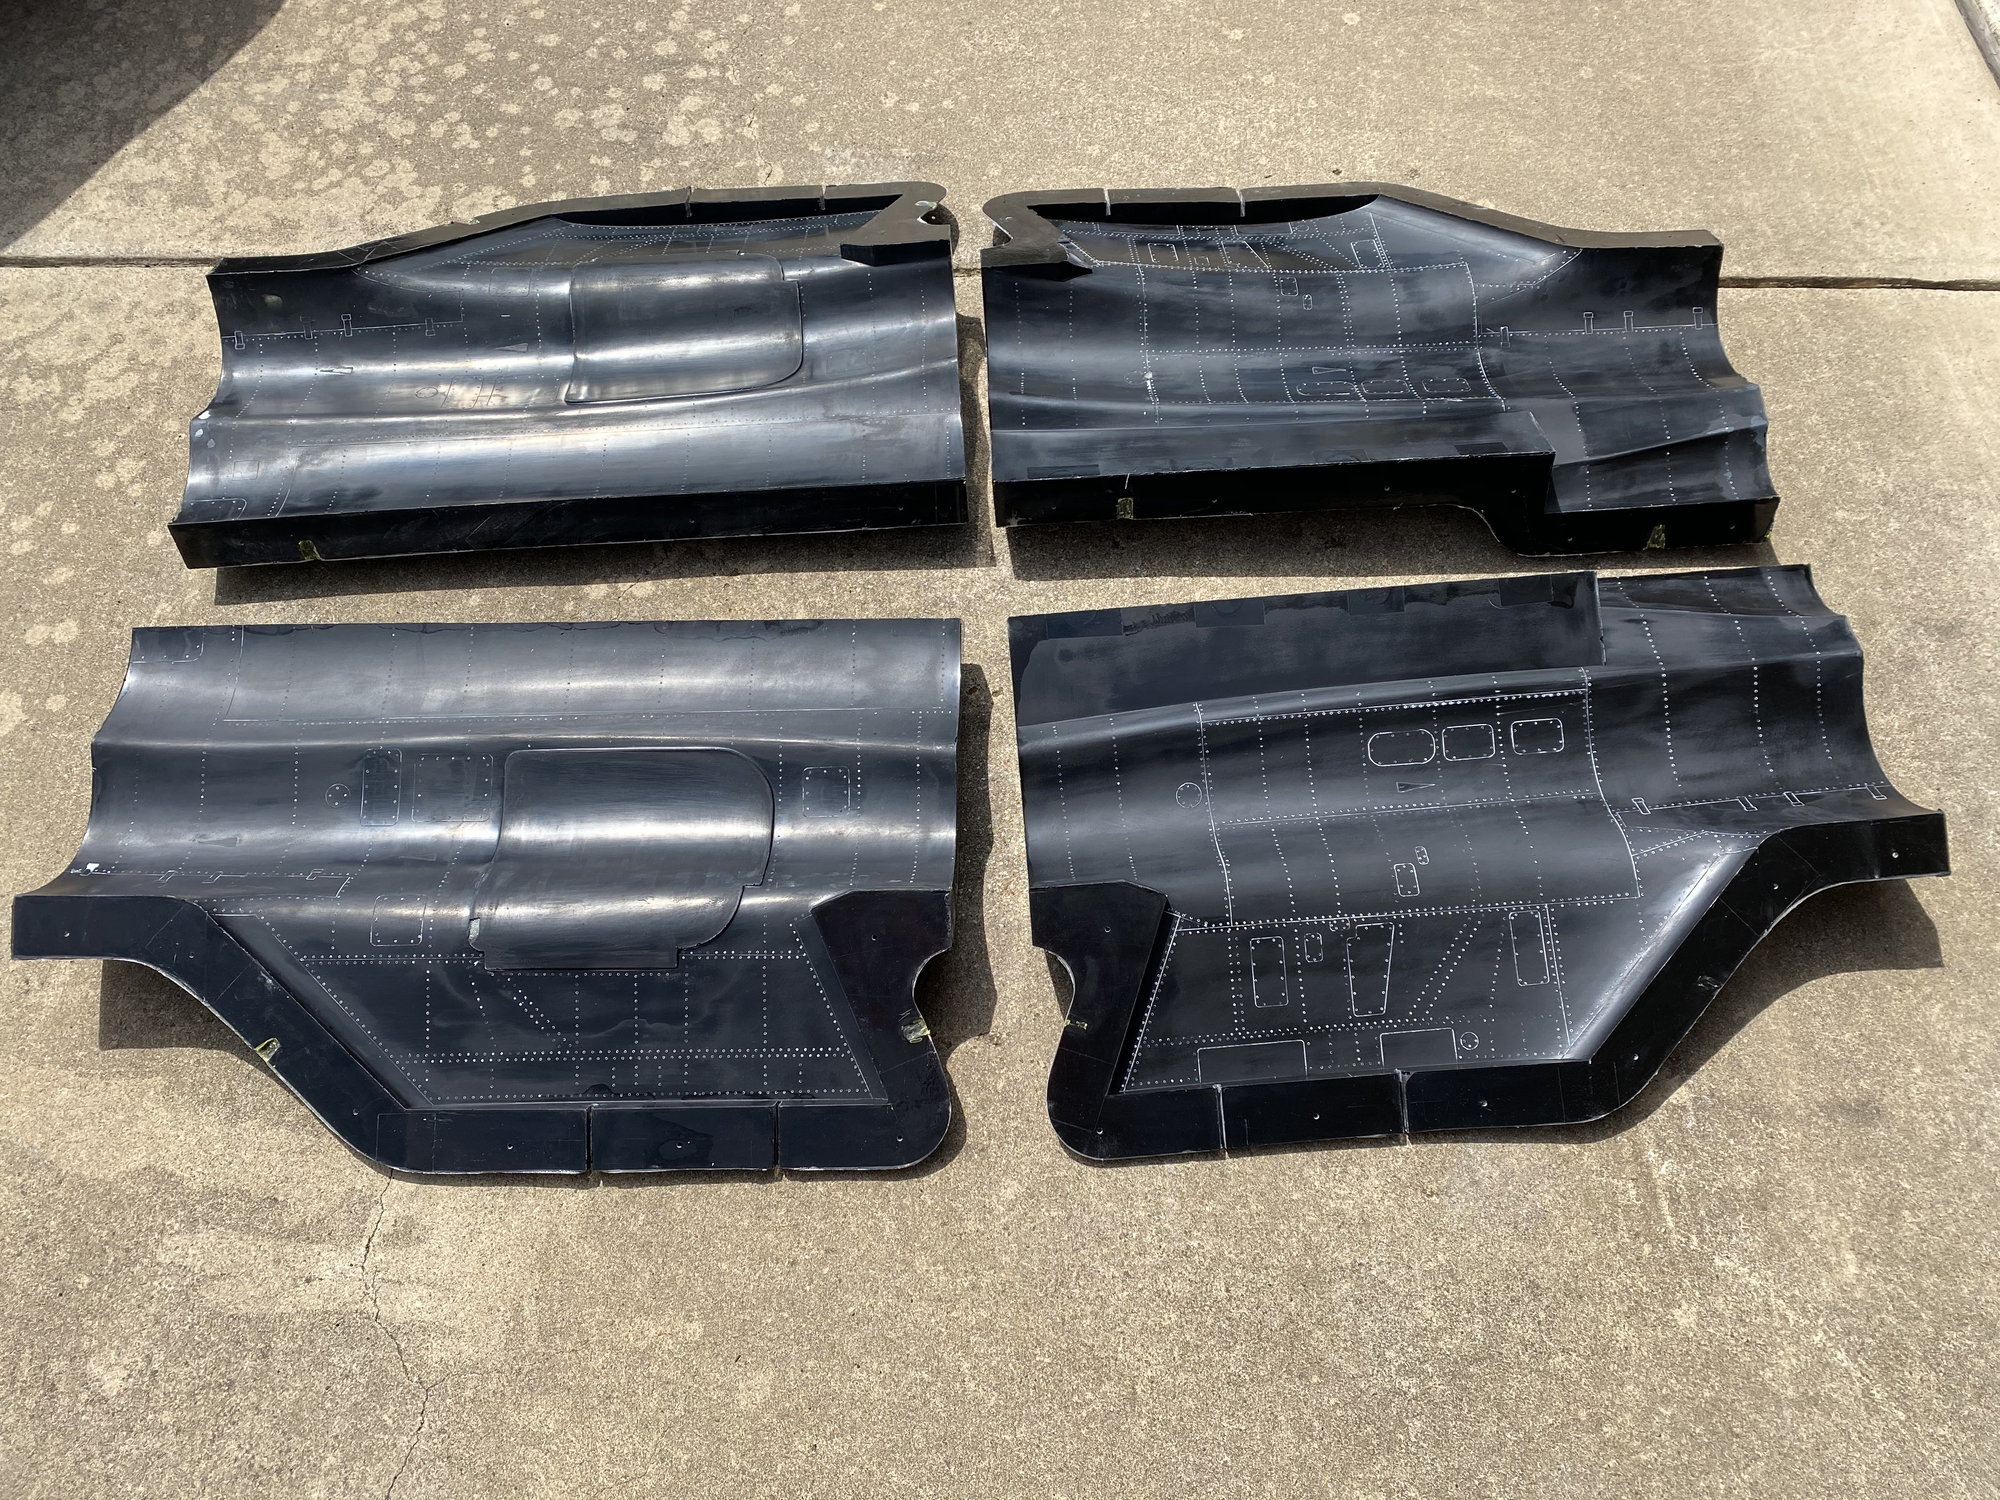
All 4 done!
The molds came off easily with very little damage to them. No damage to the plug. A coupe of minor chips in the surface coat which should be easy to glue back into place. Very little clean up required before starting to make the actual center fuselage.
Paul
Bottom surface of molds complete
Completed molds trimmed and ready to open
Completed molds trimmed and ready to open
First one off!
All 4 done!
The molds came off easily with very little damage to them. No damage to the plug. A coupe of minor chips in the surface coat which should be easy to glue back into place. Very little clean up required before starting to make the actual center fuselage.
Paul
 04-03-2020, 03:23 PM
#371
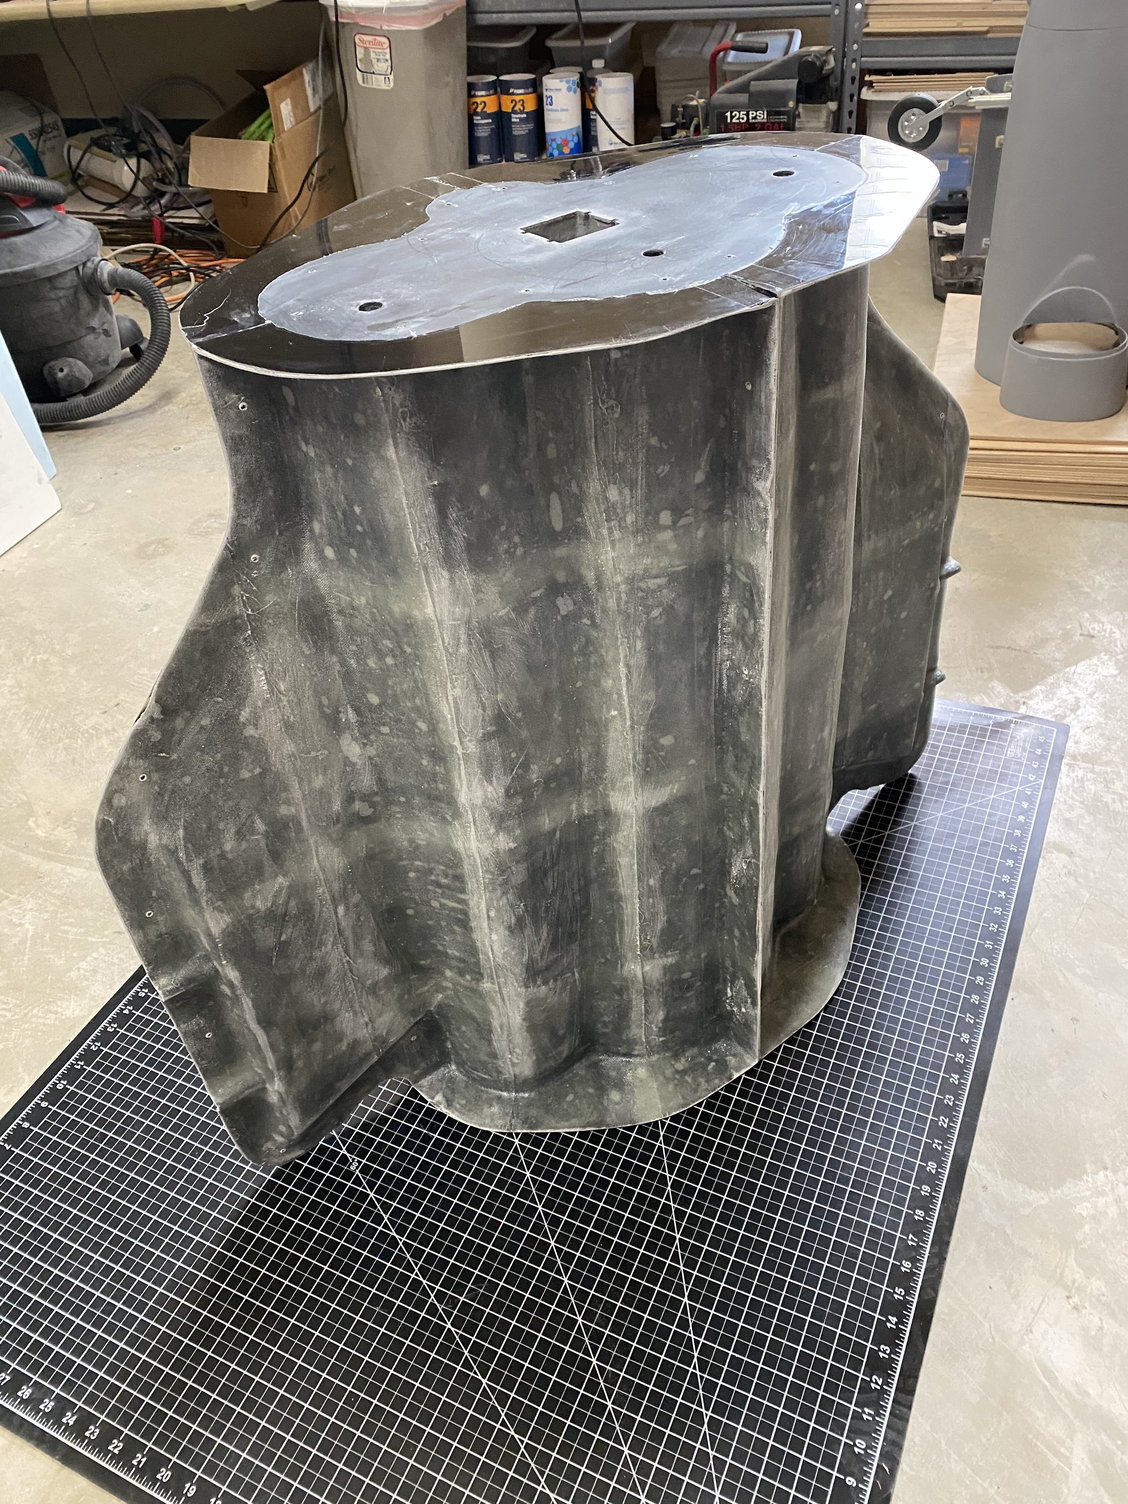
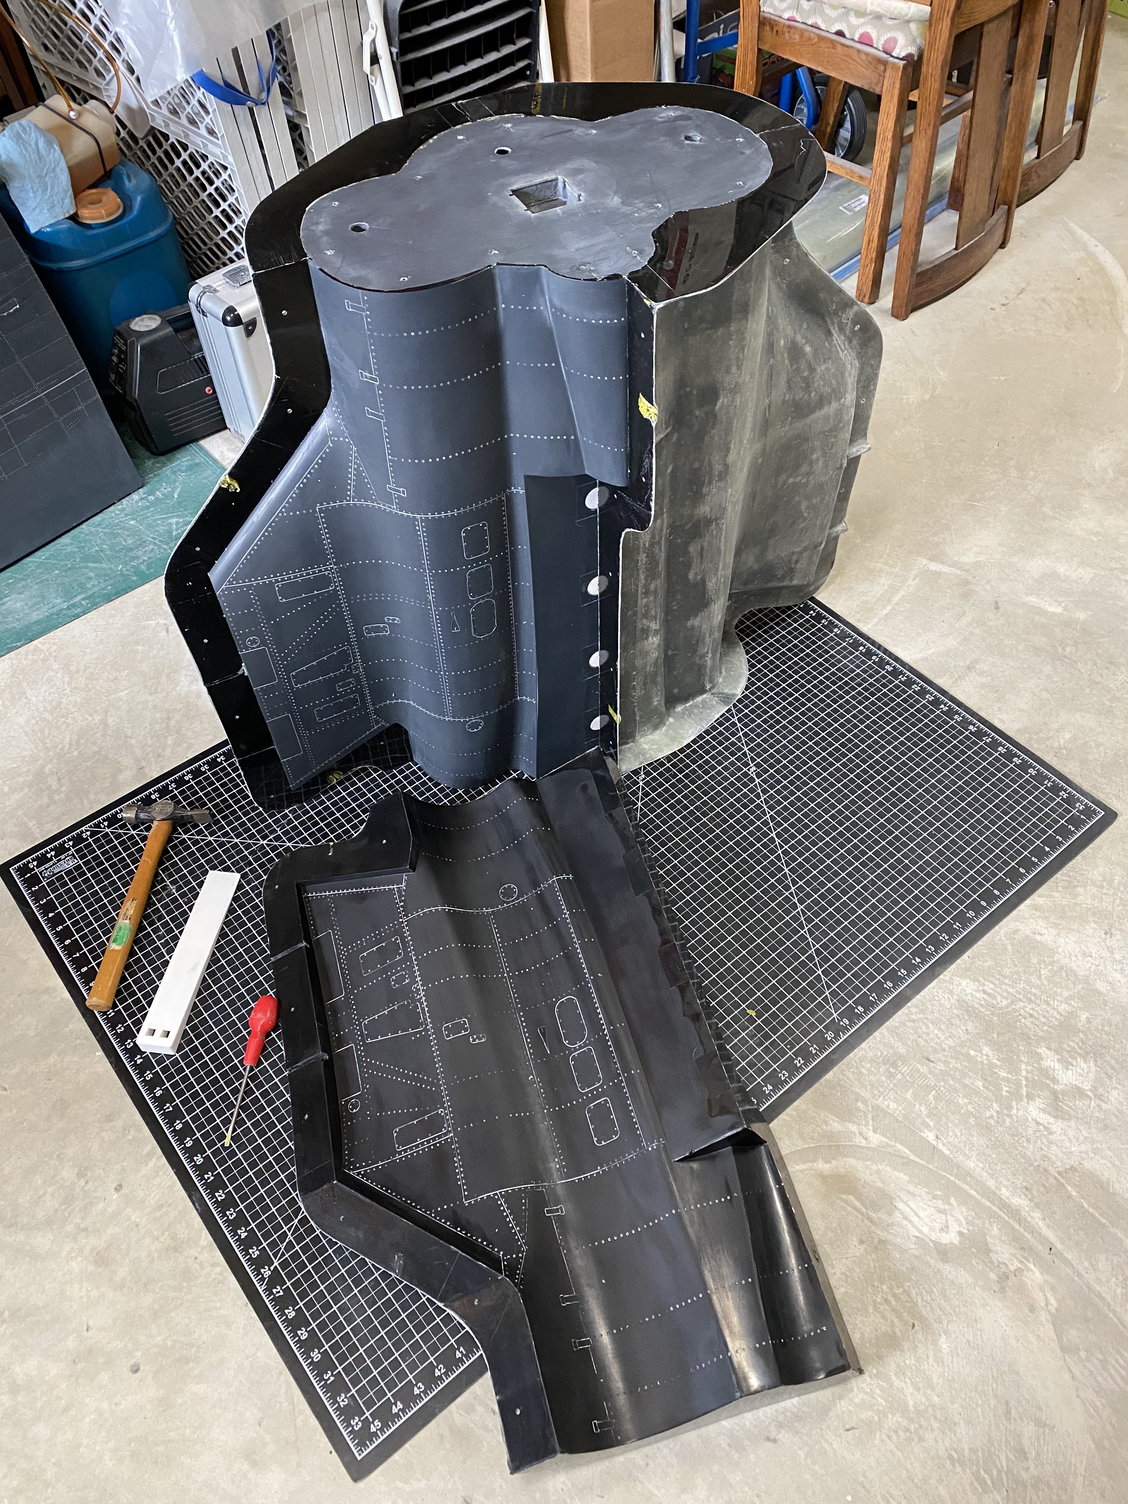
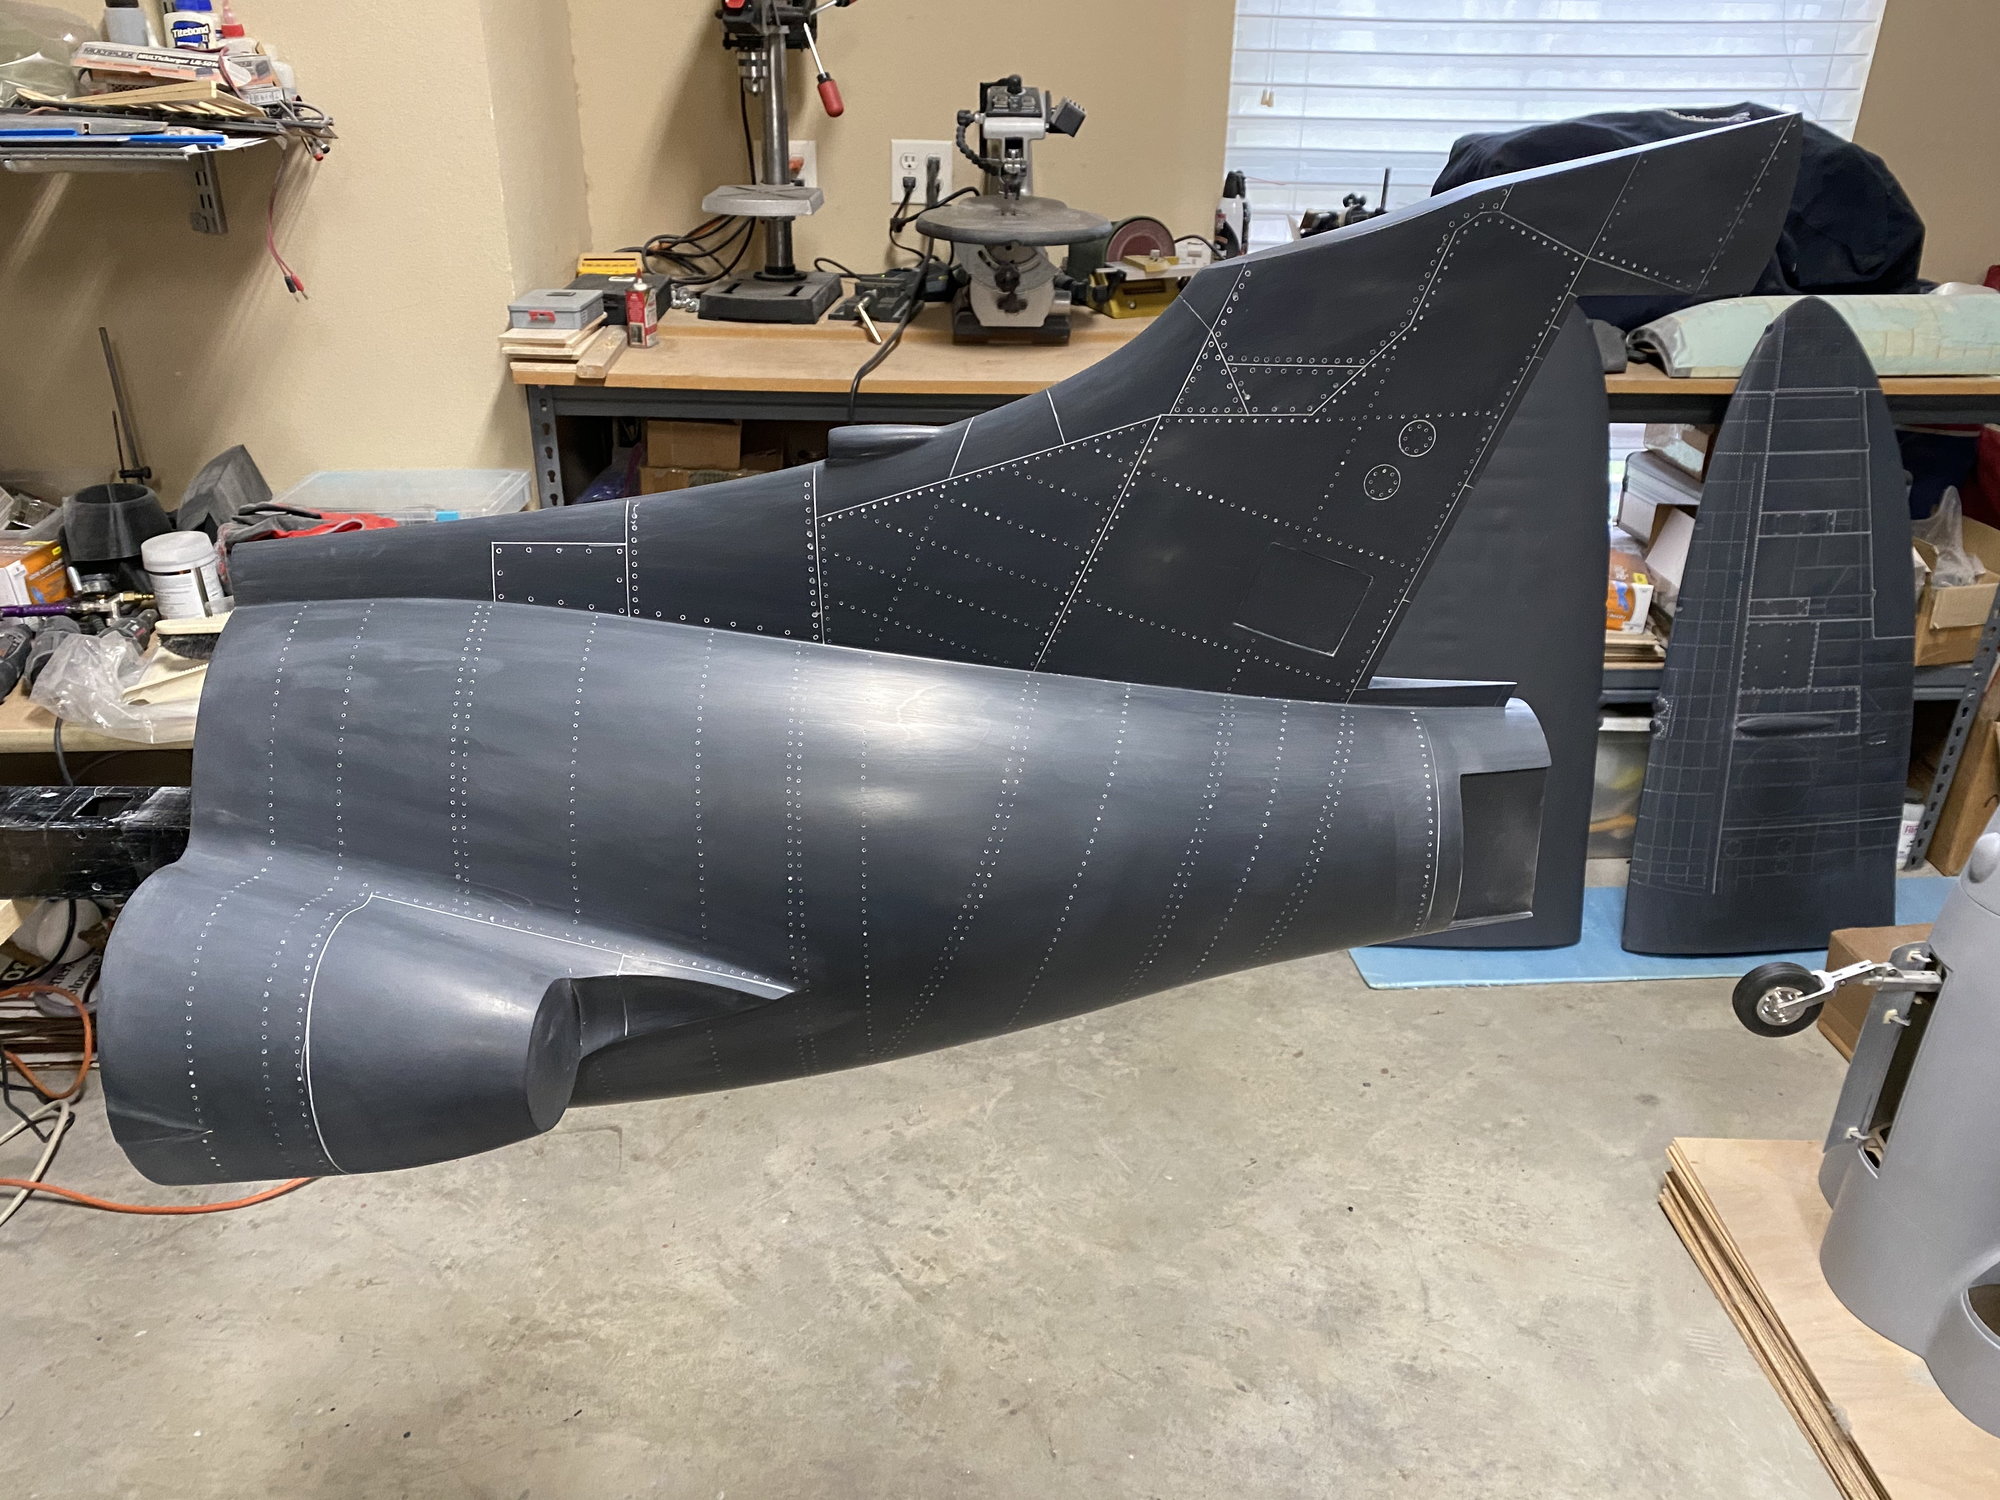
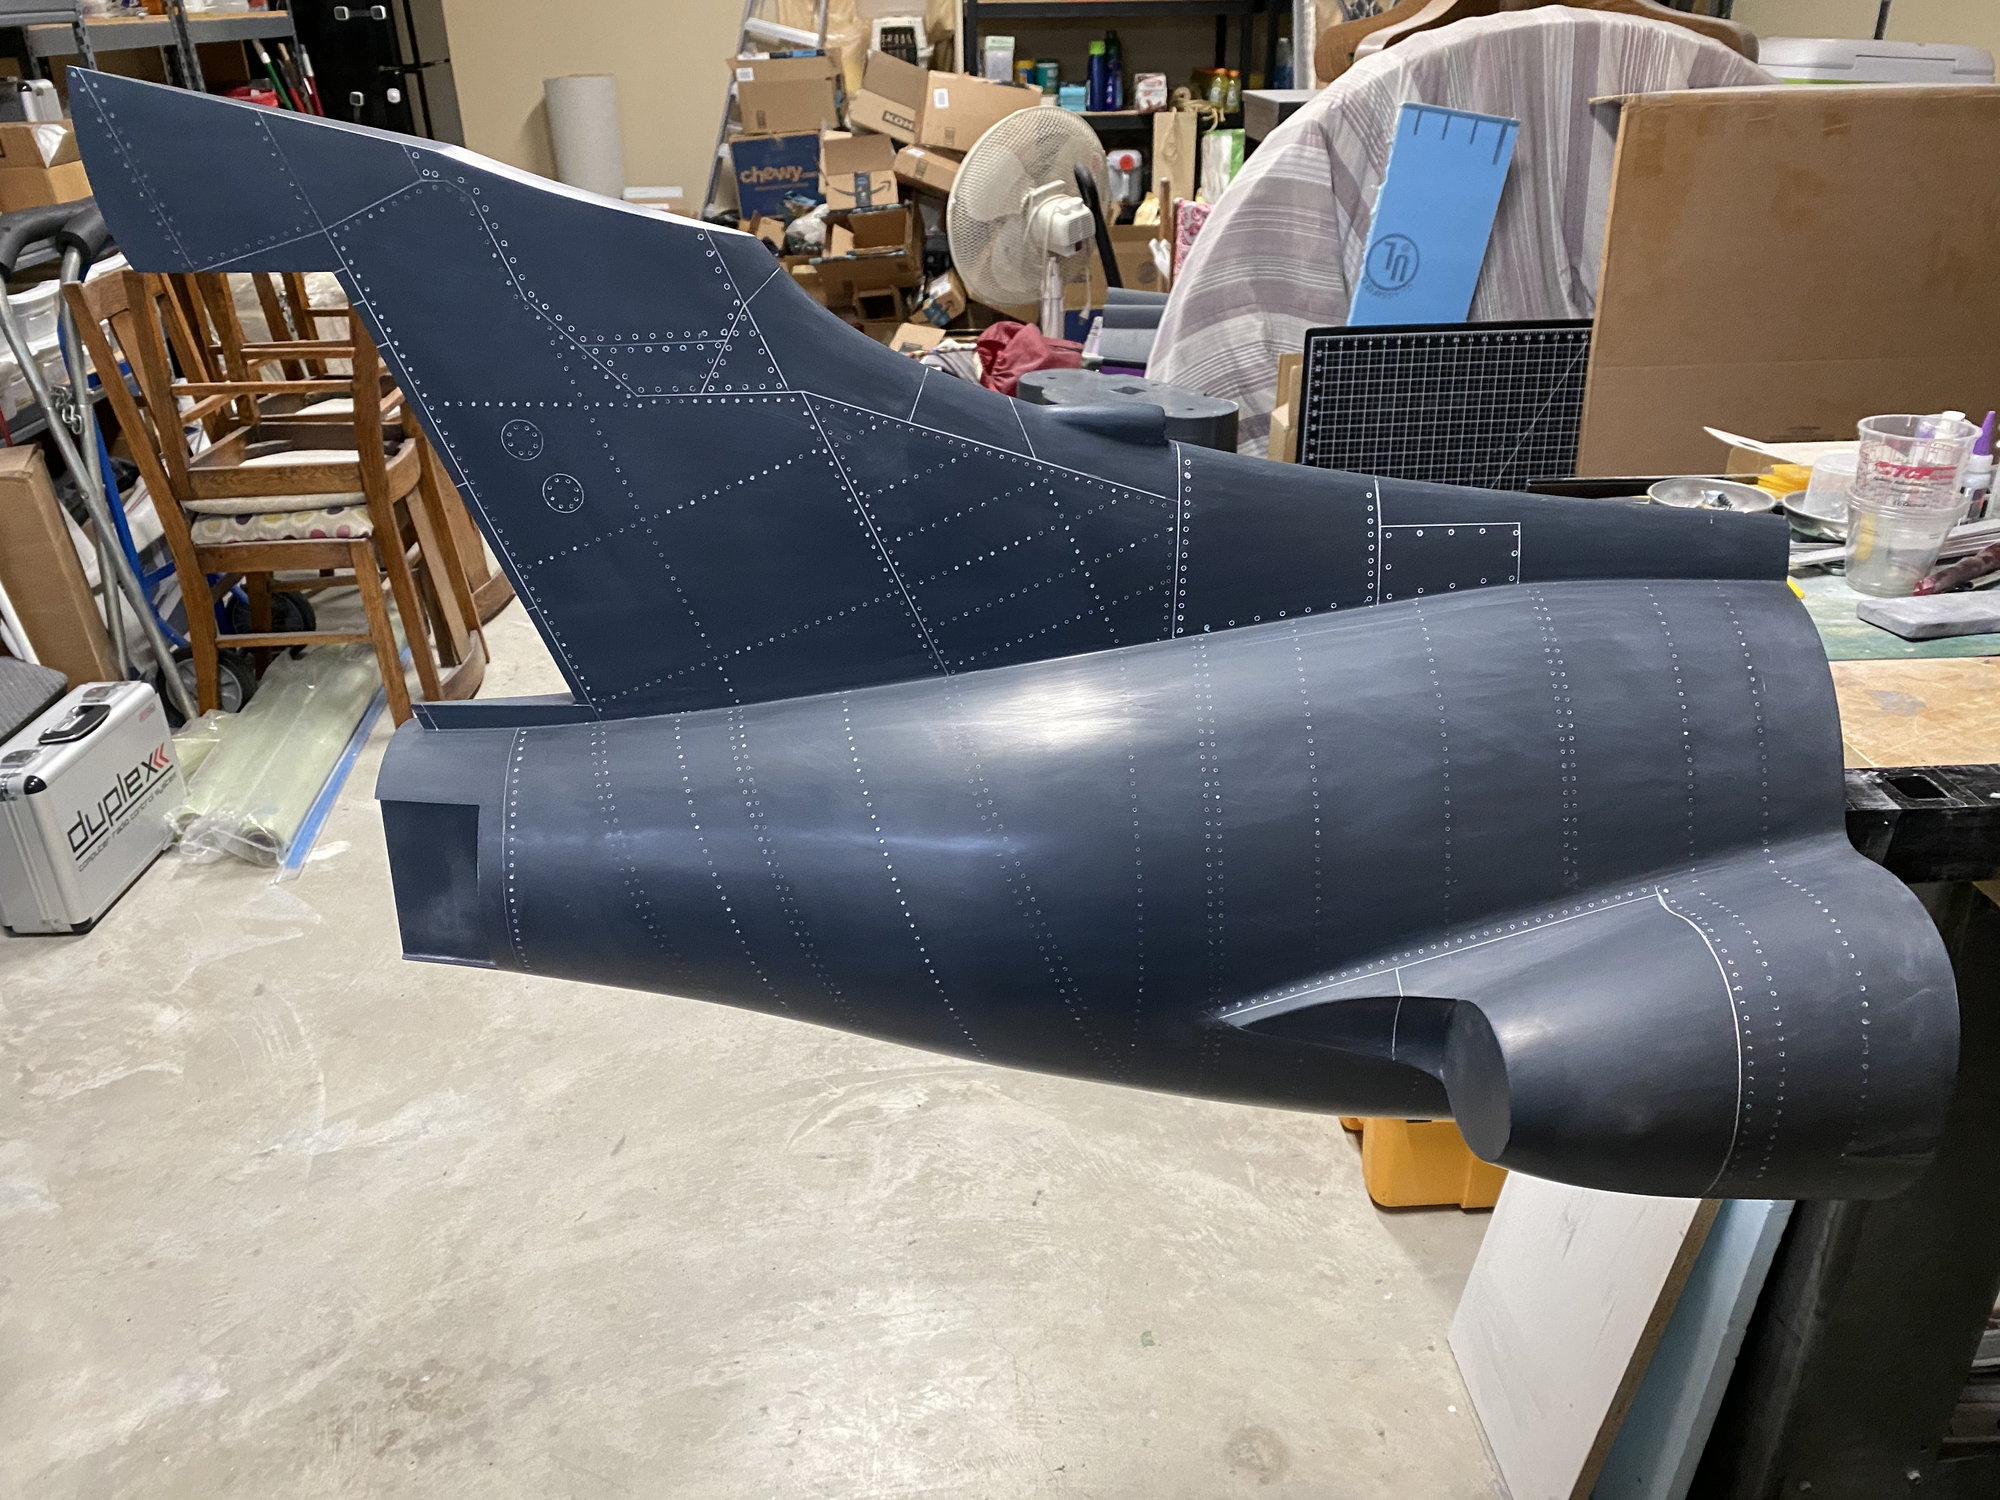
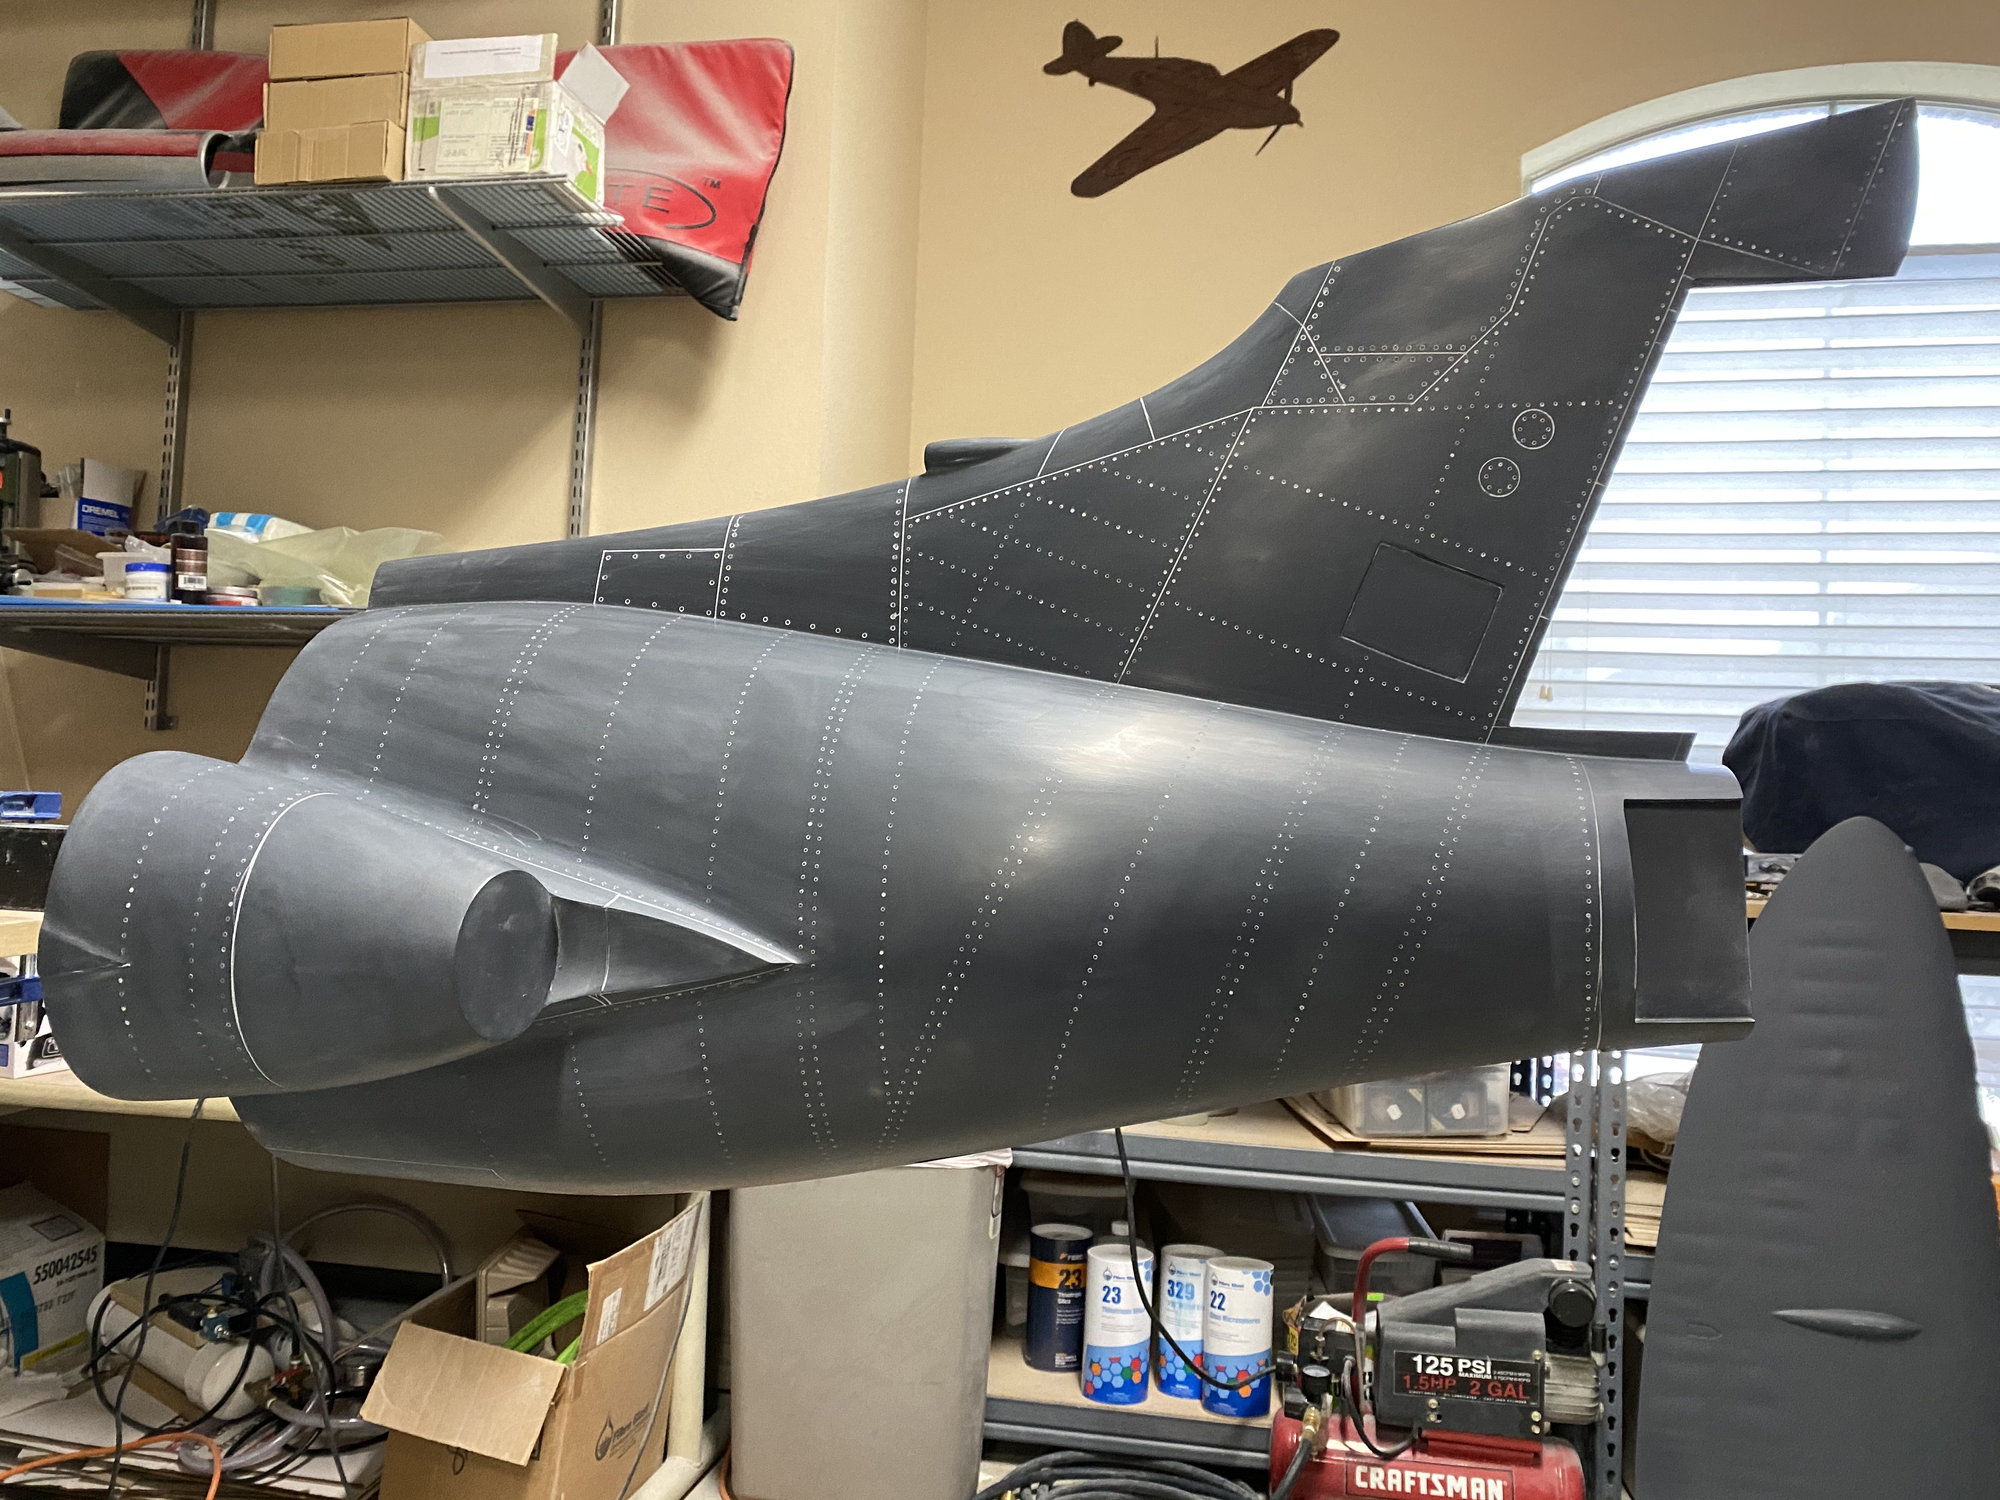
I have now mostly finished the detailing of the rear fuselage plug. Just a few access panels to scribe once I get my laser cutter fixed so that I can cut out some scribing templates.
This is the last major piece of the plug to complete. Access hatches, weapon bay/ fuel tank, canopy and inlets remain.
Paul
This is the last major piece of the plug to complete. Access hatches, weapon bay/ fuel tank, canopy and inlets remain.
Paul
 04-07-2020, 06:54 PM
#374
Thanks Pat.
Yes, thanks. Safe and sane so far. At least what passes for sane at our house! Hope you and family are the same.
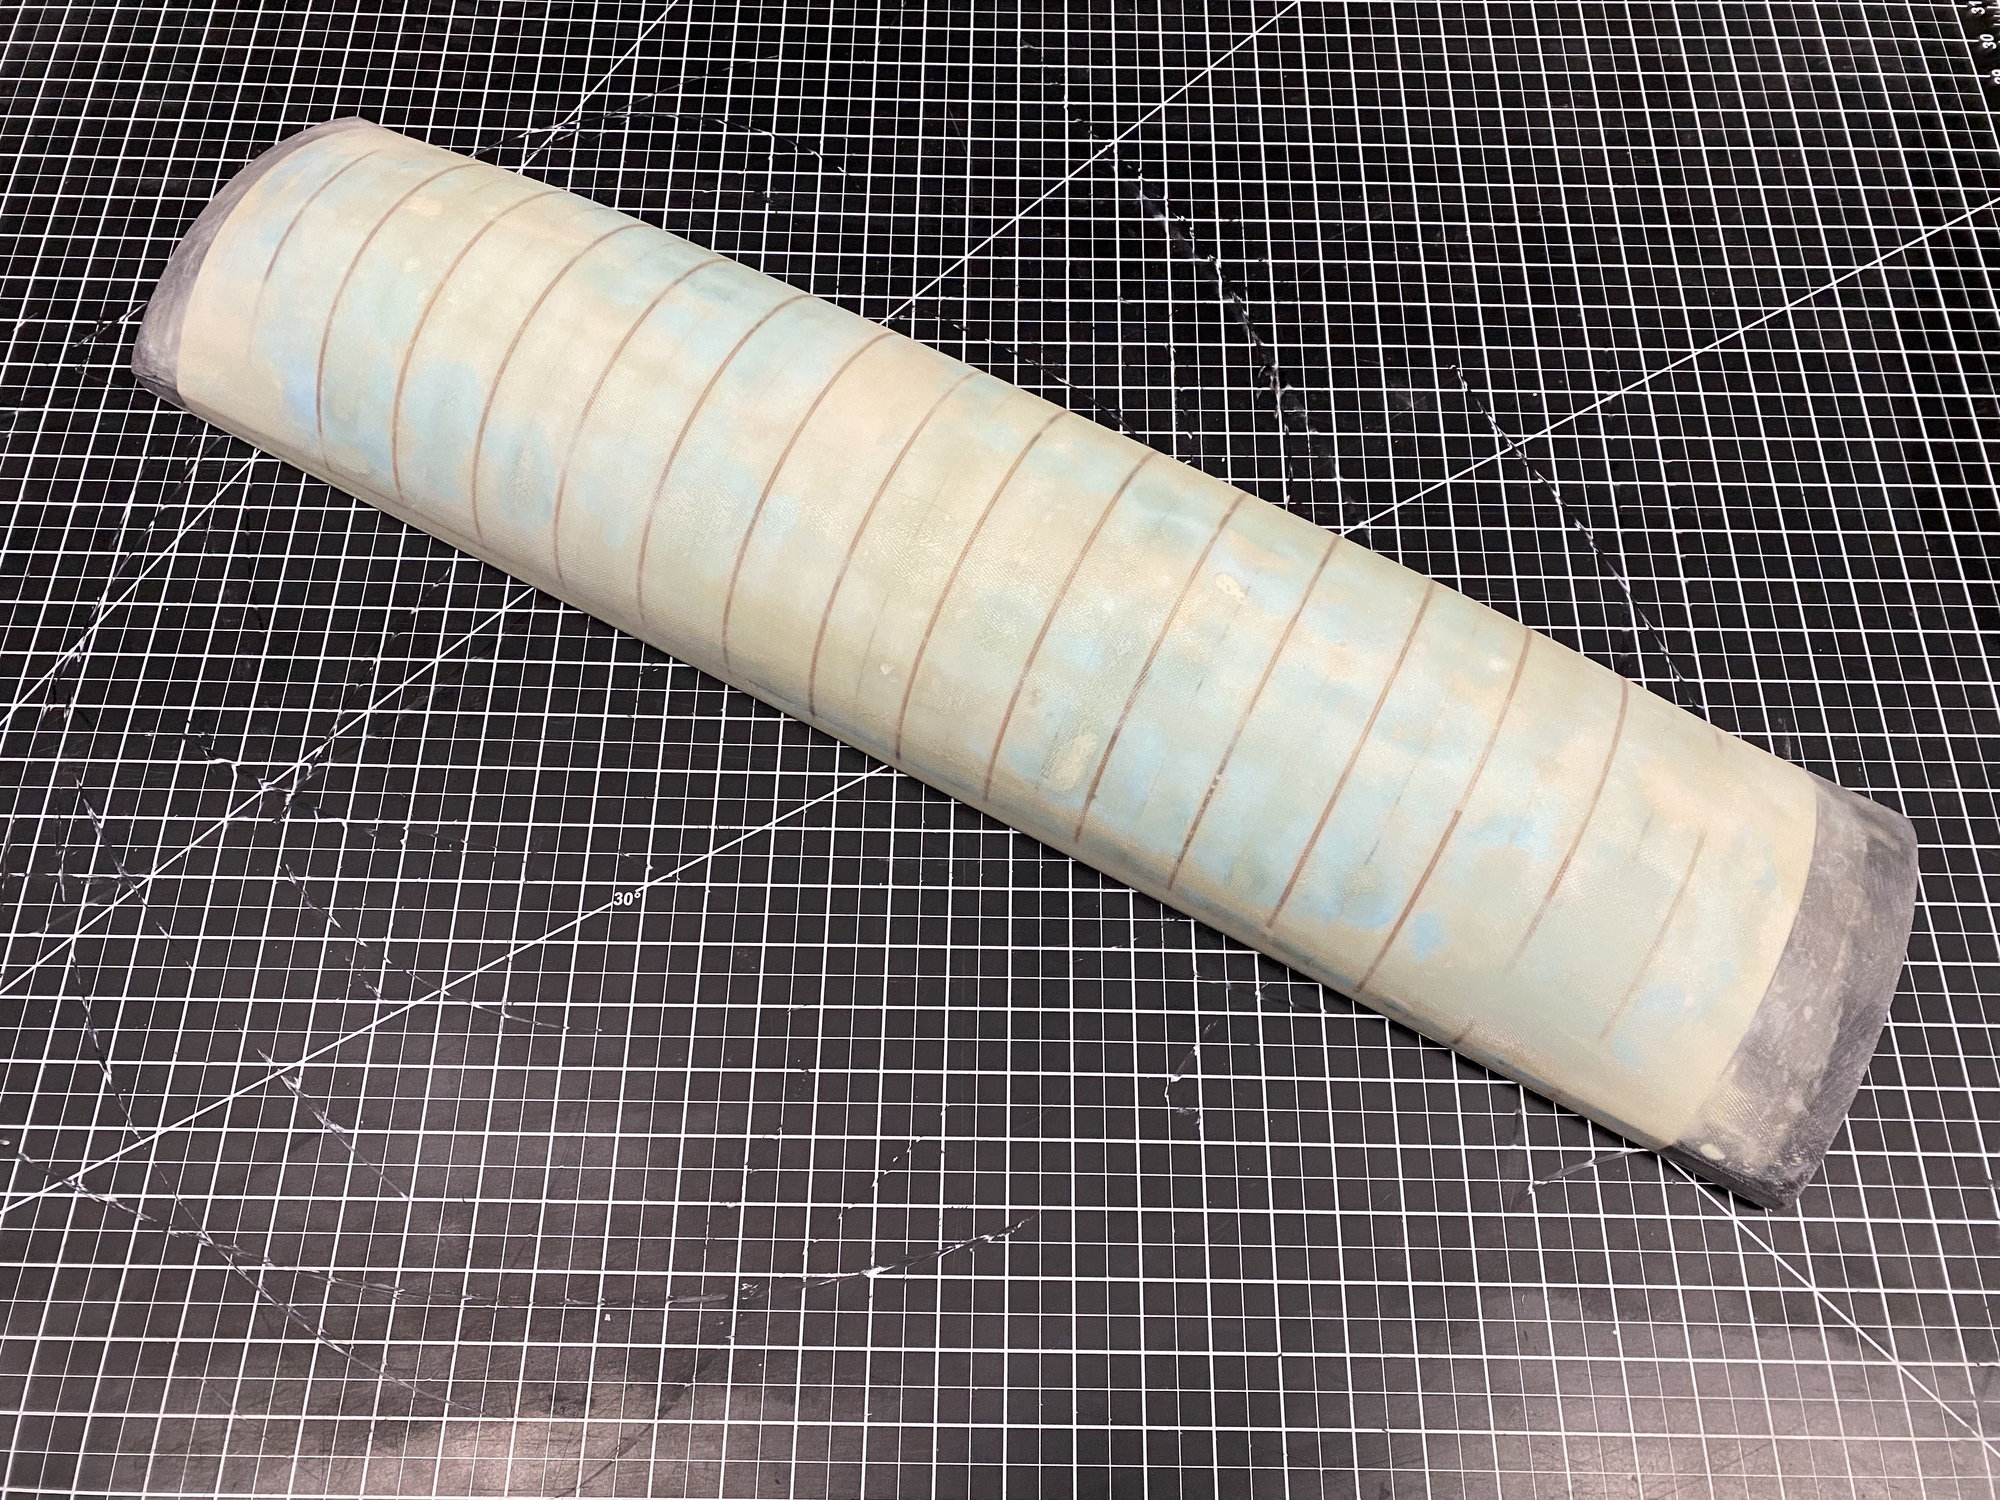
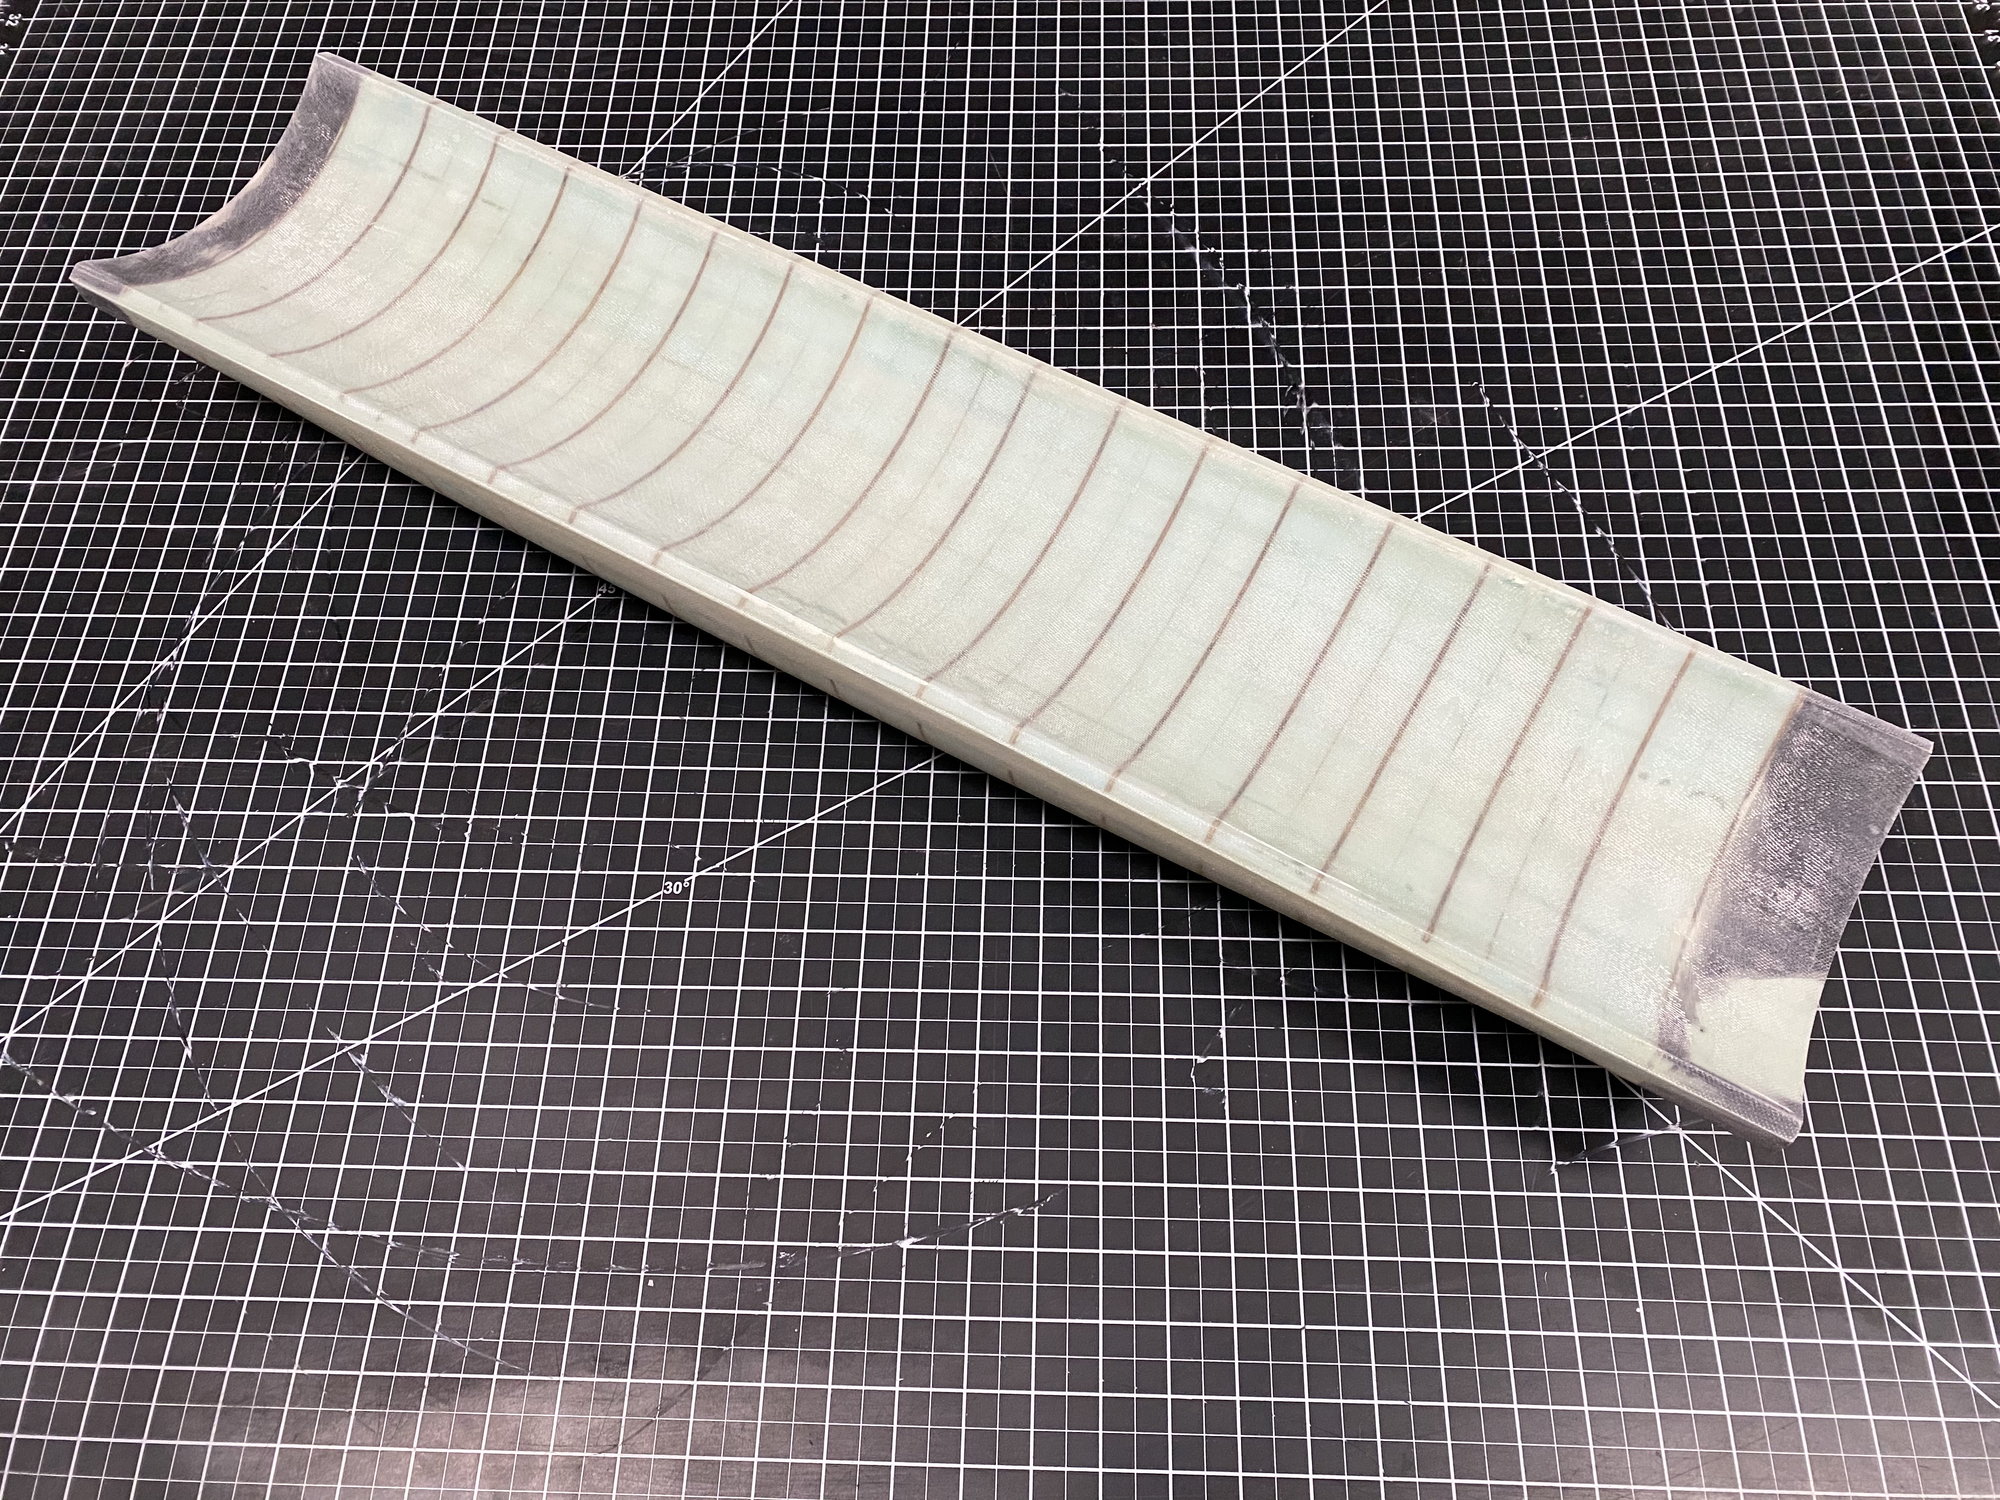
I started the rotating weapon bay/ fuel tank plug last year, and have now finished it. Foam and ply construction with 3D printed ends. 2 layers of 9oz glass gives a solid base to work from. Ready for priming and Duratec surface coat and detailing.
The total volume of the plug is 7.6L (over 250 floz), but I will use only about 160 floz of it, which should be plenty for 2x 100 sized engines. There will also be a fuselage central tank before the airtrap too, probably with a total fuel capacity of around 200 floz.
Paul
Yes, thanks. Safe and sane so far. At least what passes for sane at our house! Hope you and family are the same.
I started the rotating weapon bay/ fuel tank plug last year, and have now finished it. Foam and ply construction with 3D printed ends. 2 layers of 9oz glass gives a solid base to work from. Ready for priming and Duratec surface coat and detailing.
The total volume of the plug is 7.6L (over 250 floz), but I will use only about 160 floz of it, which should be plenty for 2x 100 sized engines. There will also be a fuselage central tank before the airtrap too, probably with a total fuel capacity of around 200 floz.
Paul
Last edited by JSF-TC; 04-07-2020 at 07:05 PM.
04-10-2020, 03:31 PM
#375
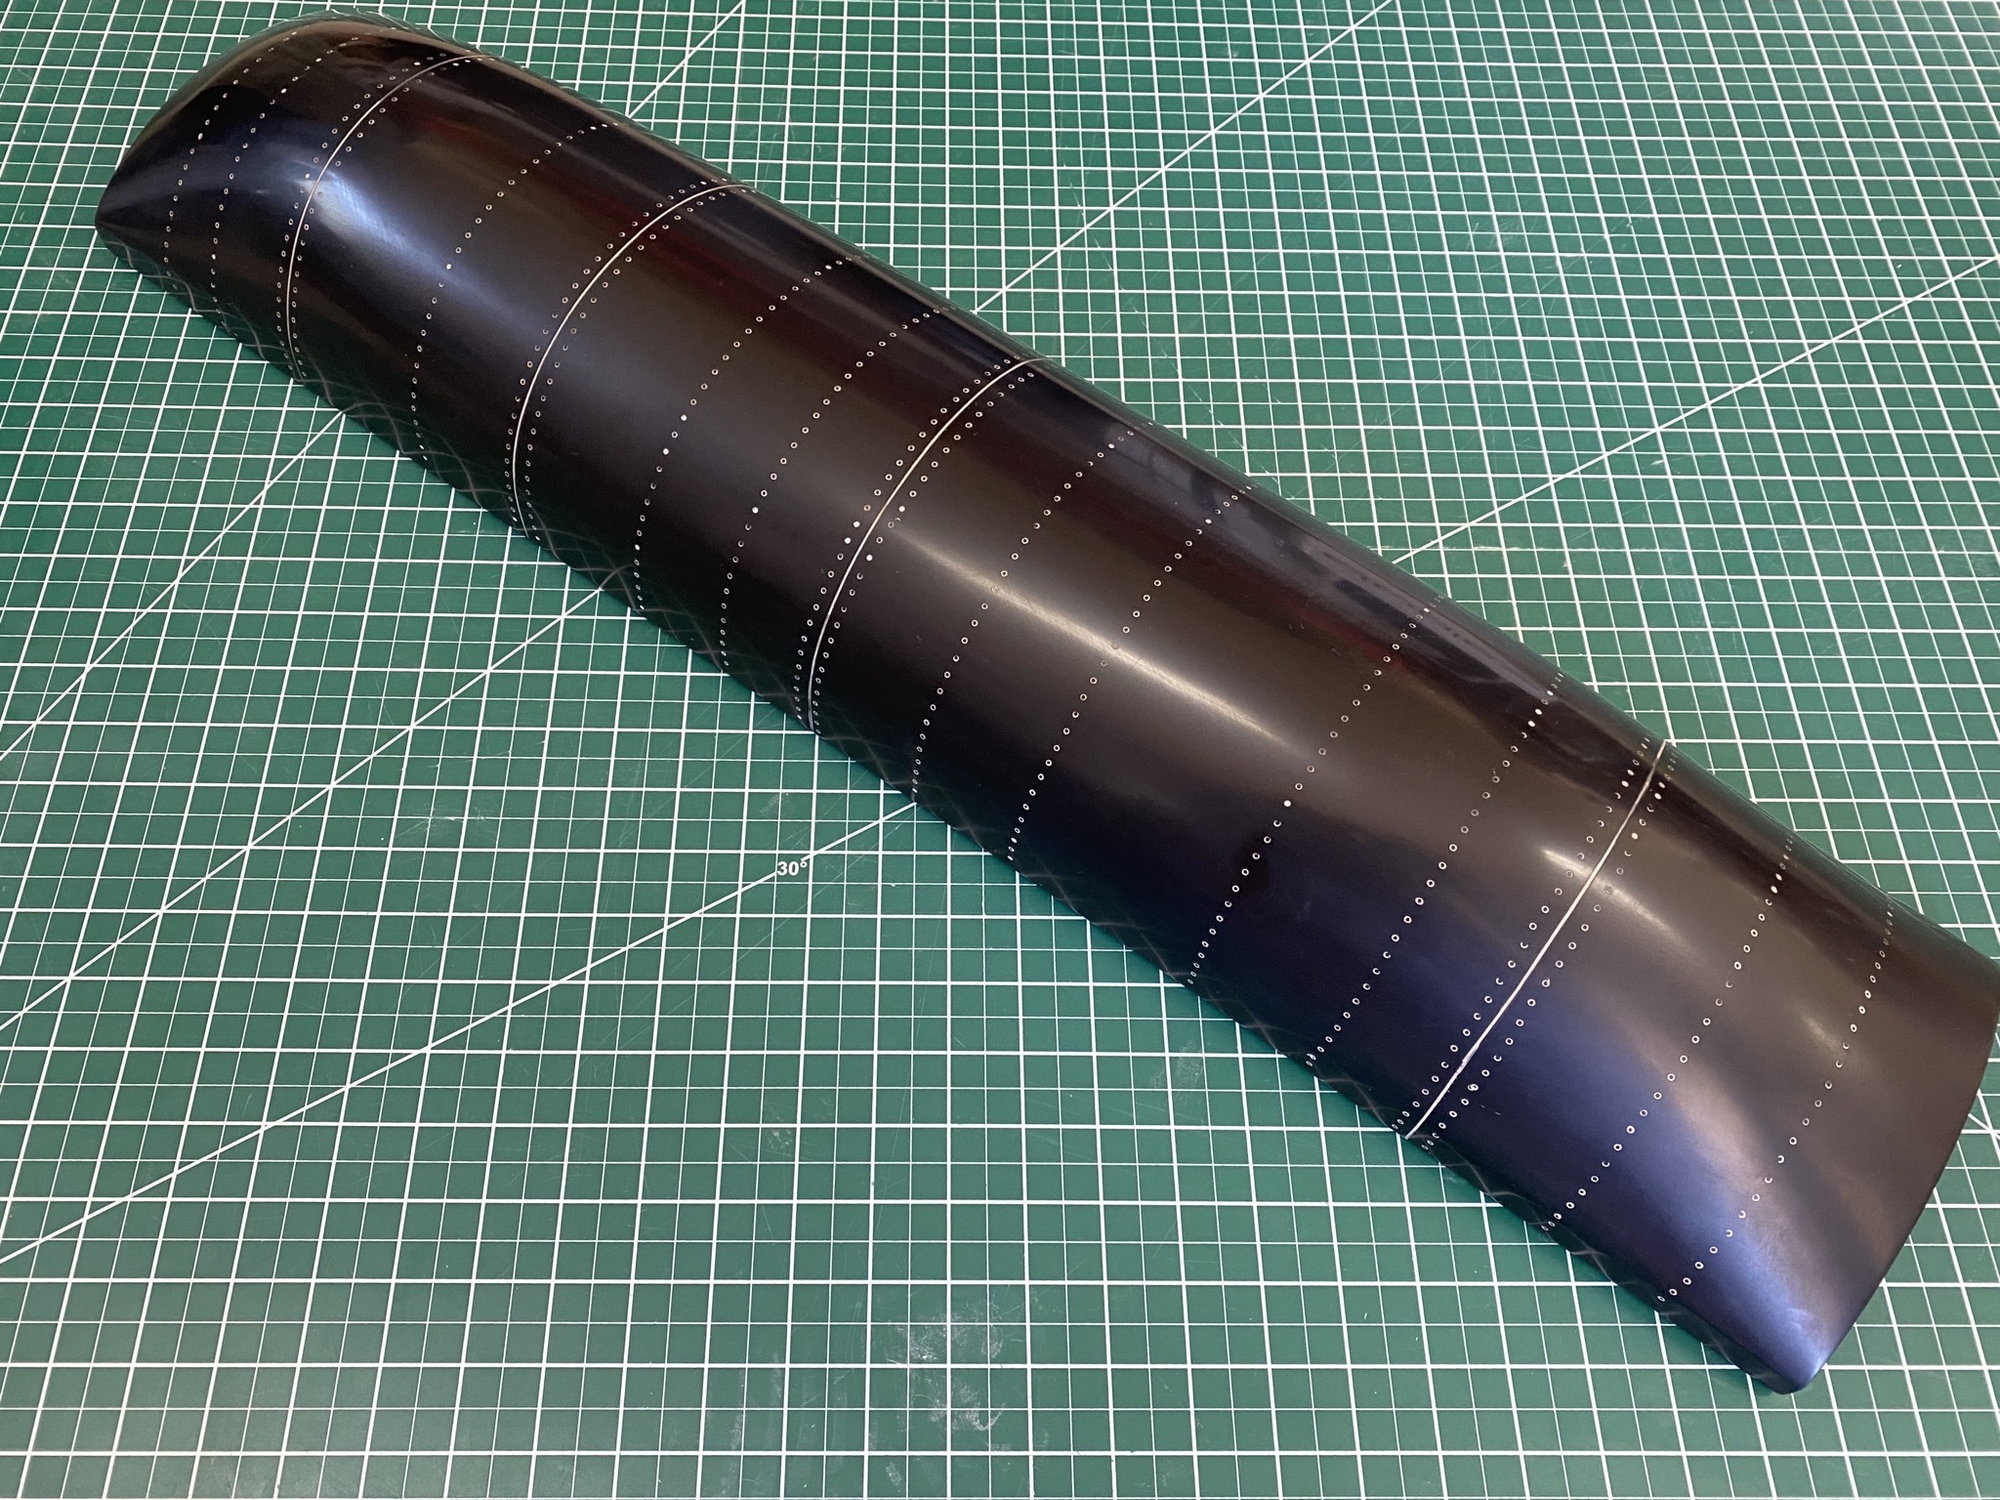
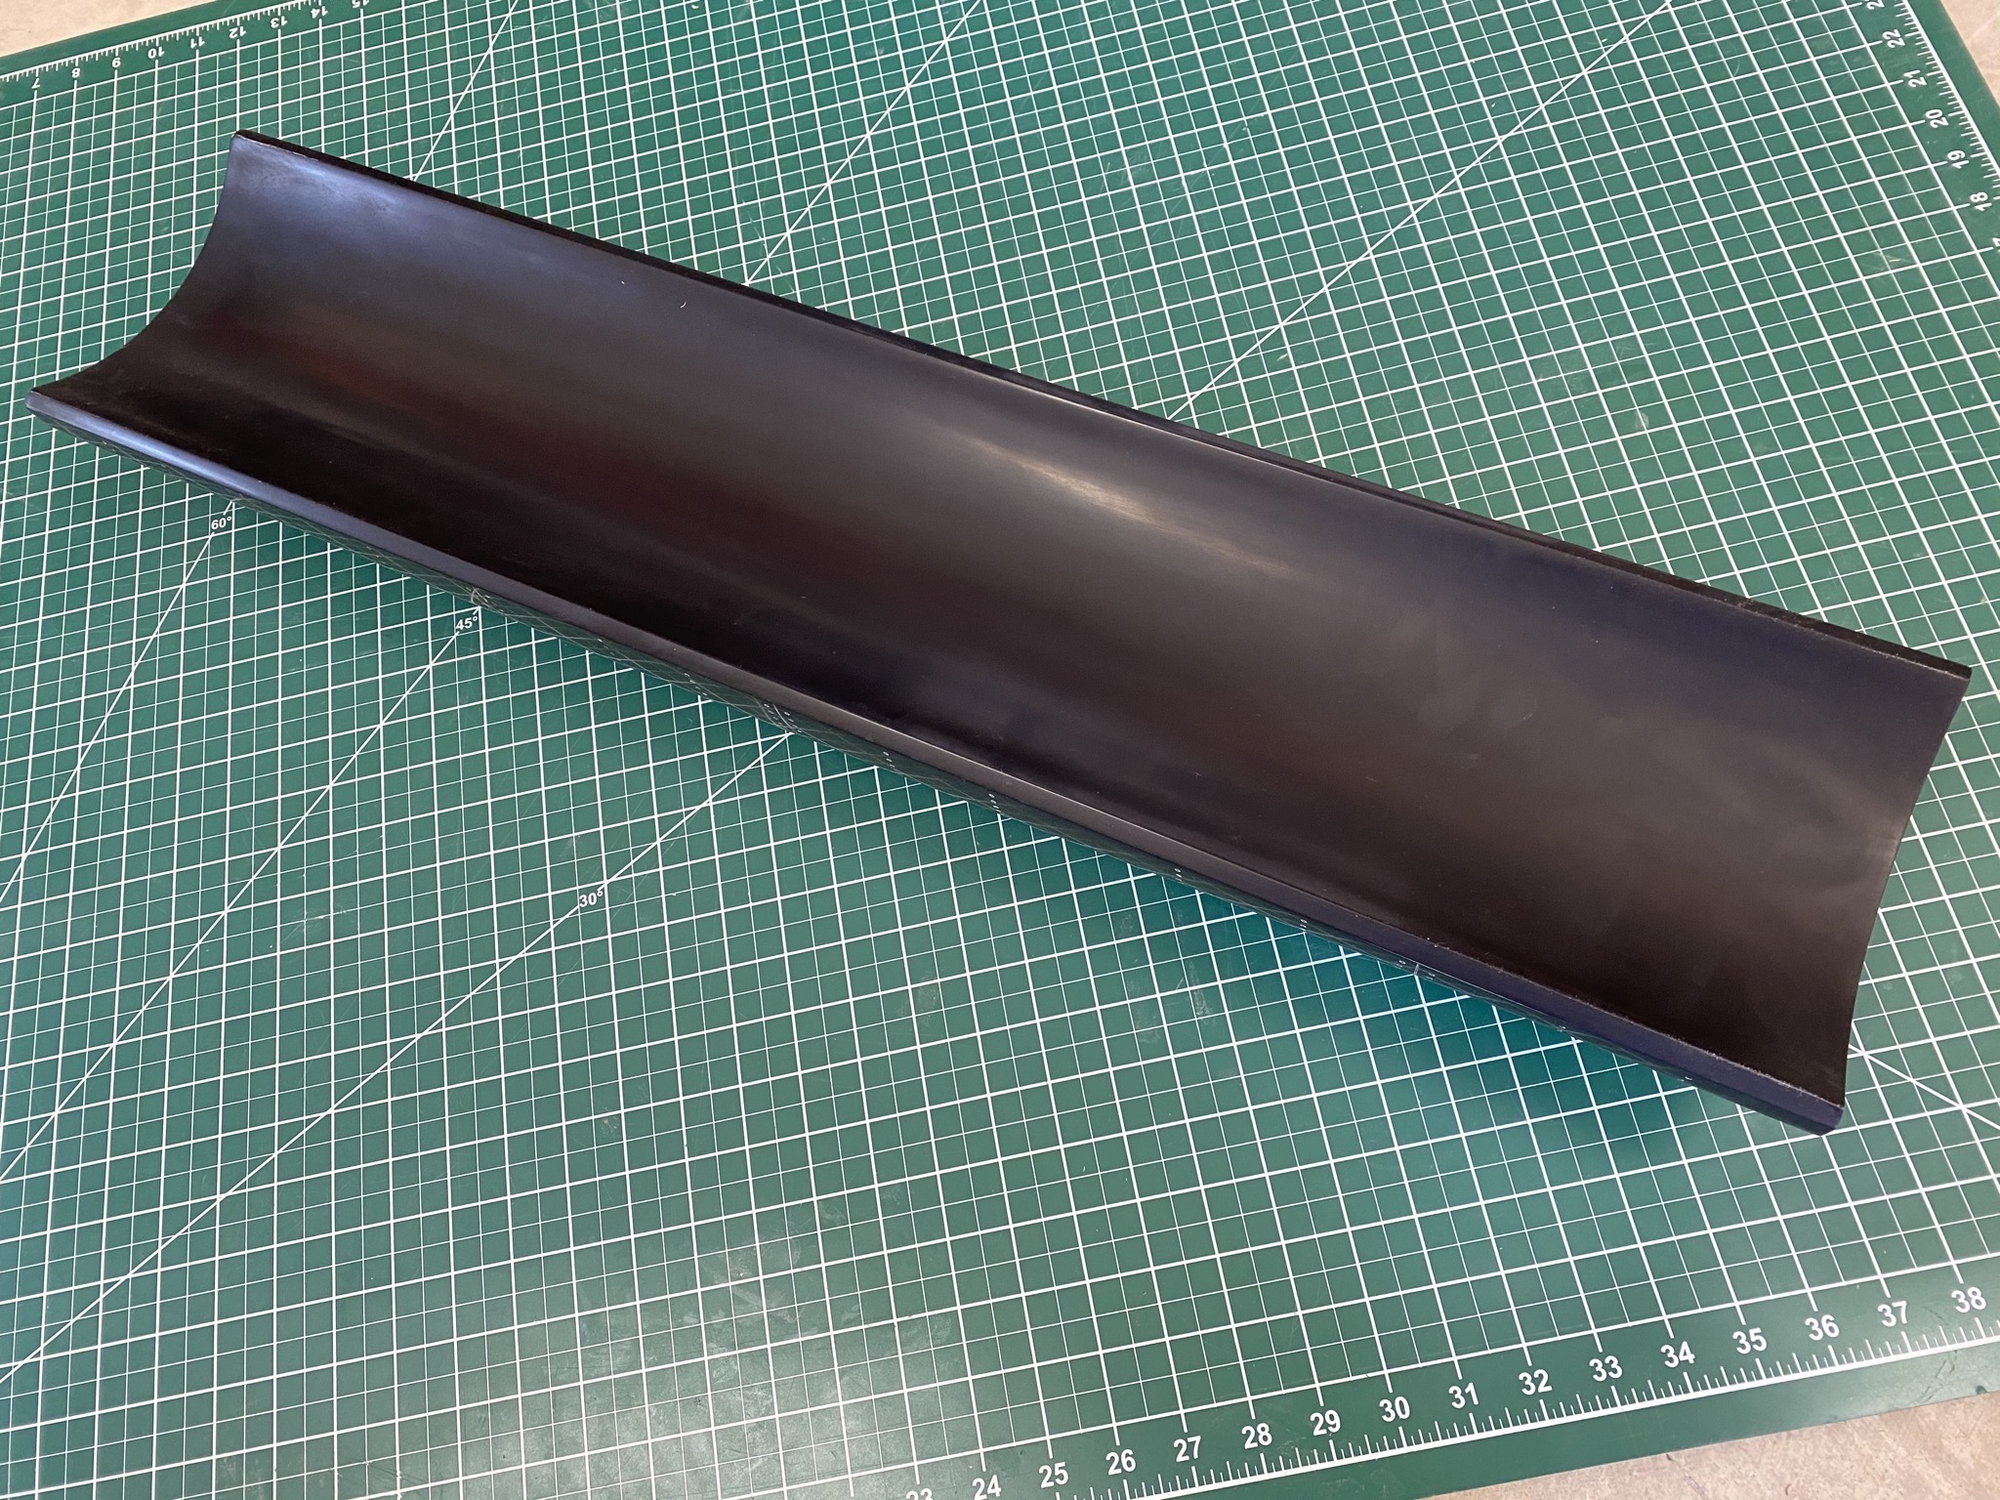
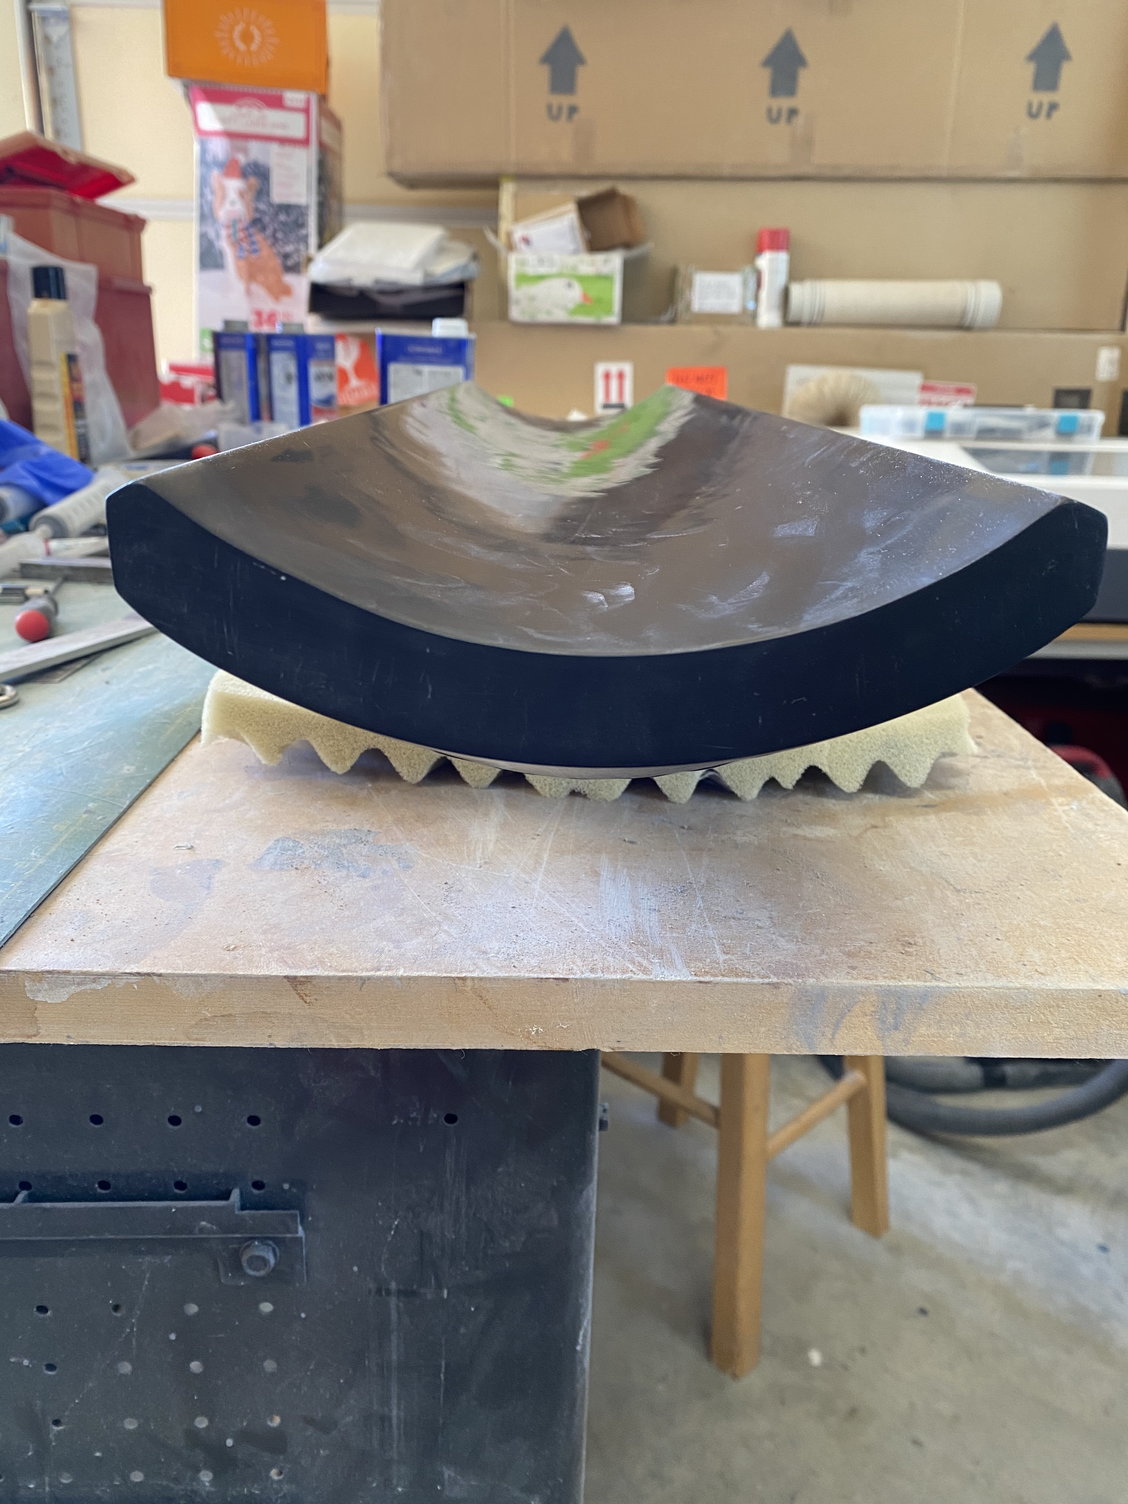
I finished the weapon bay door/ fuel tank plug. Some 2k primer bulked out with micro-balloons rolled on initially to fill the remaining weave and pin-holes was rubbed down, followed by a couple of coats of Duratec primer.
I tried a new method, using a new spray gun intended for gel-coat, with a 2.5mm nozzle, which was able to spray the Duratec un-thinned in a very thick layer. Once cured, it was sanded down to remove the orange peel effect, and then it just needed a light coat of thinned Duratec using my original gun to cover a couple of spots that I had sanded through to the glass.
Rubbed down with 320, 800 and 1200grit, rivets and panel lines applied and then polished using a rubbing compound it came up to a nice mirror finish ready for mold making.
Paul
Last edited by JSF-TC; 04-10-2020 at 03:39 PM.