


Turbinator (V2) Thread
 02-20-2016, 06:23 PM
#1

This isn't a build thread per se, but more of an informational thread on the "new" version which I'm calling V2; and hopefully this will become the "go-to" thread for the V2 Turbinator, so if you have questions or input, please post here.
I took pics as I was assembling, but apparently I deleted some before they all got downloaded, so some are missing, but you'll get the idea.
The finished product!

I took pics as I was assembling, but apparently I deleted some before they all got downloaded, so some are missing, but you'll get the idea.
The finished product!
 02-20-2016, 06:31 PM
#2
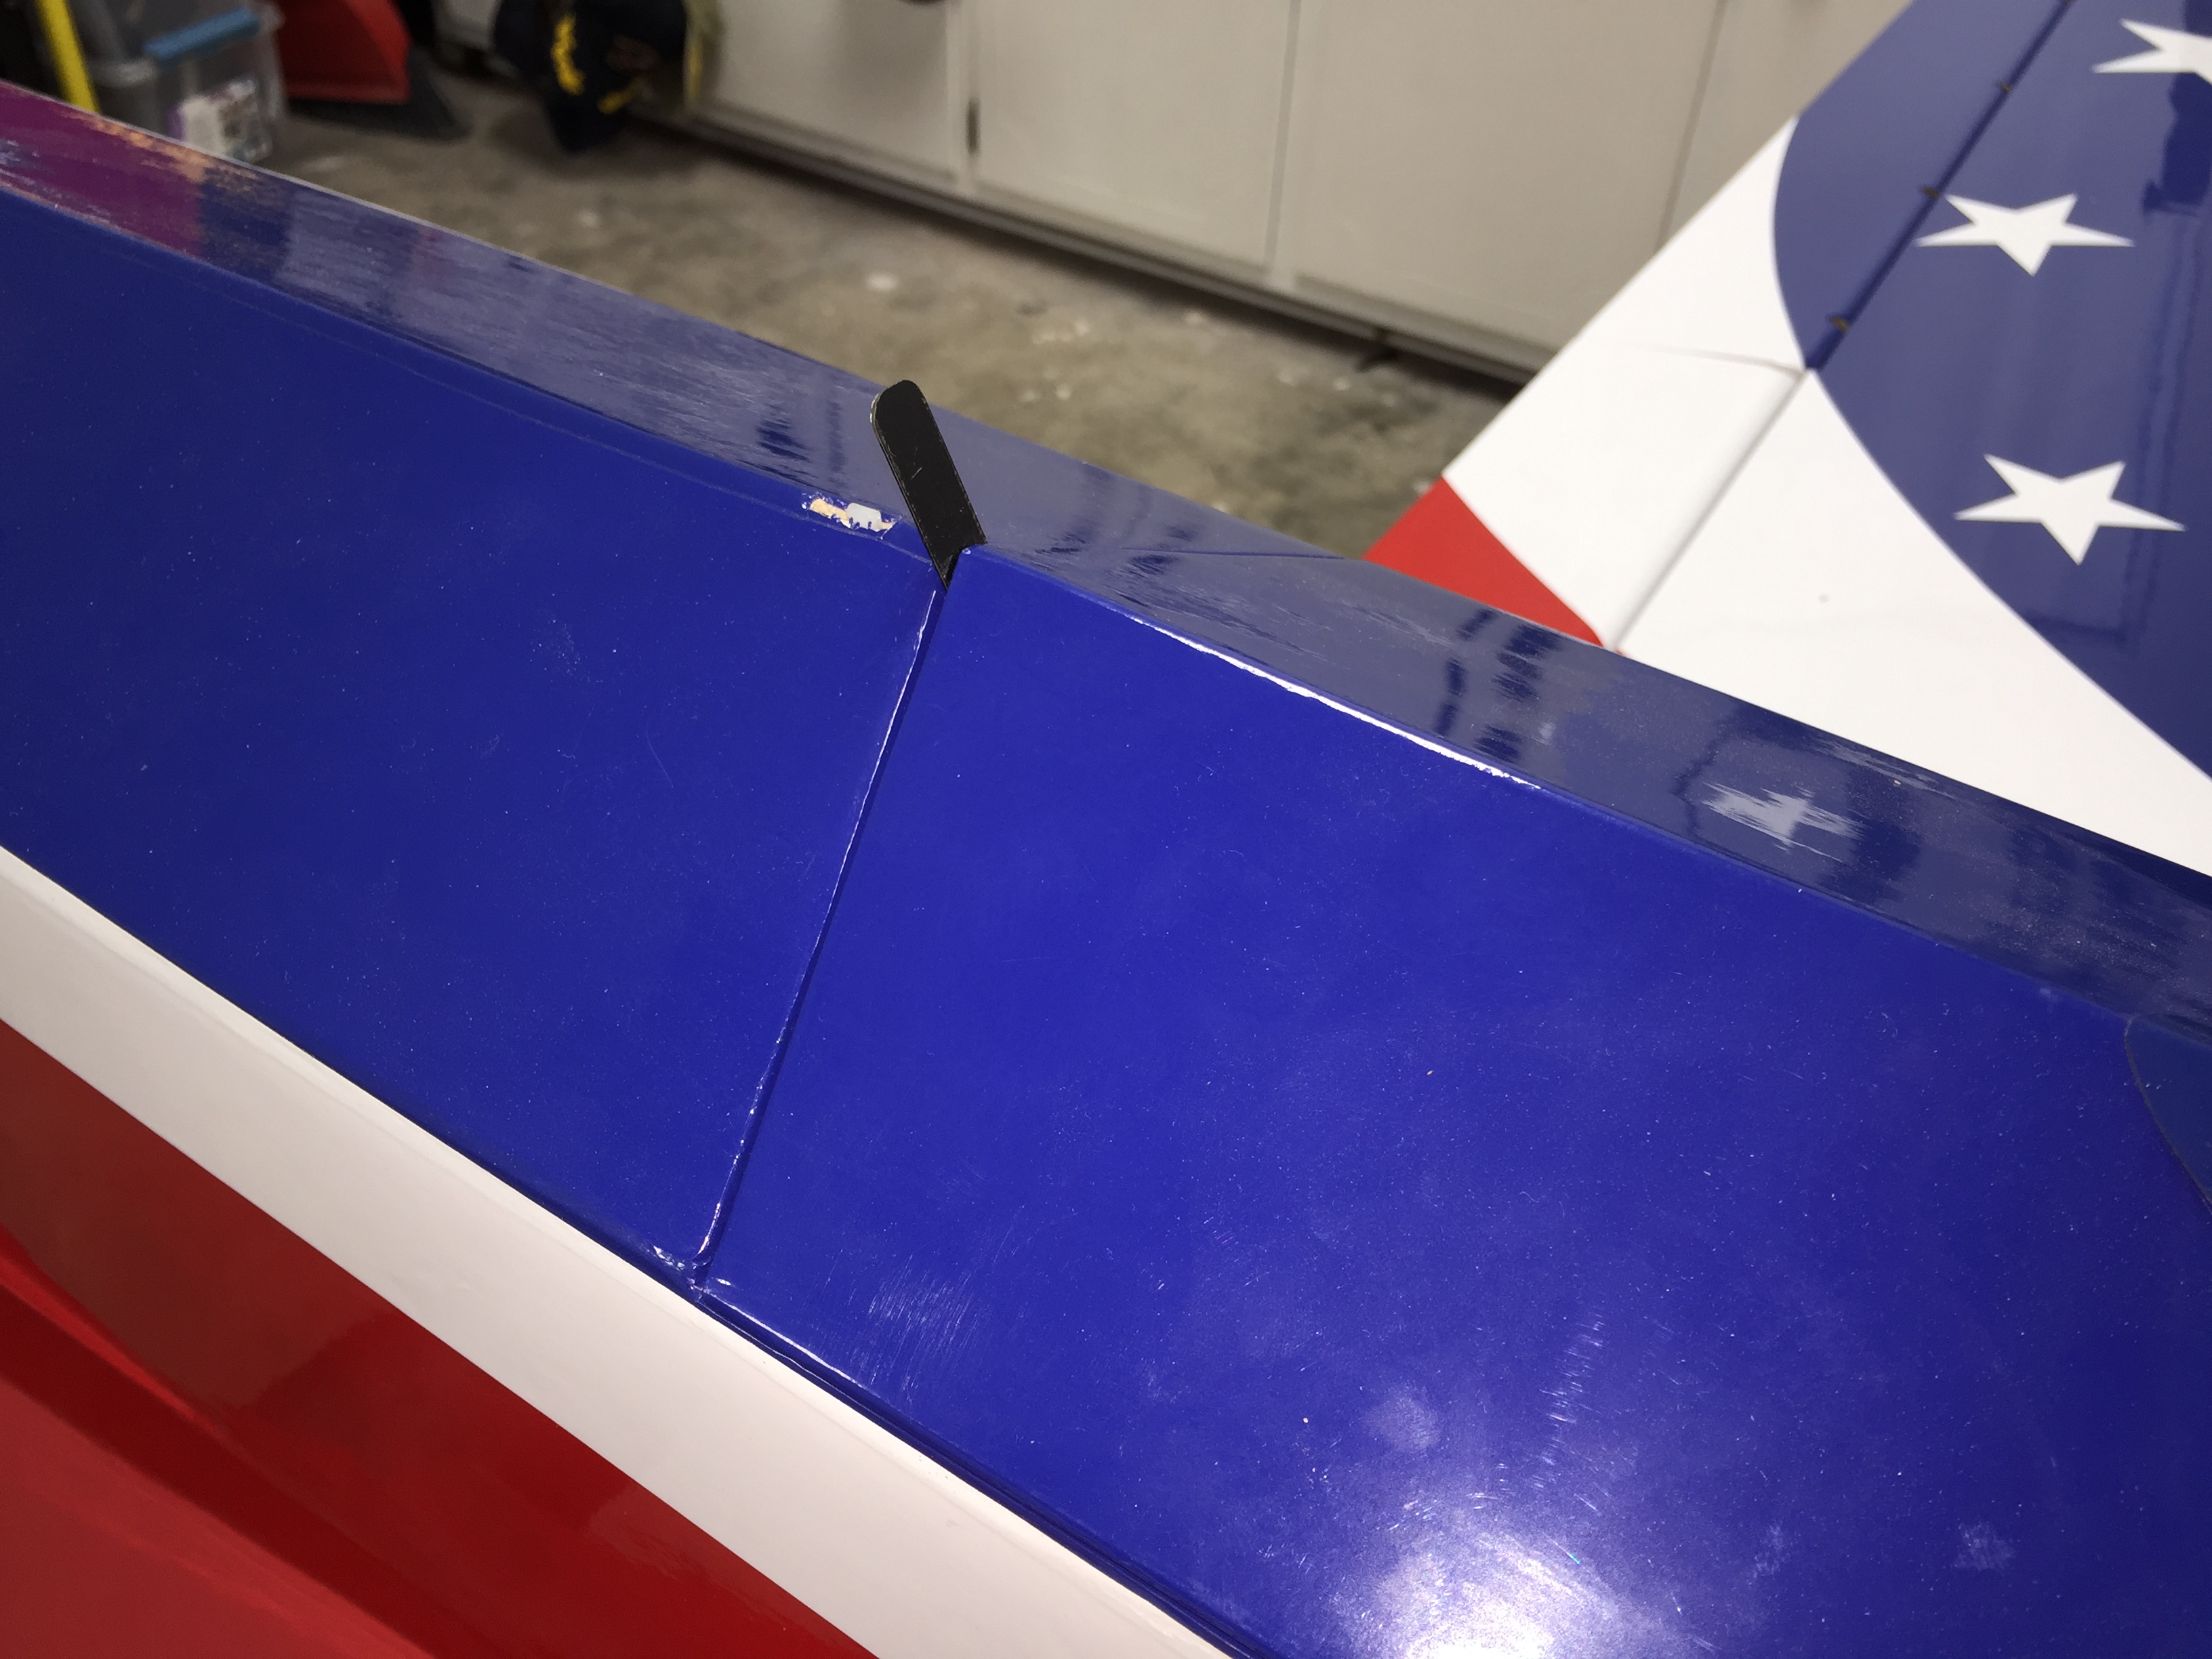
Since I was using TBOLT 4-servo harness ( http://www.dreamworksrc.com/catalog/...-12-Extensions ) the first thing I had to do was create new openings in the fuselage since the stock location would not work with the connector and wing opening.
FYI: The metal pins do not line up perfectly and take some "fitting". Do one at a time and take your time, and all will be fine.


FYI: The metal pins do not line up perfectly and take some "fitting". Do one at a time and take your time, and all will be fine.
Last edited by George; 02-20-2016 at 06:35 PM.
02-20-2016, 06:59 PM
#3
One of the things I hate the most...hinging!! There's not much in the way of pics (see first post  ), but before I did that, I painted the trailing edge in the flap area red so when the flaps were deployed it wouldn't look like...
On the original I painted the aileron section black to hide a not-so-good hinging job as I got it second-hand. I did consider doing these black as well, but decided against since the gap was minimal and the bare wood at the trailing edge was not that visible with proper hinging.


), but before I did that, I painted the trailing edge in the flap area red so when the flaps were deployed it wouldn't look like...On the original I painted the aileron section black to hide a not-so-good hinging job as I got it second-hand. I did consider doing these black as well, but decided against since the gap was minimal and the bare wood at the trailing edge was not that visible with proper hinging.
02-20-2016, 07:43 PM
#4
Next was gluing the vertical (no pic, but pictured in the manual). I contemplated adding blind nuts to the base of the vertical to pull it down tight during gluing, but ended up not doing it because of limited access. This got me thinking, it would be extremely easy to make the vertical removable with a couple tweaks and a pin style rudder hinge.
While that was drying, I installed all the servos. The one thing I recommend is adding a support to the rudder and elevator servo plate because there is quite a bit of flex. You can see the support I added.


While that was drying, I installed all the servos. The one thing I recommend is adding a support to the rudder and elevator servo plate because there is quite a bit of flex. You can see the support I added.
02-20-2016, 07:56 PM
#5
The canopy was straightforward and used screws instead glue to install.


I used the supplied magnets and added a steel "pull" which serves two purposes. First, the magnets are fairly strong so I needed a way to open the hatch without destroying the wood or frame. Second, the hatch latch pin was already "wallowing out" the hole making the hatch very loose without the magnets, so the steel provides a catch that will not wear easily.


I used the supplied magnets and added a steel "pull" which serves two purposes. First, the magnets are fairly strong so I needed a way to open the hatch without destroying the wood or frame. Second, the hatch latch pin was already "wallowing out" the hole making the hatch very loose without the magnets, so the steel provides a catch that will not wear easily.
02-20-2016, 08:23 PM
#6
I used the new Genesis electric gear from DreamWorks ( http://www.dreamworksrc.com/catalog/...er-Steer-Basic ) and Pro-Link struts ( http://www.dreamworksrc.com/catalog/...r-V2-Strut-Set )
The mains were a non-event and the supplied plastic wheel wells actually fit and are useable unlike the original.


The nose gear install required some relief for the tiller and cables to clear when retracted, but this is standard on most installs. The only slight hiccup were the strut set screws being located just slight too low to engage the retract pin. This was easily rectified by relocating the two set screws slightly higher. It's my understanding this is being corrected on future sets.


The mains were a non-event and the supplied plastic wheel wells actually fit and are useable unlike the original.
The nose gear install required some relief for the tiller and cables to clear when retracted, but this is standard on most installs. The only slight hiccup were the strut set screws being located just slight too low to engage the retract pin. This was easily rectified by relocating the two set screws slightly higher. It's my understanding this is being corrected on future sets.
 02-21-2016, 03:49 PM
#10
I did consider just adding to it, but thought it different enough because the V2 has plug-in wings, uses different gear, and is generally an "updated" version; and I thought it should have its own thread and leave the Shulman version for for it specifically.
02-21-2016, 04:06 PM
#11
The next job was control horns which are completely different than the original, but this job was made easier with pre-cut slots. All were perfect except one set which were just slightly off, but nothing a dremel couldn't take care of. I don't have any pics of the actually step, but have pics showing the finished product with linkages and wires installed.


Last edited by George; 02-21-2016 at 04:32 PM. Reason: Pics added
02-21-2016, 04:20 PM
#12
One more pic of the elevator and rudder servo arms and hardware. I used the supplied hardware with the exception for the nose steering were I used the Dubro pull-pull. I also decided to add washers on each side of the ball links because the spacing between control horns was slightly larger than the ball link dimension and a washer on each side took up the space perfectly.


Last edited by George; 02-21-2016 at 04:33 PM. Reason: Pics added
02-21-2016, 04:31 PM
#13
Like the original, the V2 does not come with a tank. Larry offers plastic tank, but we are using the Jet-Tech Boomerang tank that holds 125 oz. ( http://www.dreamworksrc.com/catalog/...lar-Tank-125Oz ). I also installed the DW vent and recessed it slightly in the bottom of the fuse.


02-21-2016, 05:26 PM
#14
Now we come to the most "debated" topic of the Turbinator...the ENGINE ANGLE! The original had an addendum and template that showed the "correct" angle compared to the stock angle. It turns out the V2 maintained this original angle and apparently the few that have been built up to now have not been modified. Since I fly the Turbinator at varying throttle settings ALL the time, I didn't want to deal with the huge pitch changes. I measured the stock angle on both versions, and the adjusted angle on my original to get some base readings. The stock angle on both versions is 4-5 degree in relation to the formers being straight up & down or 90 degrees and the horizontal stabilizer at zero. The angle on my original is right at 15 degrees down. With a 100N engine, it climbs ever so slightly at full throttle so I thought I would add a couple more degrees in V2 since it was getting a Rabbit. When all was said and done, I ended up with 17-18 degrees down. I'll have to wait until the maiden to see the results.
I made new engine rails so I could cut the proper slots in the proper locations and keep them correct size by making an 18 degree "fixture" (piece of wood") ) that allowed me to cut the slots on a small band saw. Once this was complete, it was just a matter of notching the rails, formers, stringers and getting them both located at the proper height.
) that allowed me to cut the slots on a small band saw. Once this was complete, it was just a matter of notching the rails, formers, stringers and getting them both located at the proper height.


I made new engine rails so I could cut the proper slots in the proper locations and keep them correct size by making an 18 degree "fixture" (piece of wood
) that allowed me to cut the slots on a small band saw. Once this was complete, it was just a matter of notching the rails, formers, stringers and getting them both located at the proper height. Last edited by George; 02-22-2016 at 09:15 AM. Reason: Punctuation and add pic
02-21-2016, 06:02 PM
#15

My Feedback: (3)
Thank you for confirming the thrust angle.
I have a JC Cheetah in mine (yes, overpowered, but the engine is shared between this plane and a Krill Avanti S (FC) and under full throttle the Turbinator climbed at an alarming rate with the stock thrust angle. Granted, I don't really need full throttle...
I have ended up at about 15deg, but perhaps I should try a few more degrees of down thrust (I am trying to avoid any down elevator mix with throttle)
Did you measure the thrust angle with respect to the wing tubes? I am assuming that is the datum for this plane.
Last edited by ltc; 02-21-2016 at 06:05 PM.
02-21-2016, 06:17 PM
#16
Thank you for confirming the thrust angle.
I have a JC Cheetah in mine (yes, overpowered, but the engine is shared between this plane and a Krill Avanti S (FC) and under full throttle the Turbinator climbed at an alarming rate with the stock thrust angle. Granted, I don't really need full throttle...
I have ended up at about 15deg, but perhaps I should try a few more degrees of down thrust (I am trying to avoid any down elevator mix with throttle)
Did you measure the thrust angle with respect to the wing tubes? I am assuming that is the datum for this plane.
I have a JC Cheetah in mine (yes, overpowered, but the engine is shared between this plane and a Krill Avanti S (FC) and under full throttle the Turbinator climbed at an alarming rate with the stock thrust angle. Granted, I don't really need full throttle...
I have ended up at about 15deg, but perhaps I should try a few more degrees of down thrust (I am trying to avoid any down elevator mix with throttle)
Did you measure the thrust angle with respect to the wing tubes? I am assuming that is the datum for this plane.
Oh yeah, a Cheetah is definitely overpowered and 15 degrees would not be enough based on my experience with the original and less power. And no, I didn't reference the angle to the wing tubes, only the engine formers and horizontal, but I tried checking the wing incidence to the horizontal as good as I could because the incidence meter would only go half wing, and as far as I could tell, it looked to be about 1-1.5 degrees positive to the horizontal. This was all very NON-scientific!
 02-22-2016, 04:09 AM
#17
My Feedback: (3)
I'm probably going to choose not to mention that the original low thrust angle combined with full power on the Cheetah removed the small piece of covering on the bottom of the rudder
I am curious what your AUW will be, not sure if there was any weight reduction between the prototypes and v2 production.
In any event, the plane flies very nice
I am curious what your AUW will be, not sure if there was any weight reduction between the prototypes and v2 production.
In any event, the plane flies very nice
02-22-2016, 09:56 AM
#18
Since the Turbinator needs nose weight, I tried installing everything as far forward as possible. The small hatch in the front is a very welcomed "improvement" and allows good access. I installed the UAT under the covered area between the two hatches, the RX batteries (Booma RC - http://www.dreamworksrc.com/catalog/...ceiver-Battery ) all the way forward and the e-gear and turbine batteries under the Power Pack which sits on a shelf I made and permanently the data terminal. There is room next to the UAT to put a larger battery if needed or desired.


Even with all this equipment located forward, preliminary checks showed some nose weight was still going to be required. To get the as much weight as I could to the forward most part of the plane, I hollowed out the nose through a couple of the lightening holes in the front former and melted some lead into the cavities. The total melted was about 7.5 oz. with another 2.5 oz. of stick-on weight which I may end up removing slowly after some flight tests.


Even with all this equipment located forward, preliminary checks showed some nose weight was still going to be required. To get the as much weight as I could to the forward most part of the plane, I hollowed out the nose through a couple of the lightening holes in the front former and melted some lead into the cavities. The total melted was about 7.5 oz. with another 2.5 oz. of stick-on weight which I may end up removing slowly after some flight tests.
02-23-2016, 05:14 AM
#21
The other controller in the canopy area closest to the tank is the gear controller.
As far as telemetry, I'm not sure because I'm just learning the JC and Jeti stuff.
02-23-2016, 11:41 AM
#22
My Feedback: (3)
Since you have the standard Powerpack in the plane, the $45 Xicoy - Jeti telemetry adapter (Dreamworks has them in stock) will allow you to do everything from your Jeti transmitter that you could do from the handheld terminal, as well as get real time telemetry and alarms
Just plug in the telemetry adapter into the Terminal port on the Powerpack ECU and the other end to an EXT port on a Jeti receiver/CentralBox. Done.
The Jeti radio and telemetry sensors (there's a lot of them!) absolutely excels at telemetry ... it's an amazing platform, I'm sure you'll enjoy it.
That color data terminal looks really nice. I didn't see it on their website, I'll have to send them an email and inquire.
02-28-2016, 04:10 PM
#23
I'm probably going to choose not to mention that the original low thrust angle combined with full power on the Cheetah removed the small piece of covering on the bottom of the rudder
I am curious what your AUW will be, not sure if there was any weight reduction between the prototypes and v2 production.
In any event, the plane flies very nice
I am curious what your AUW will be, not sure if there was any weight reduction between the prototypes and v2 production.
In any event, the plane flies very nice

